DISCLOSURE: Some of the links in this page are affiliate links. This means if you click on the link and purchase the item, I will receive an affiliate commission at no extra cost to you.
How to make a Busy Book for your Toddler
[Learning Folders/ Quiet Books/ Busy Binders]
In this tutorial, I will explain about How to make a Busy Book using the printables!
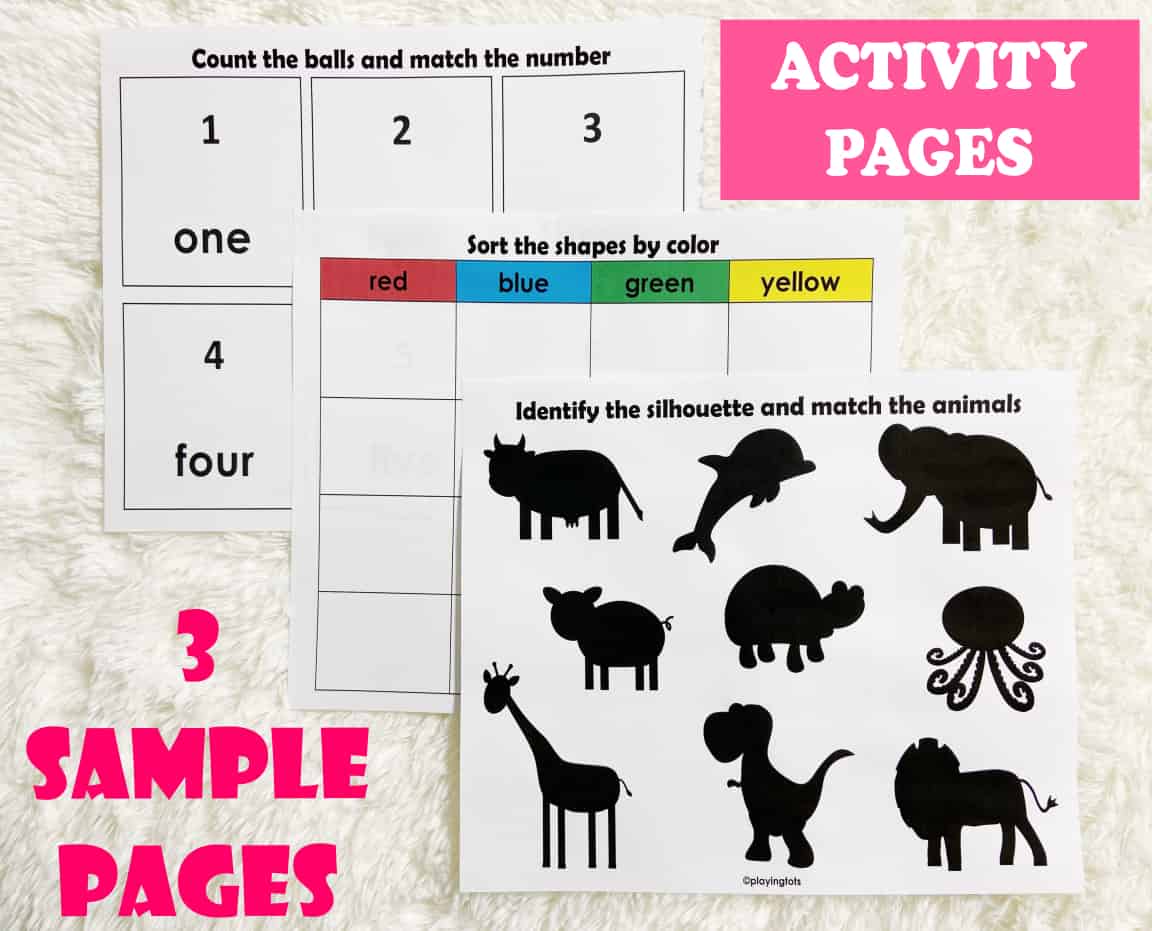
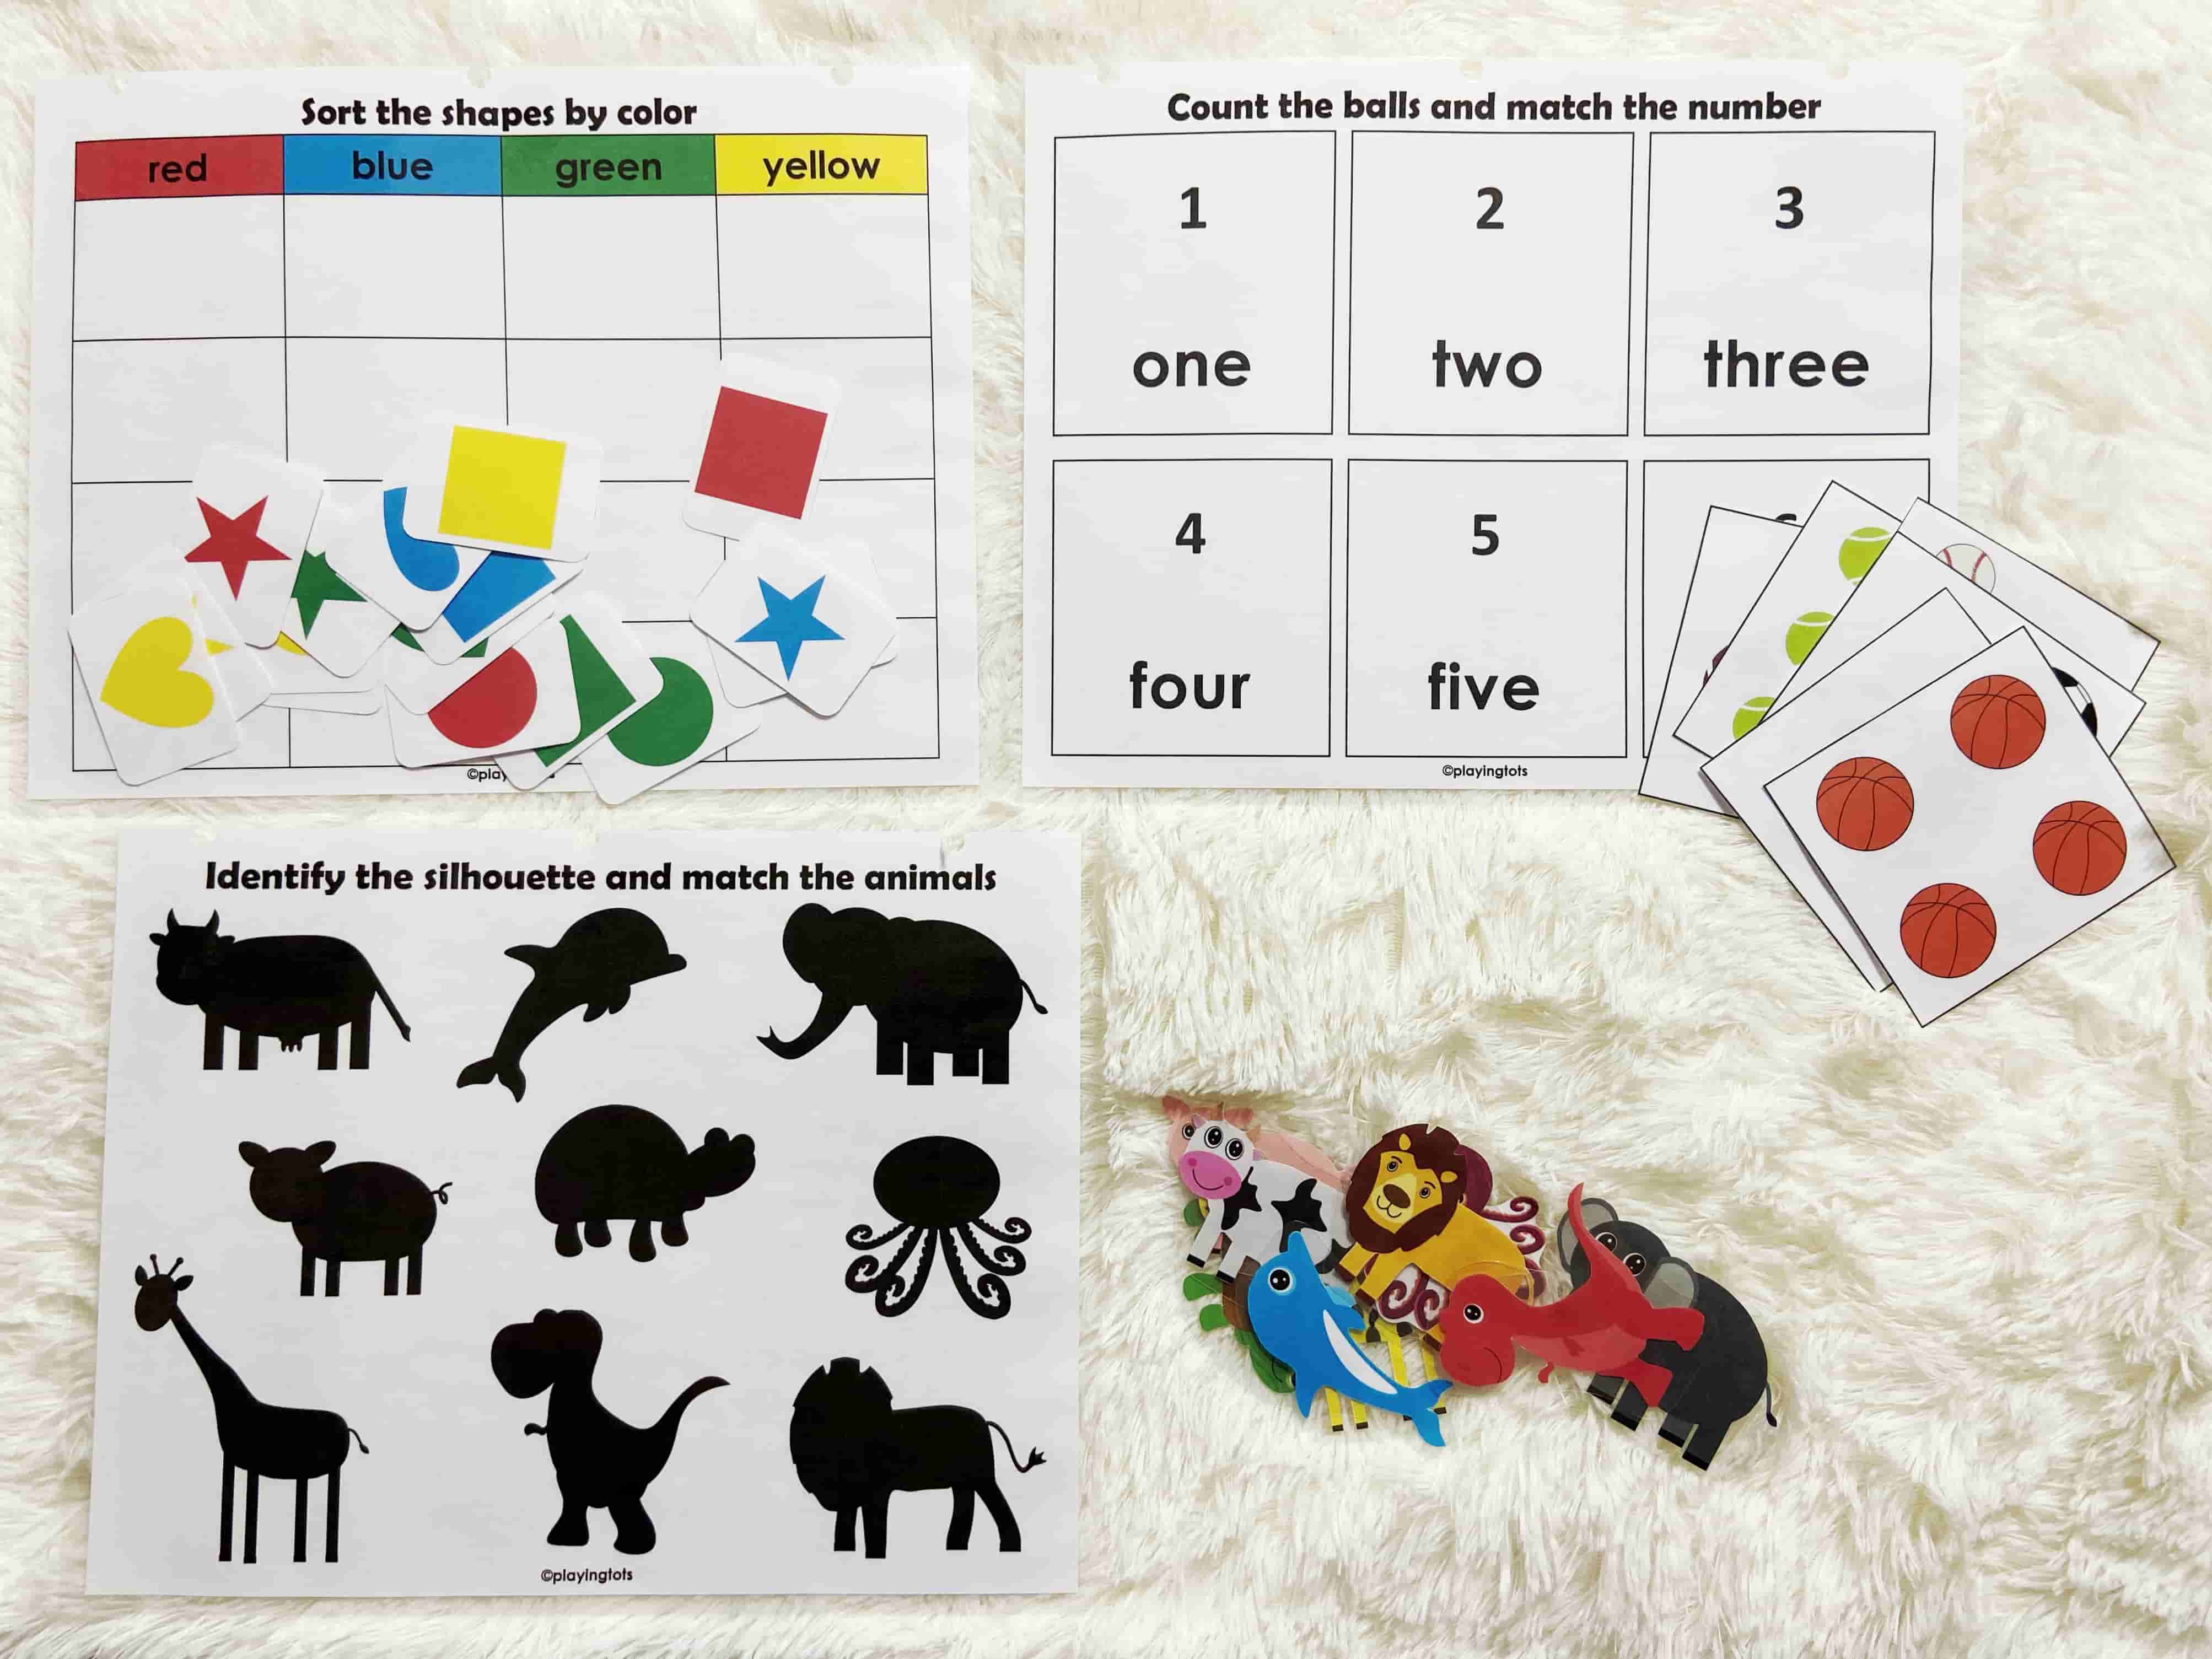
Sample
You can follow the STEP-BY-STEP instructions in this tutorial and make a Sample Busy Book. Please signup to my email list and get the 3 sample pages used in this tutorial for FREE.
Click the below button to get the FREE BUSY BOOK sample pages:
Card Stock, Paper Trimmer, Corner Punch and Pencil Pouches are optional.
Where to get the Printables?
I have made a lot of fun and educational Busy Book printable pages (300+ pages) for Toddlers and Preschoolers. You can get these printables on my Shop.
Click the below button to get the Busy Book Printables:
In addition to reading this tutorial, Please watch the below video tutorial as well!
Assembling Supplies & Tools
Here is the list of items you will need to make the busy book:
Color Printer
Printer Paper
Card Stock
Laminator
Laminating Pouches
Self Adhesive Hook and Loop Dots
Scissor
Paper Trimmer
Corner Punch
3 Hole Punch
3-ring Binders
Pencil Pouches / Ziploc Bags
Sheet Protectors
Black Dry Erase Marker and an Eraser
You may not need to purchase all of these items. Some of the items are completely optional. Optional items will be helpful to make the Finished Busy Book look better and the making process quicker and easier. At the end of this tutorial, you will be aware of all the "required & optional" items.
Click the below button to check out the Amazon products I use to make the Busy Books:
Supplies/ Tools required: 1) Color Printer 2) Printer Paper or Card stock
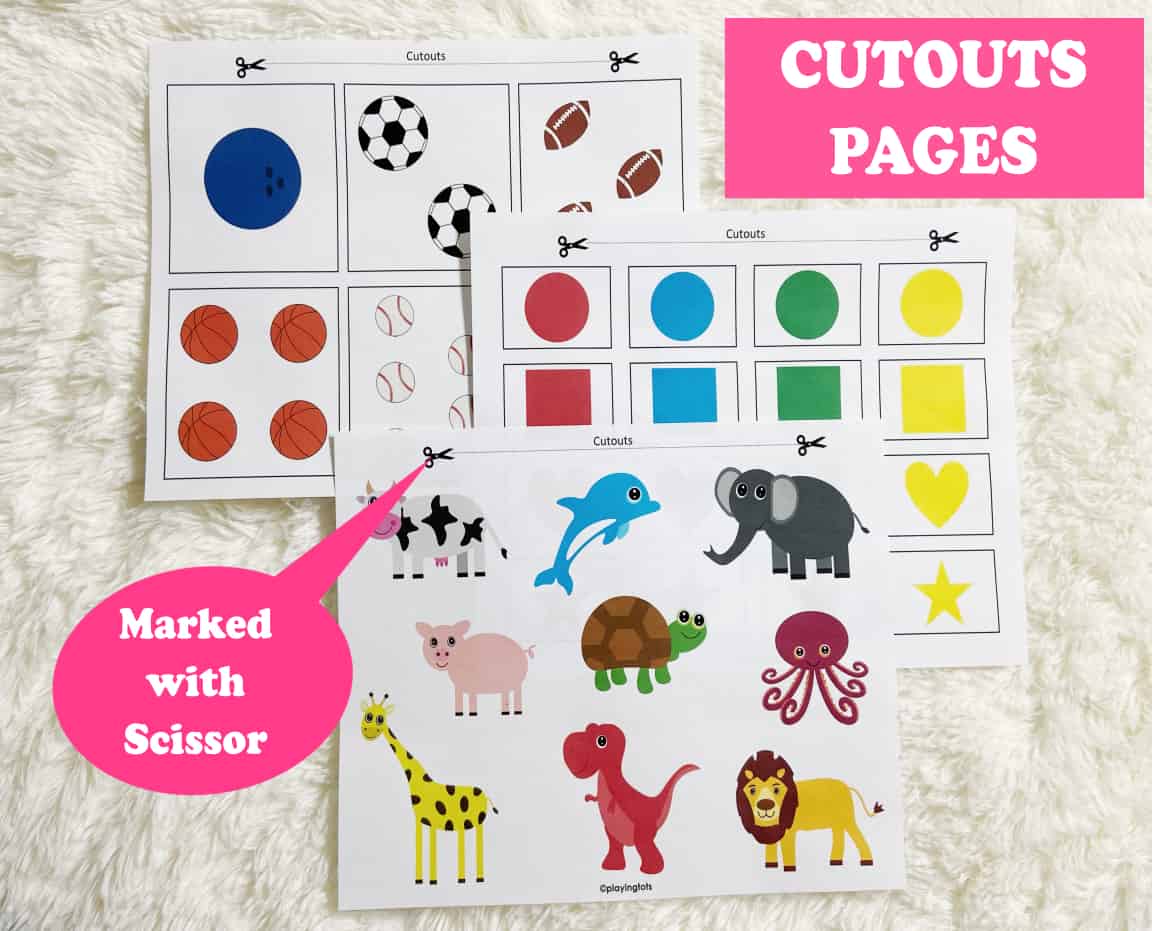
Print all the activity pages and the cutouts pages on the paper (or cardstock). The cutouts pages will be marked with a Scissor in all of my printables.
NOTE 1: If you do not have a color printer at home, you can print the files at your local shop.
If you are planning to buy a new color printer for your personal use, I would highly recommend the HP printers that supports "HP instant ink" plan. You will never run out of ink if you choose this plan. For more details about this plan, please check here: HP Instant Ink.
NOTE 2:
If you do not print via "Adobe Acrobat Reader", the pages might not print properly.
Please use "Adobe Acrobat Reader" to open and print the PDF files (Applies to all the devices - iPhone/ Android phones, Mac/ Windows [Laptop/ PC], iPad/ Tablet).
You can download the software on any device for FREE from the official website or the "App/ Play Store".
NOTE 3: All of my busy book printables (PDF files) are designed to be printed on the Letter Size (8.5" X 11") paper. But you can also print the same printables (PDF files) on A4 size paper by changing the "Paper Size" option in your printer settings. If you like to test this out, please signup to my email list, get the sample pages and try printing on the A4 size paper.
Click the below button to get the FREE BUSY BOOK sample pages:
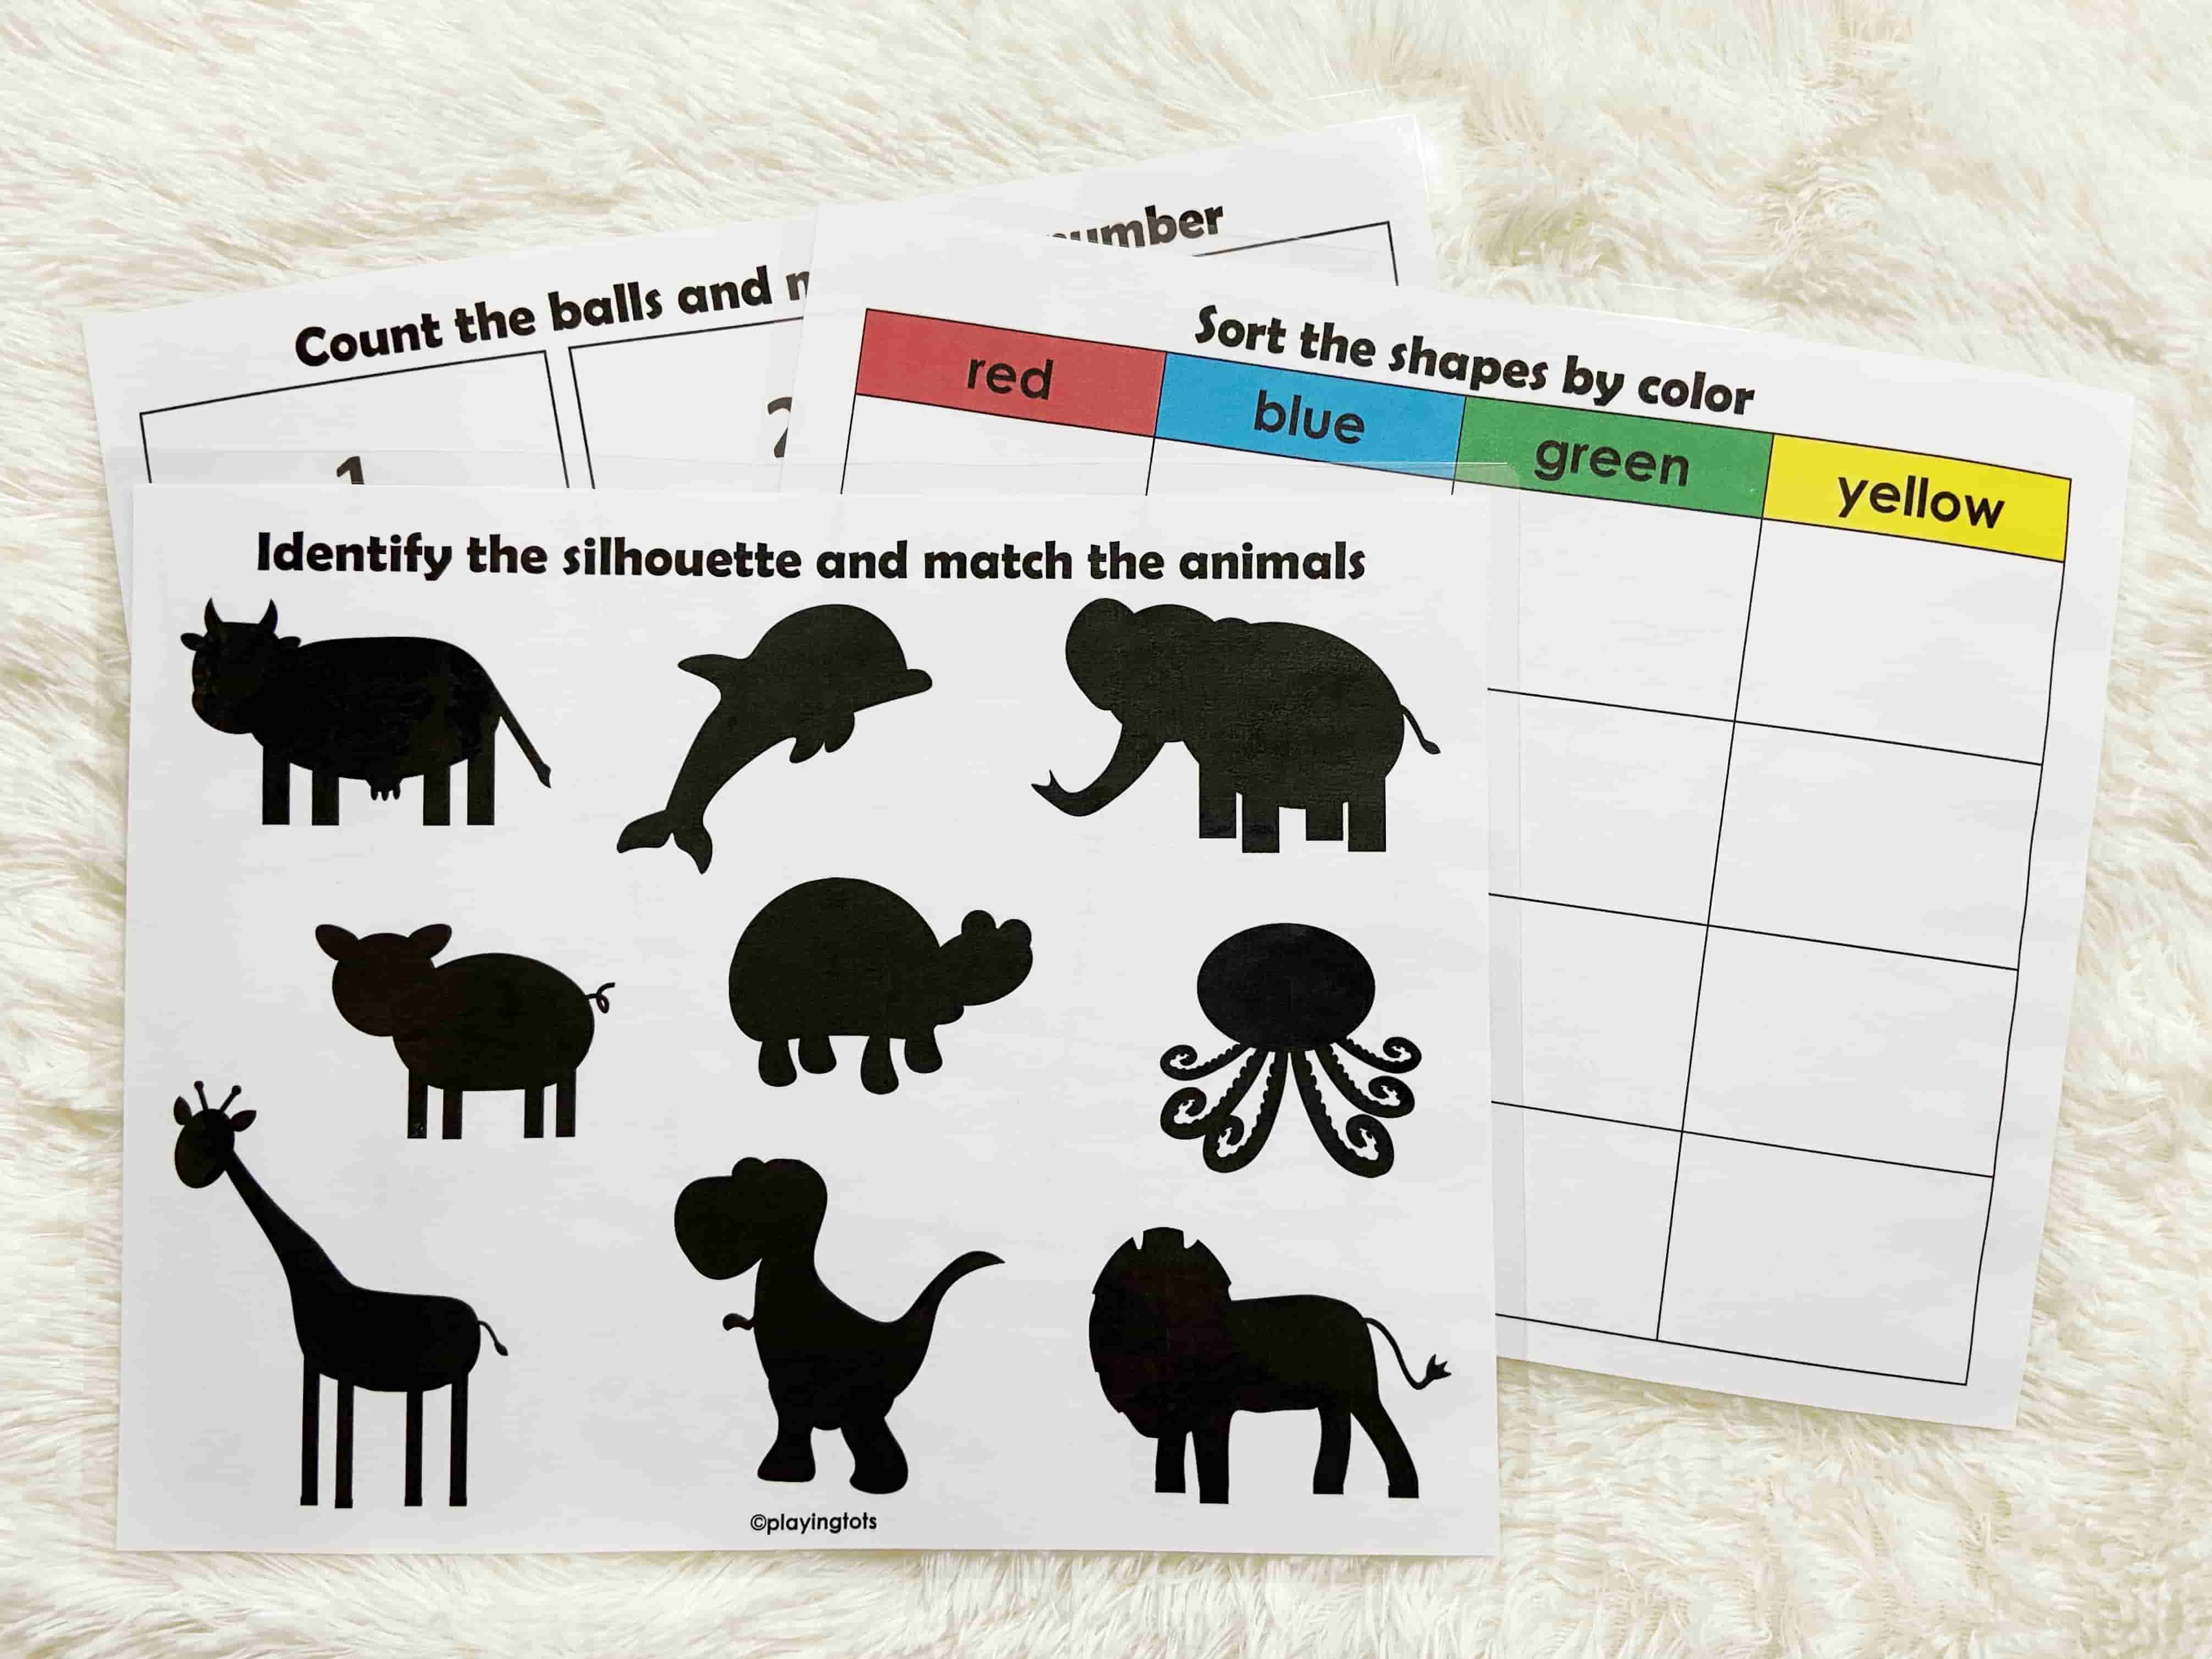
Activity Pages
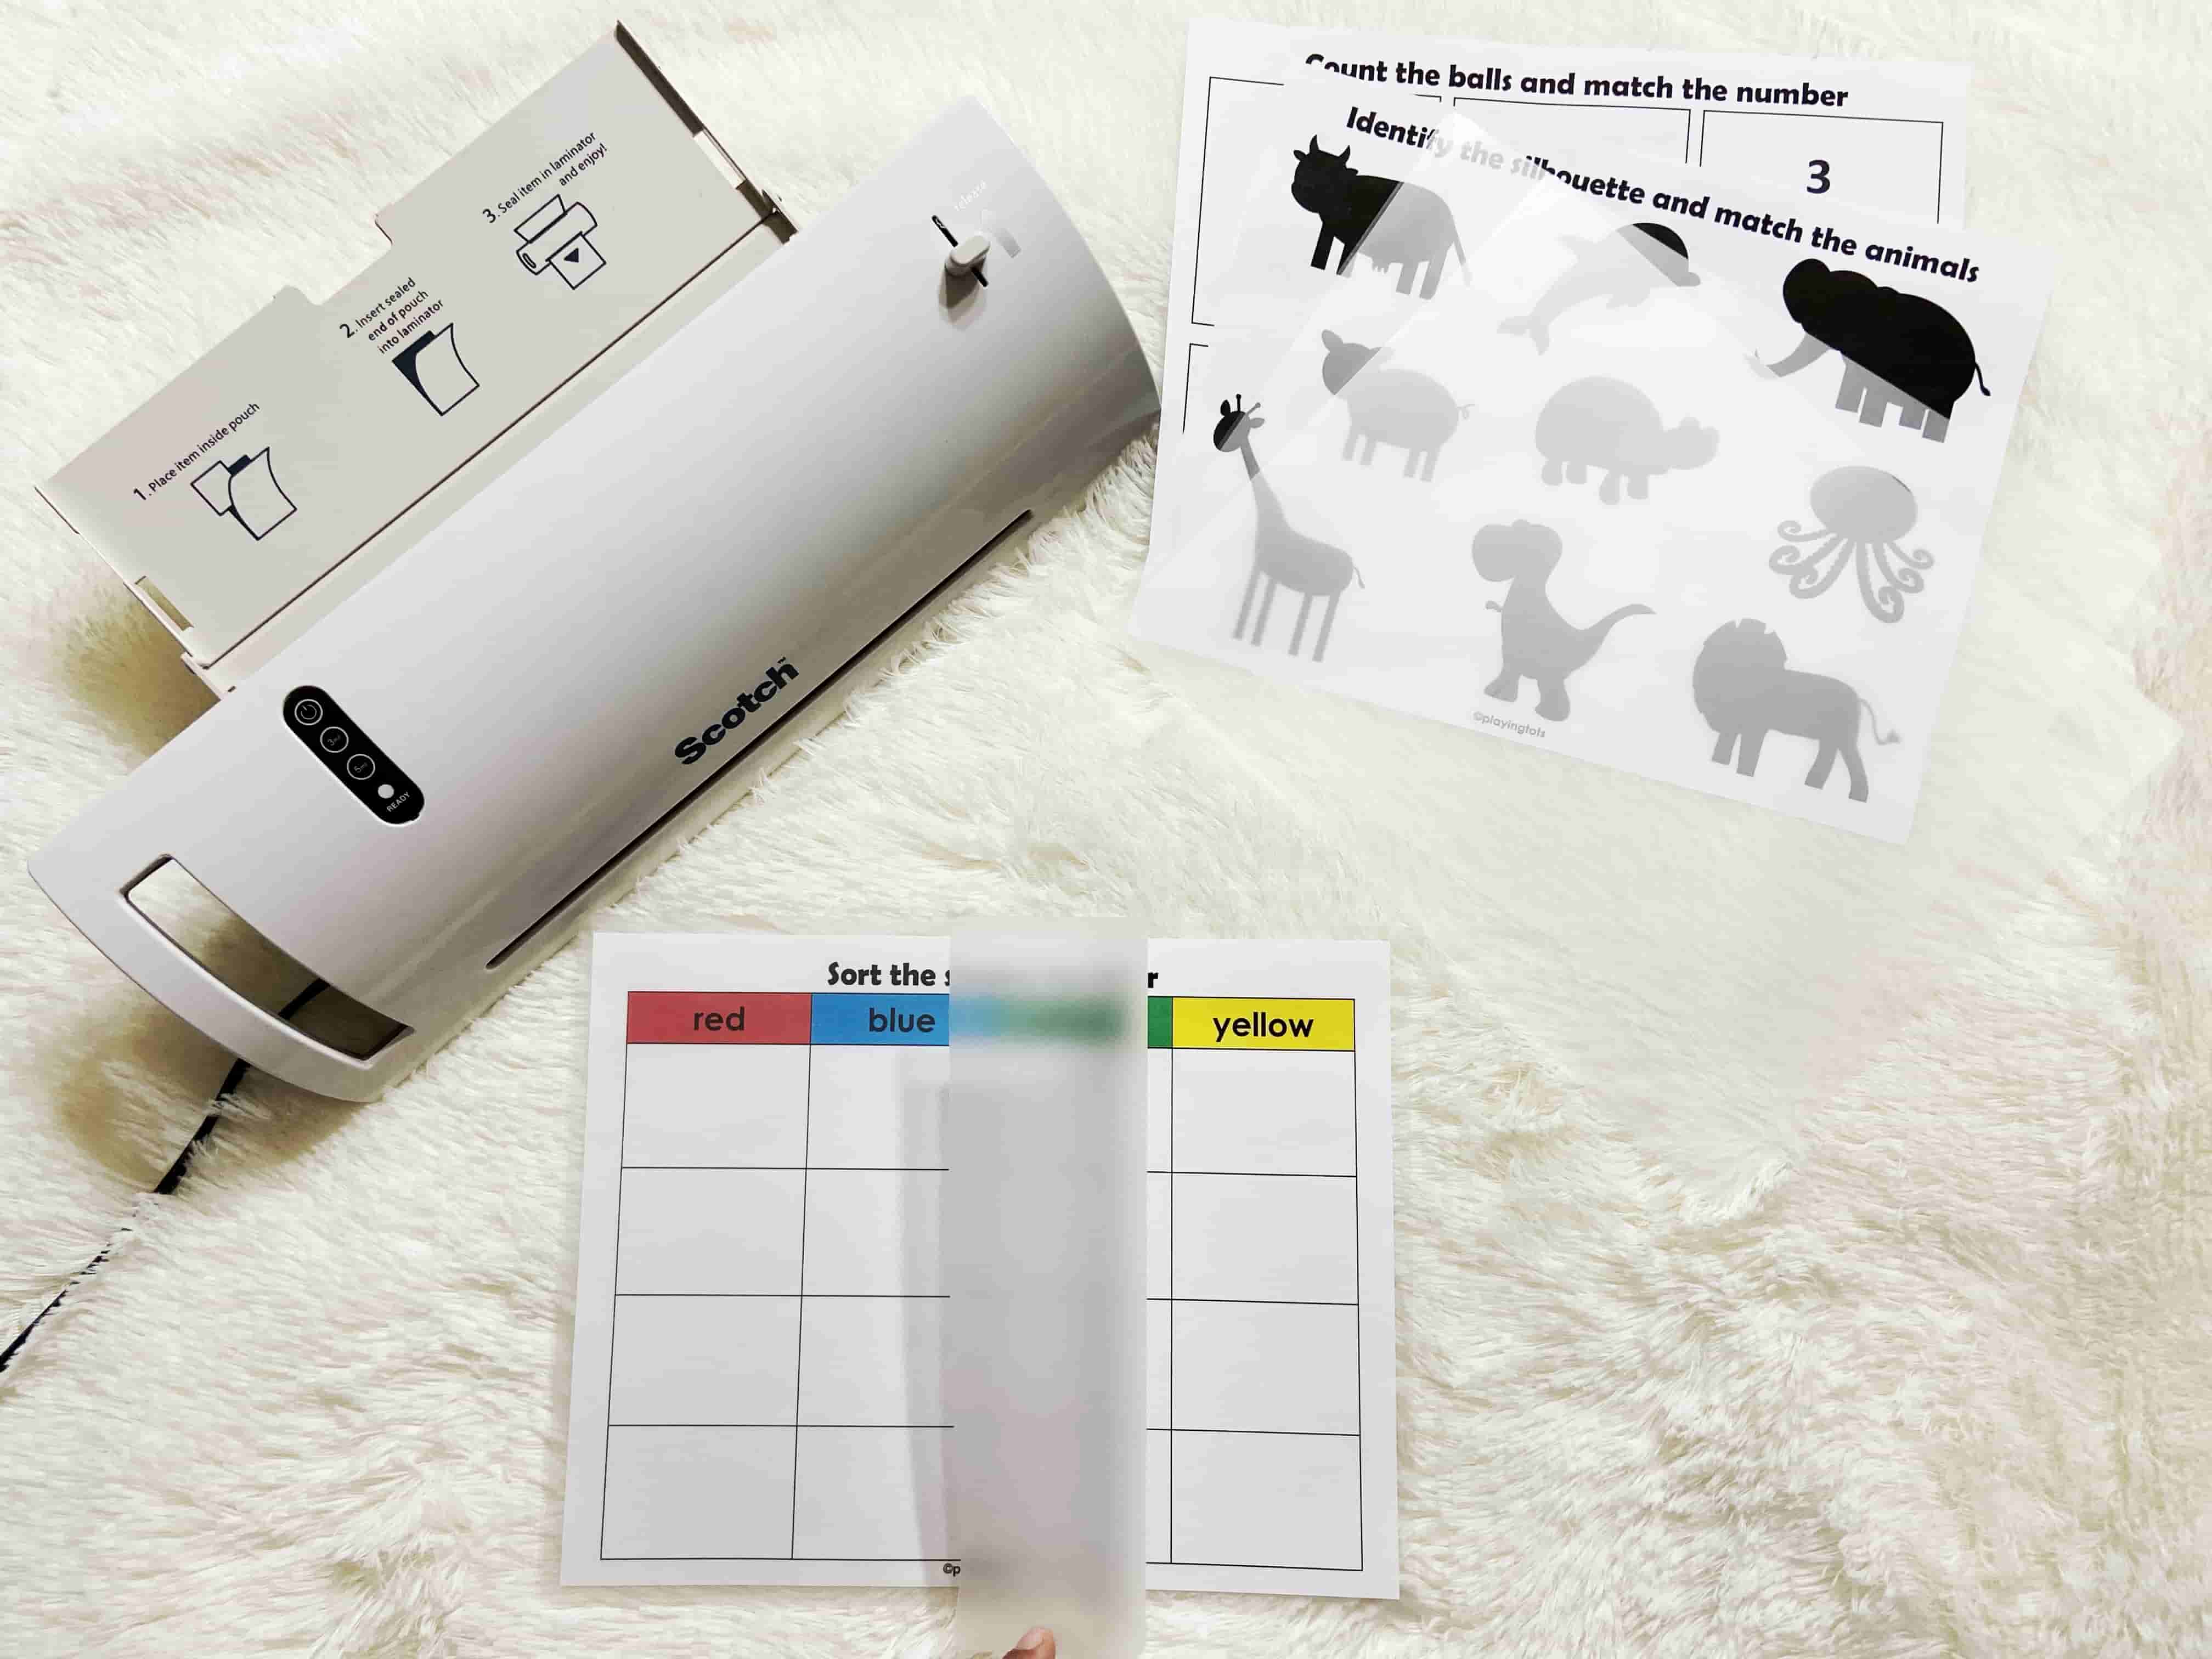
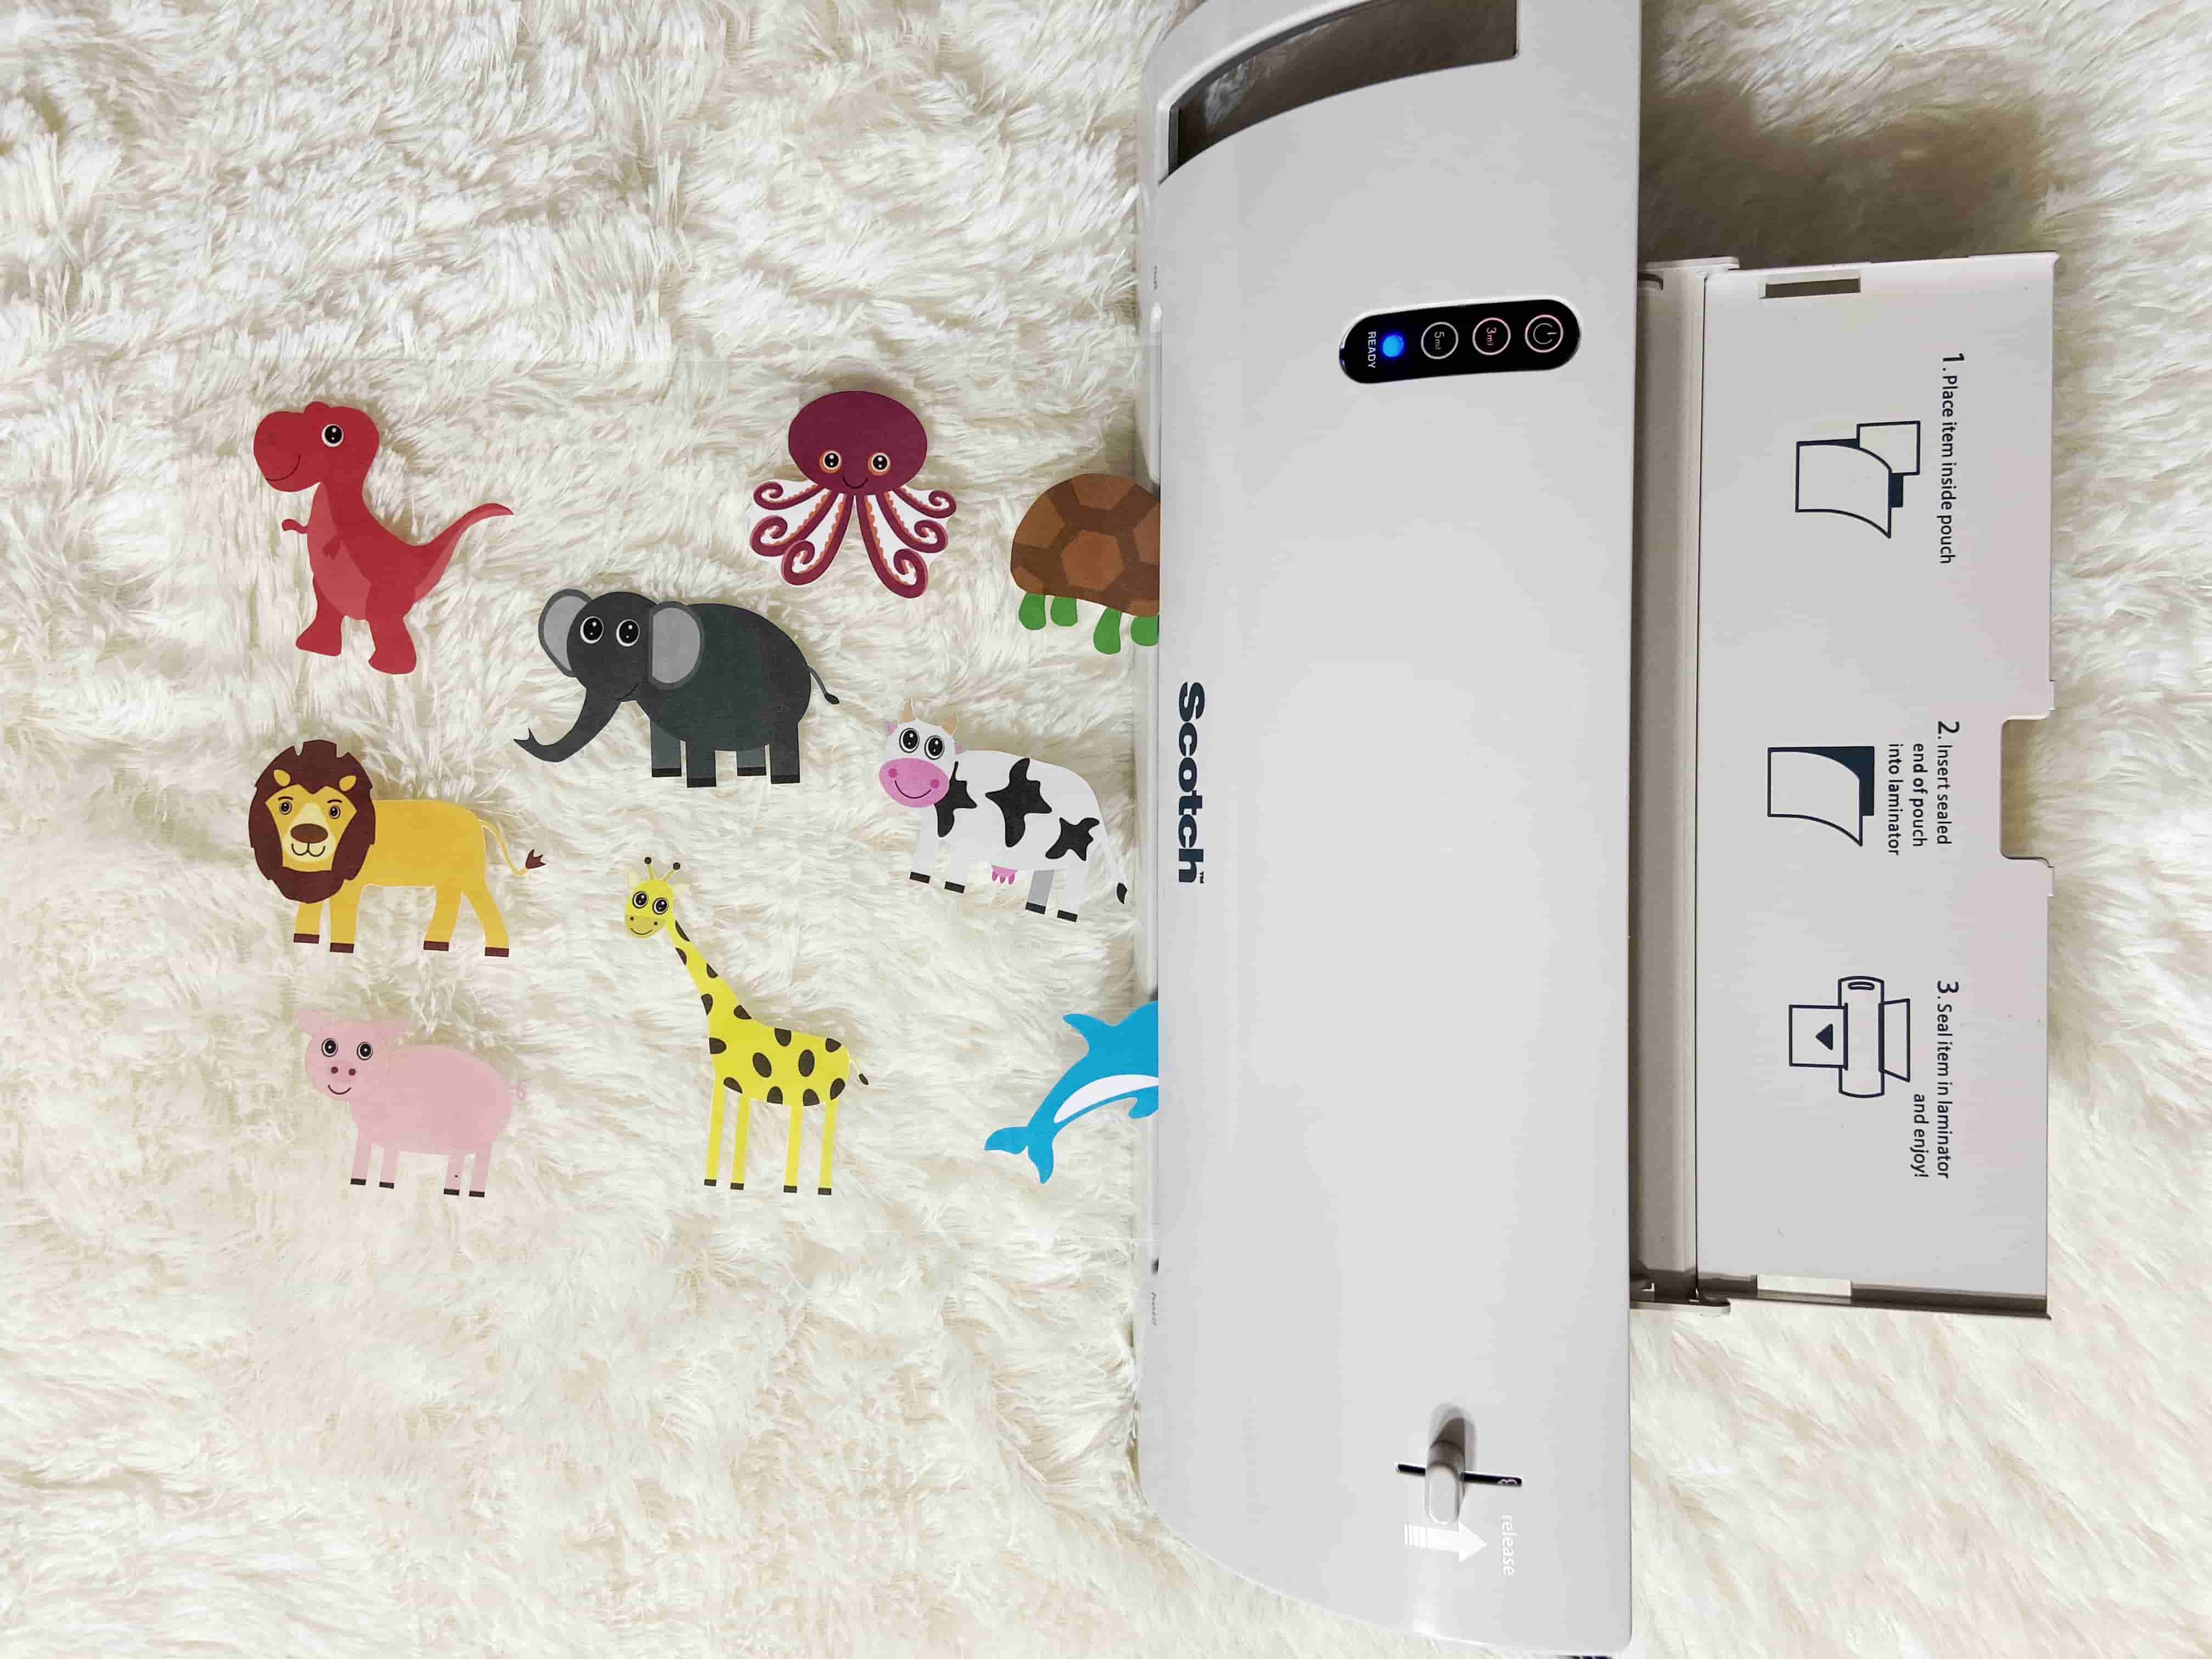
Place the pages in the laminating pouch (make sure the page is centered inside the pouch) and laminate all of the activity pages.
NOTE:
You have two options to make the activity pages:
1) Lamination: I highly recommend lamination so that all the pages will be more sturdy, durable and kids friendly. You can also laminate the pages back-to-back.
2) Sheet Protectors: As an alternative for lamination, you can use the sheet protectors for all the activity pages. Not as sturdy as the laminated pages, but it works fine.
You can also put these sheets in the File Folder and make them as a File Folder Activity.
STEP 3
Supplies/ Tools required: 3 Hole Punch
Click the below button to check out my product recommendations:
Cutouts
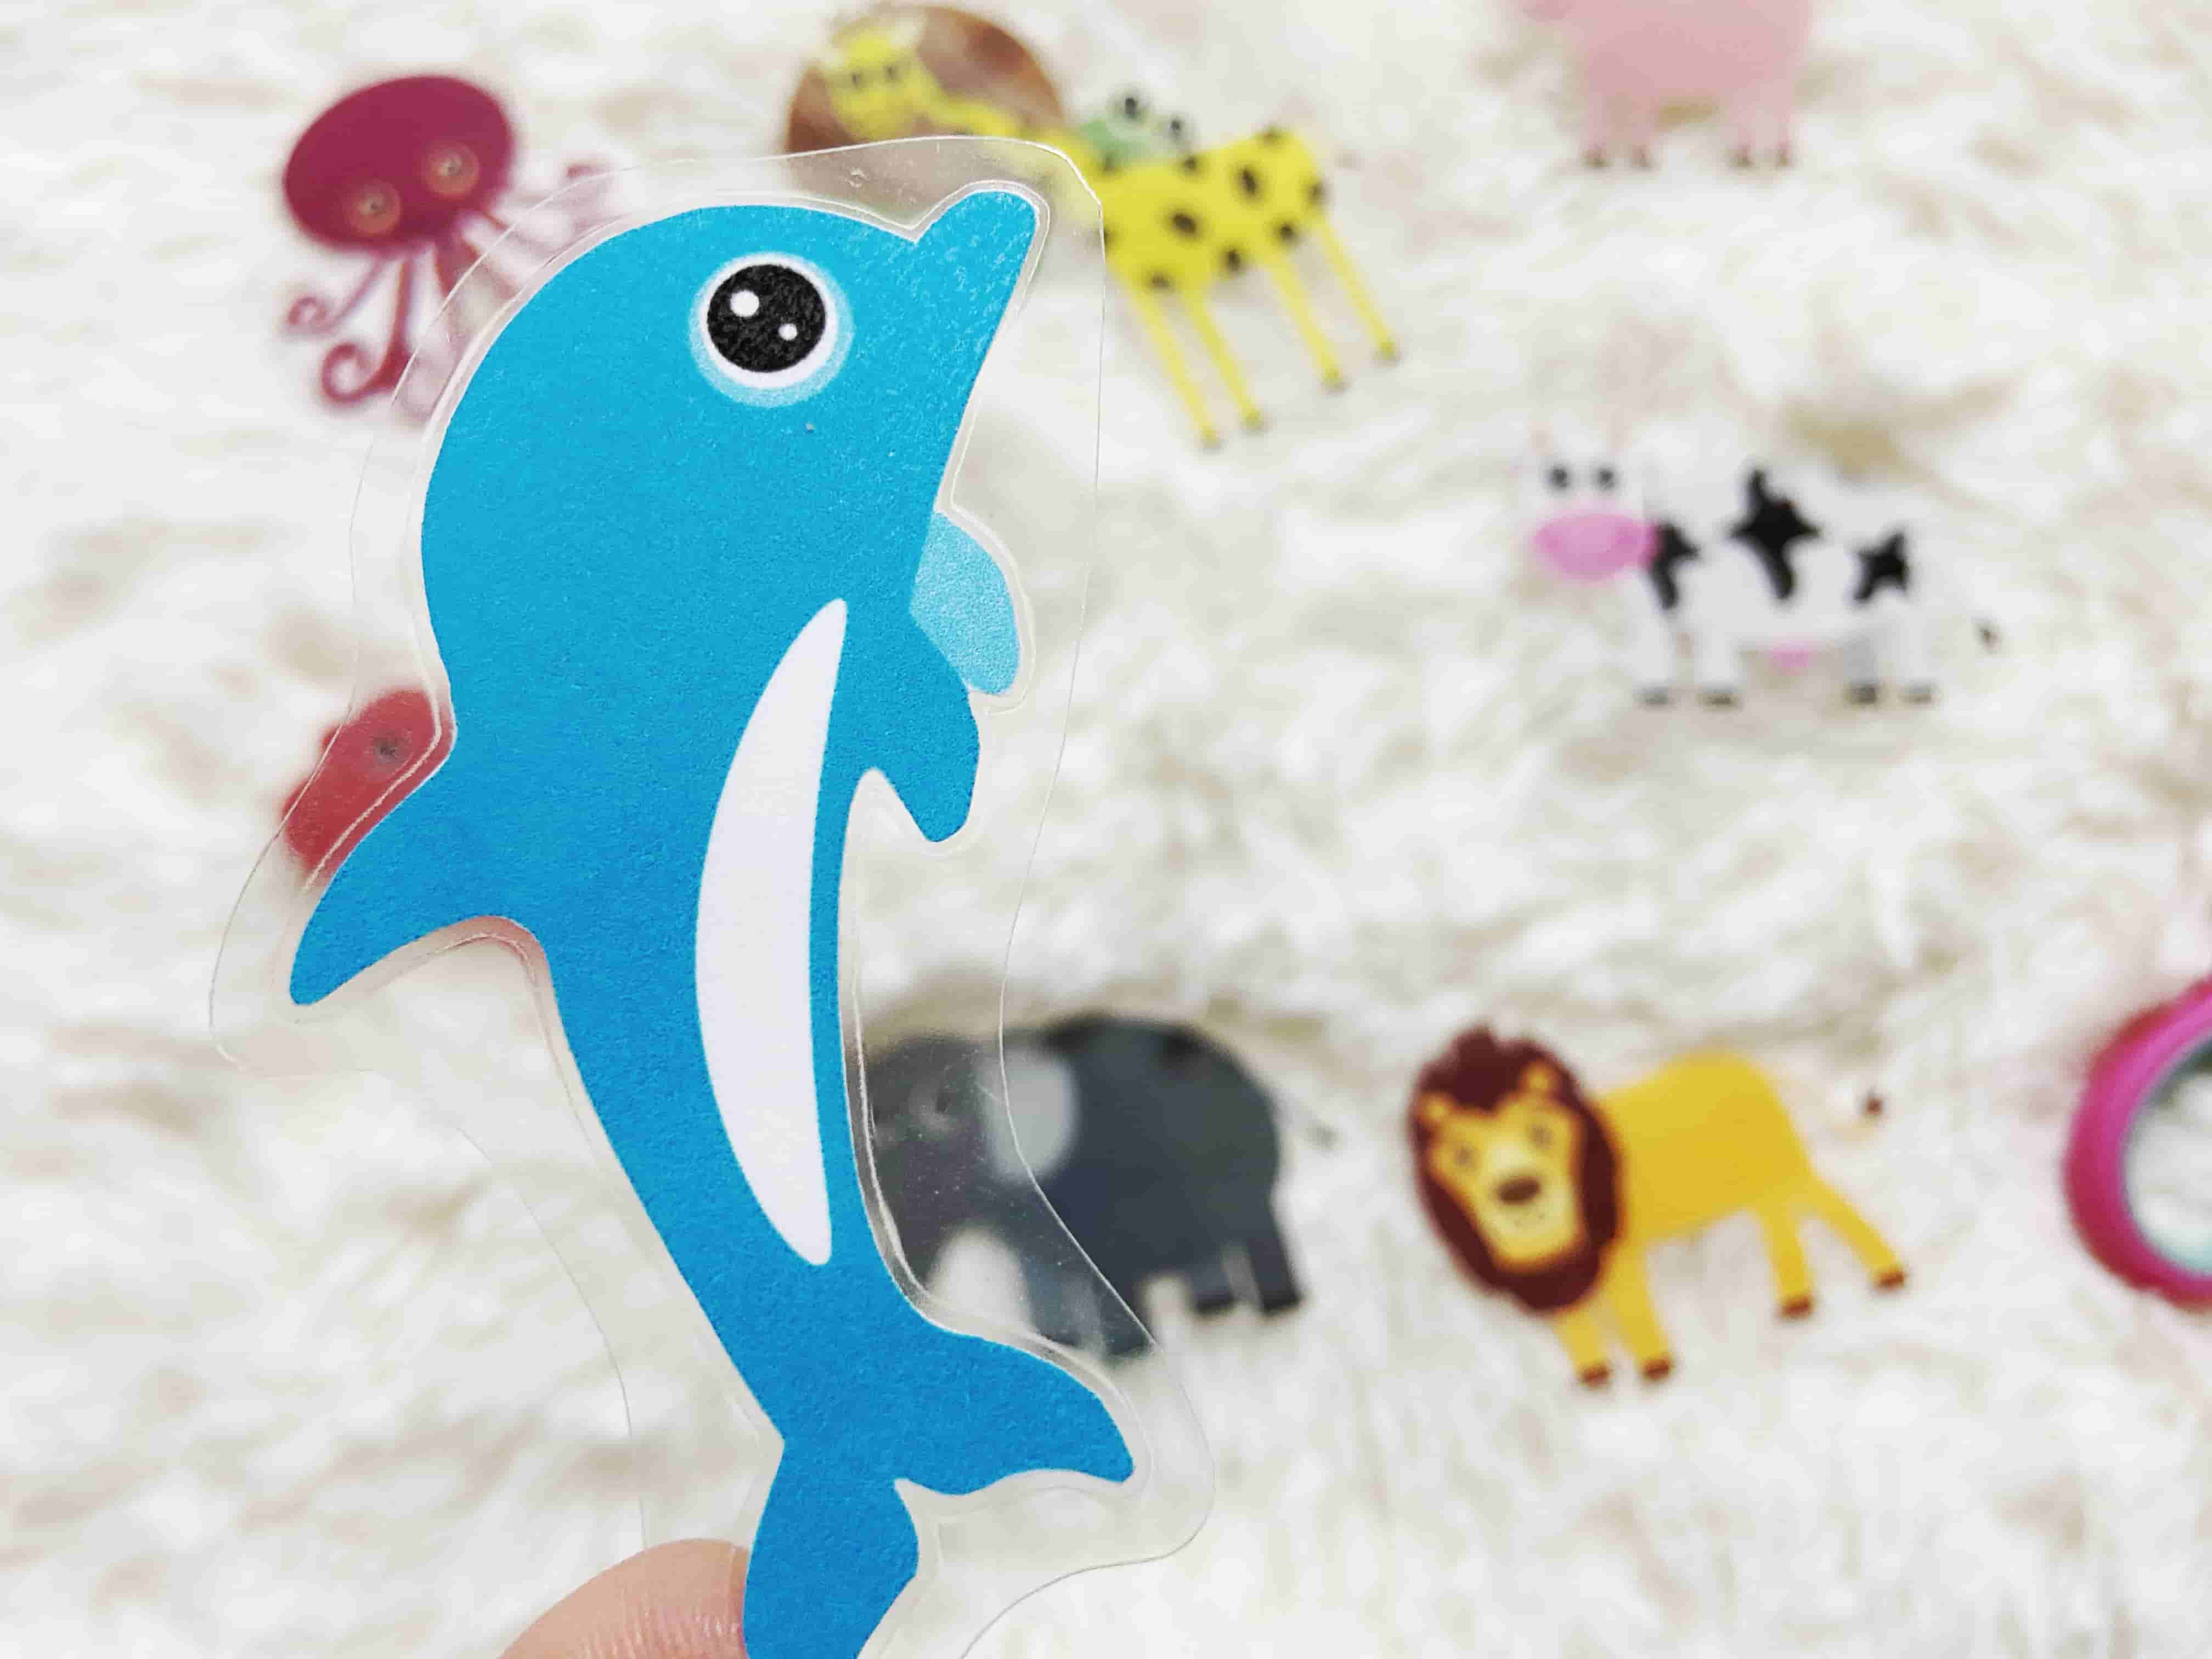
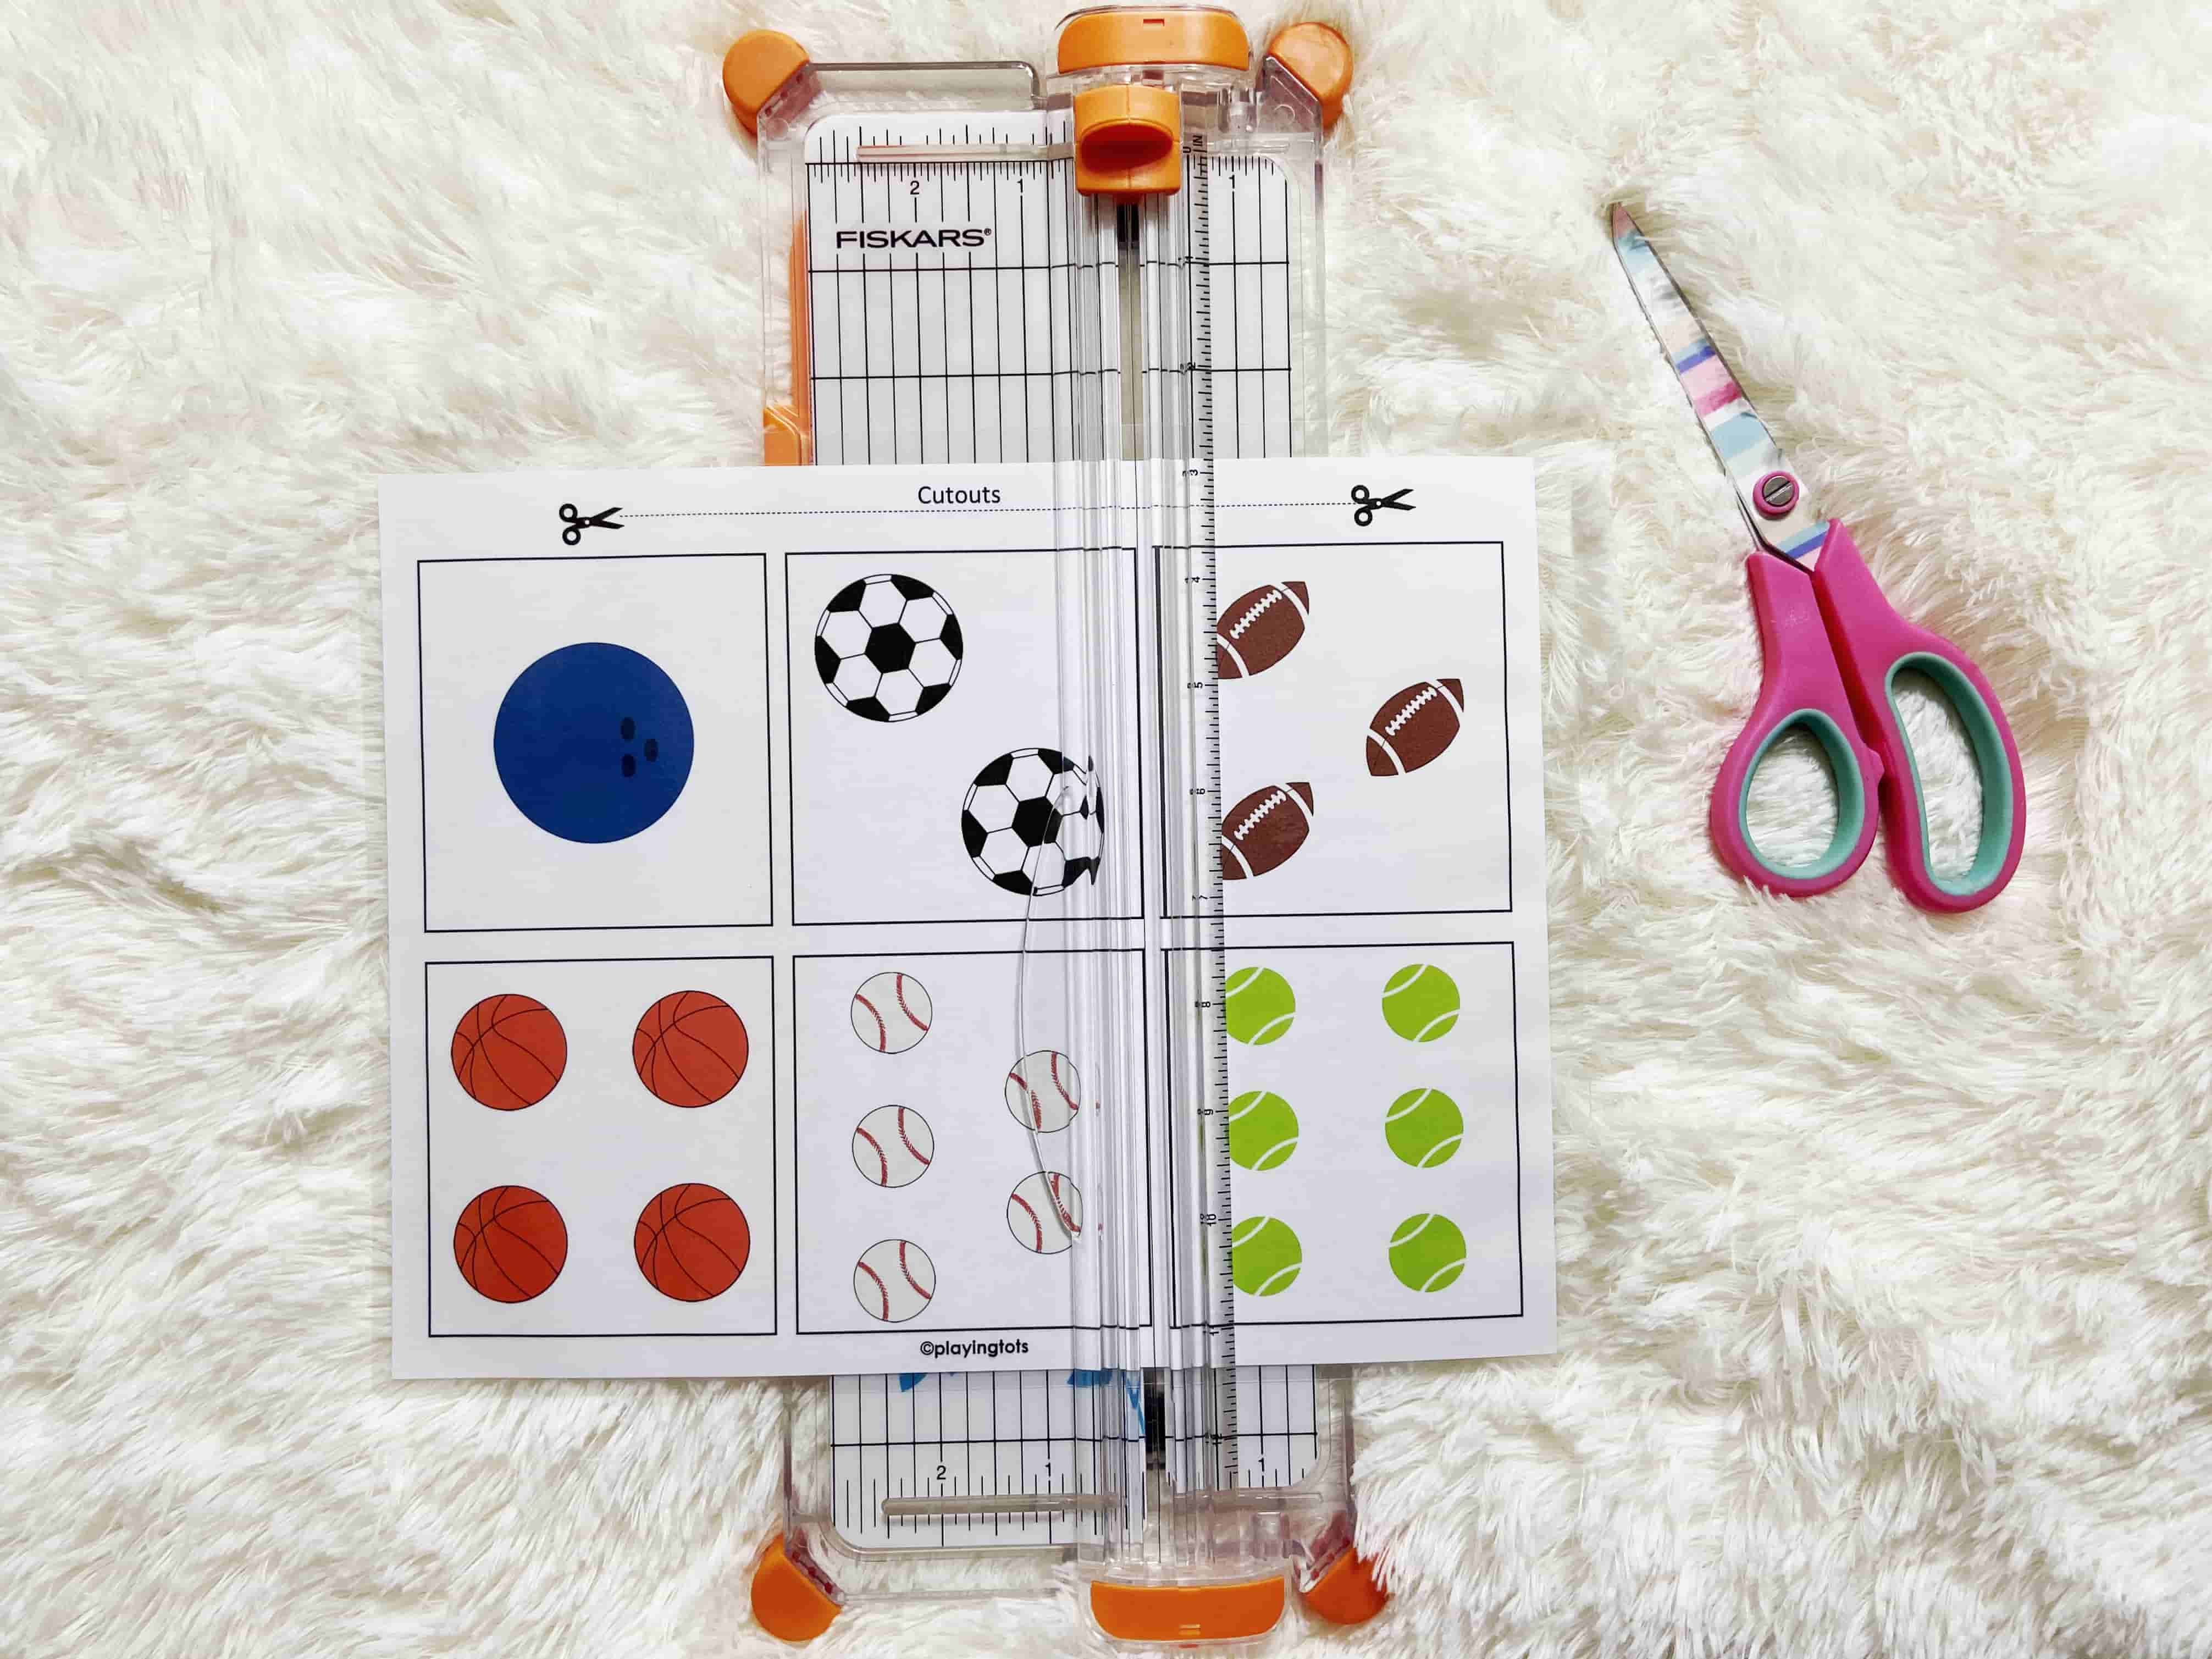
Lamination is mandatory for all the matching pieces (cutouts). You have two options to laminate the cutout pieces.
METHOD 1 - "CUT - LAMINATE - CUT":
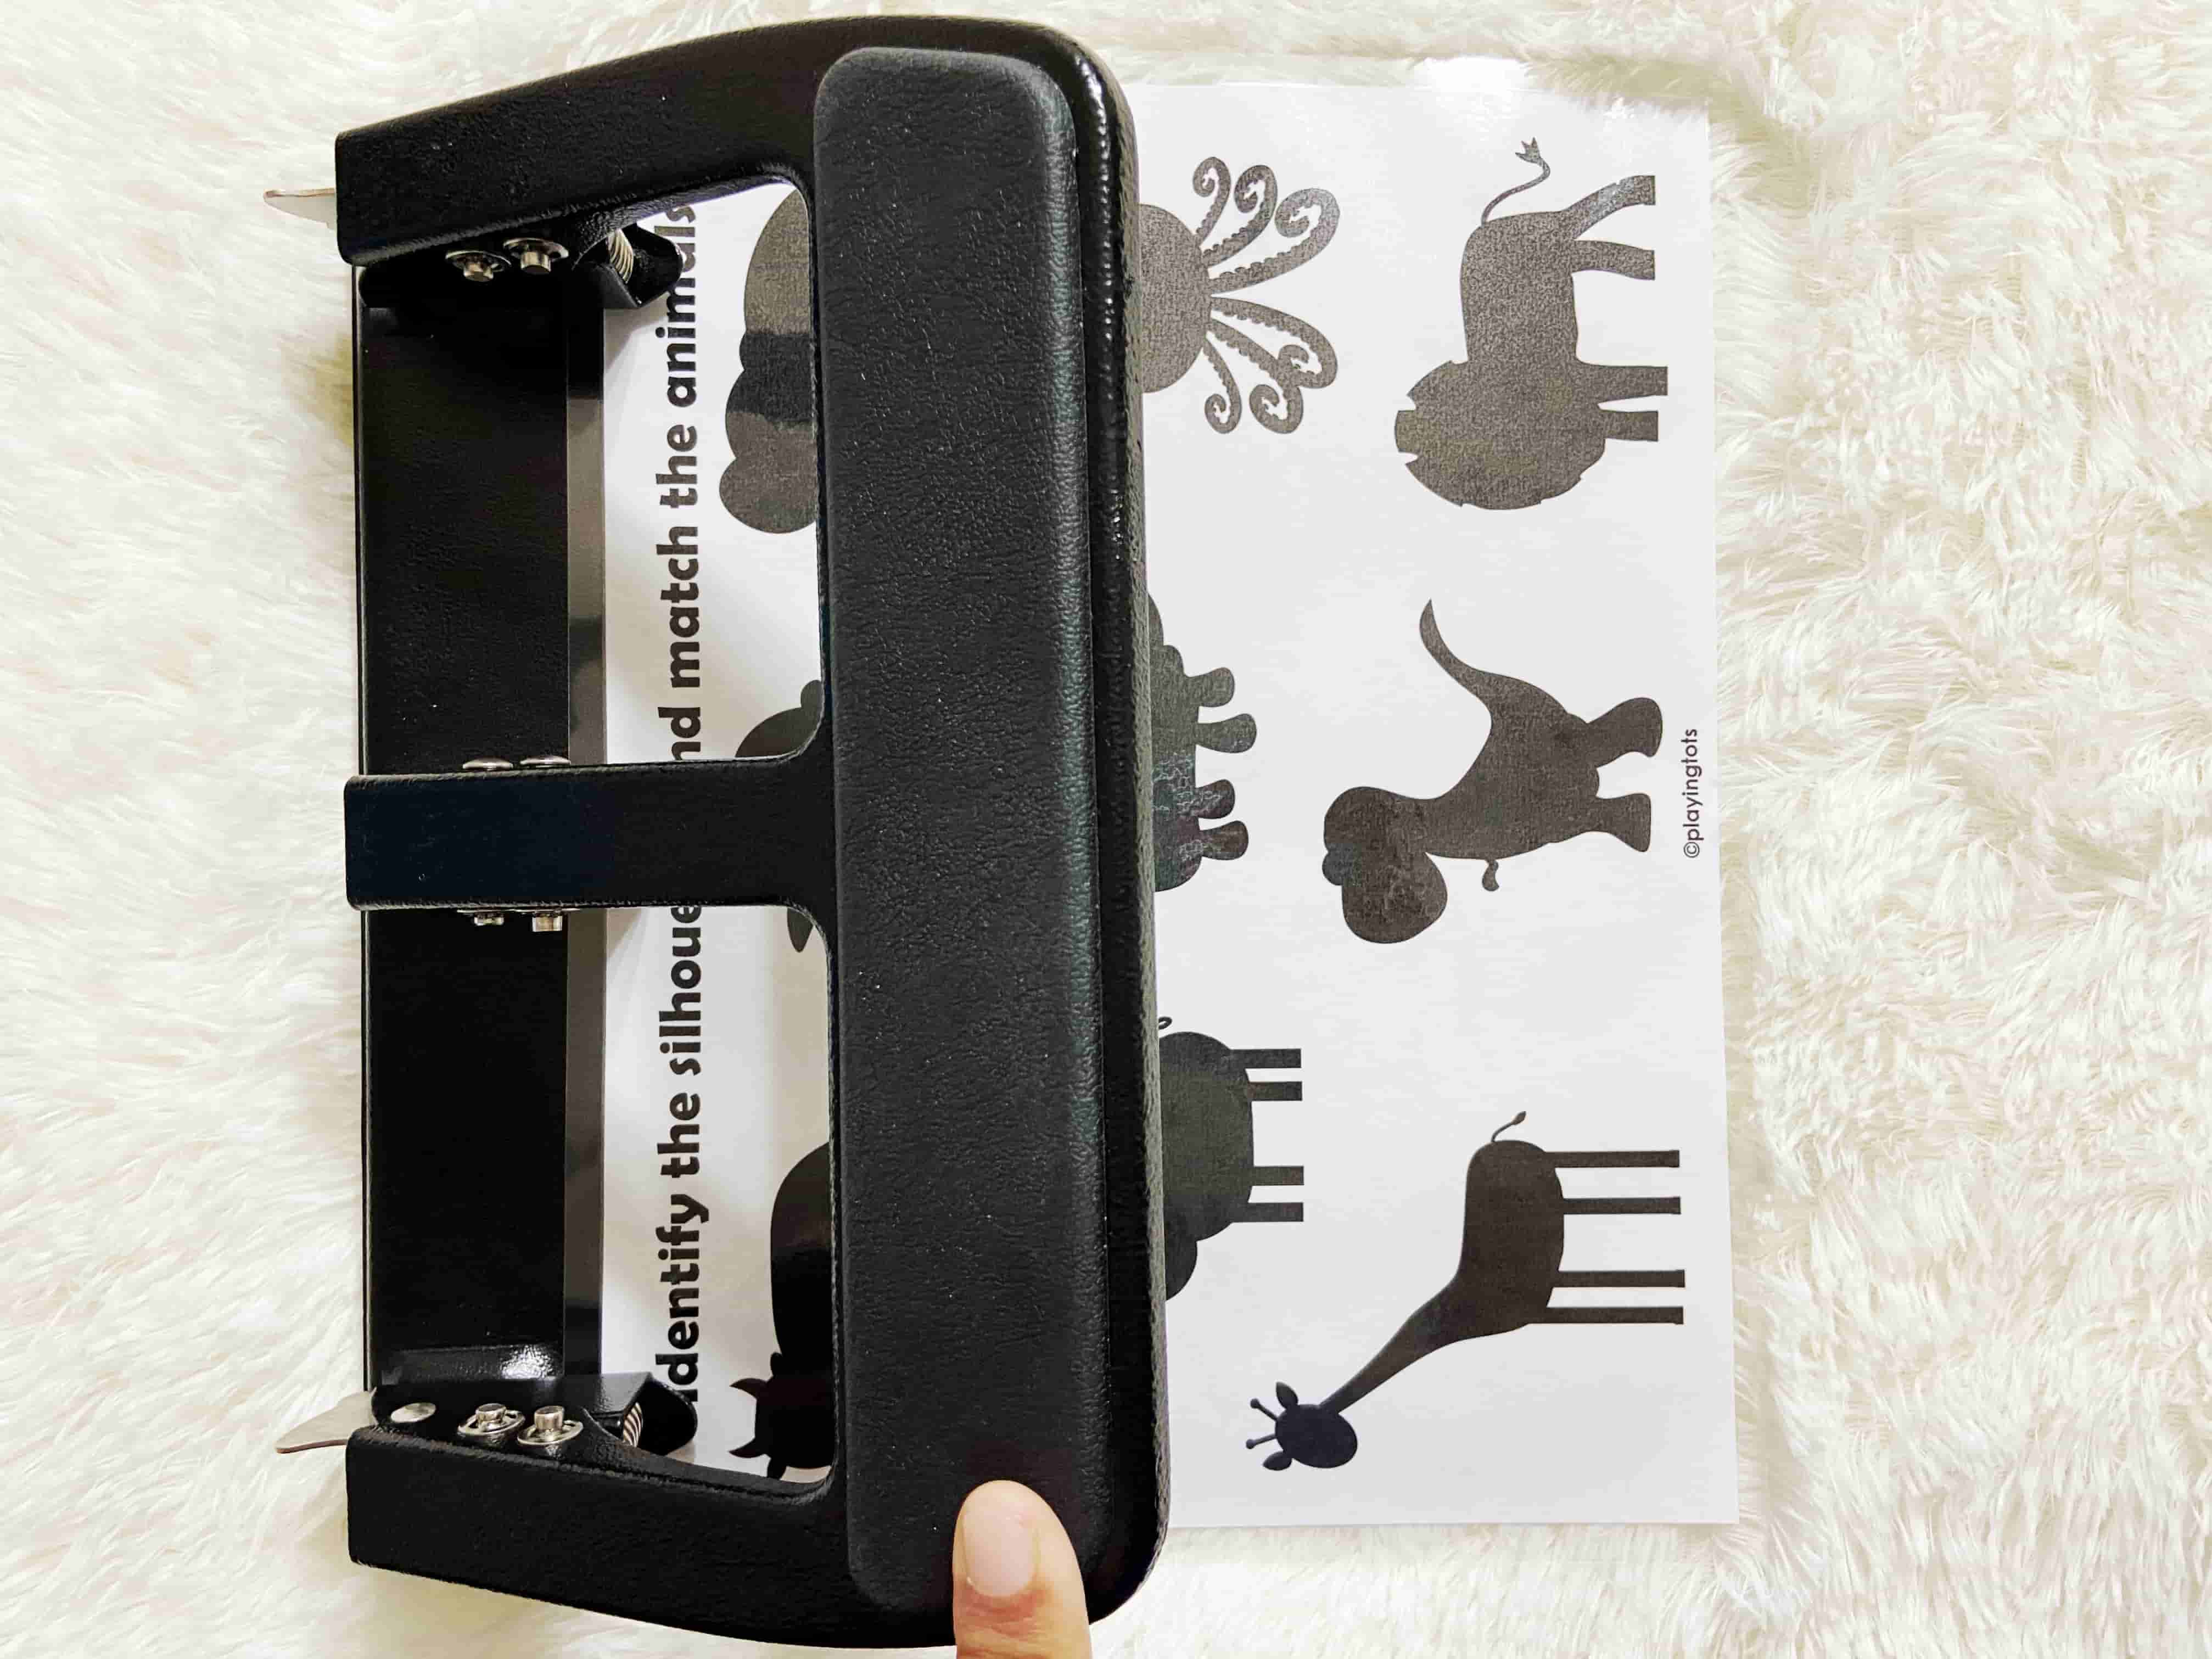
4-1-a) First cut all the pieces from the cutouts pages (marked with scissor).
4-1-b) Arrange the cutouts in the laminating pouches and laminate them. Make sure there is enough space between the cutouts. It may be little trickier initially to keep the cutouts in place when you laminate. You need to hold the pouch throughout the process of lamination so that the cutouts dont move.
4-1-c) Now cut all the pieces from the laminated pages (do not cut very close to the sealing because it may peel-off).
STEP 4-1-a
4-1-b
STEP 4-1-b
STEP 4-1-c
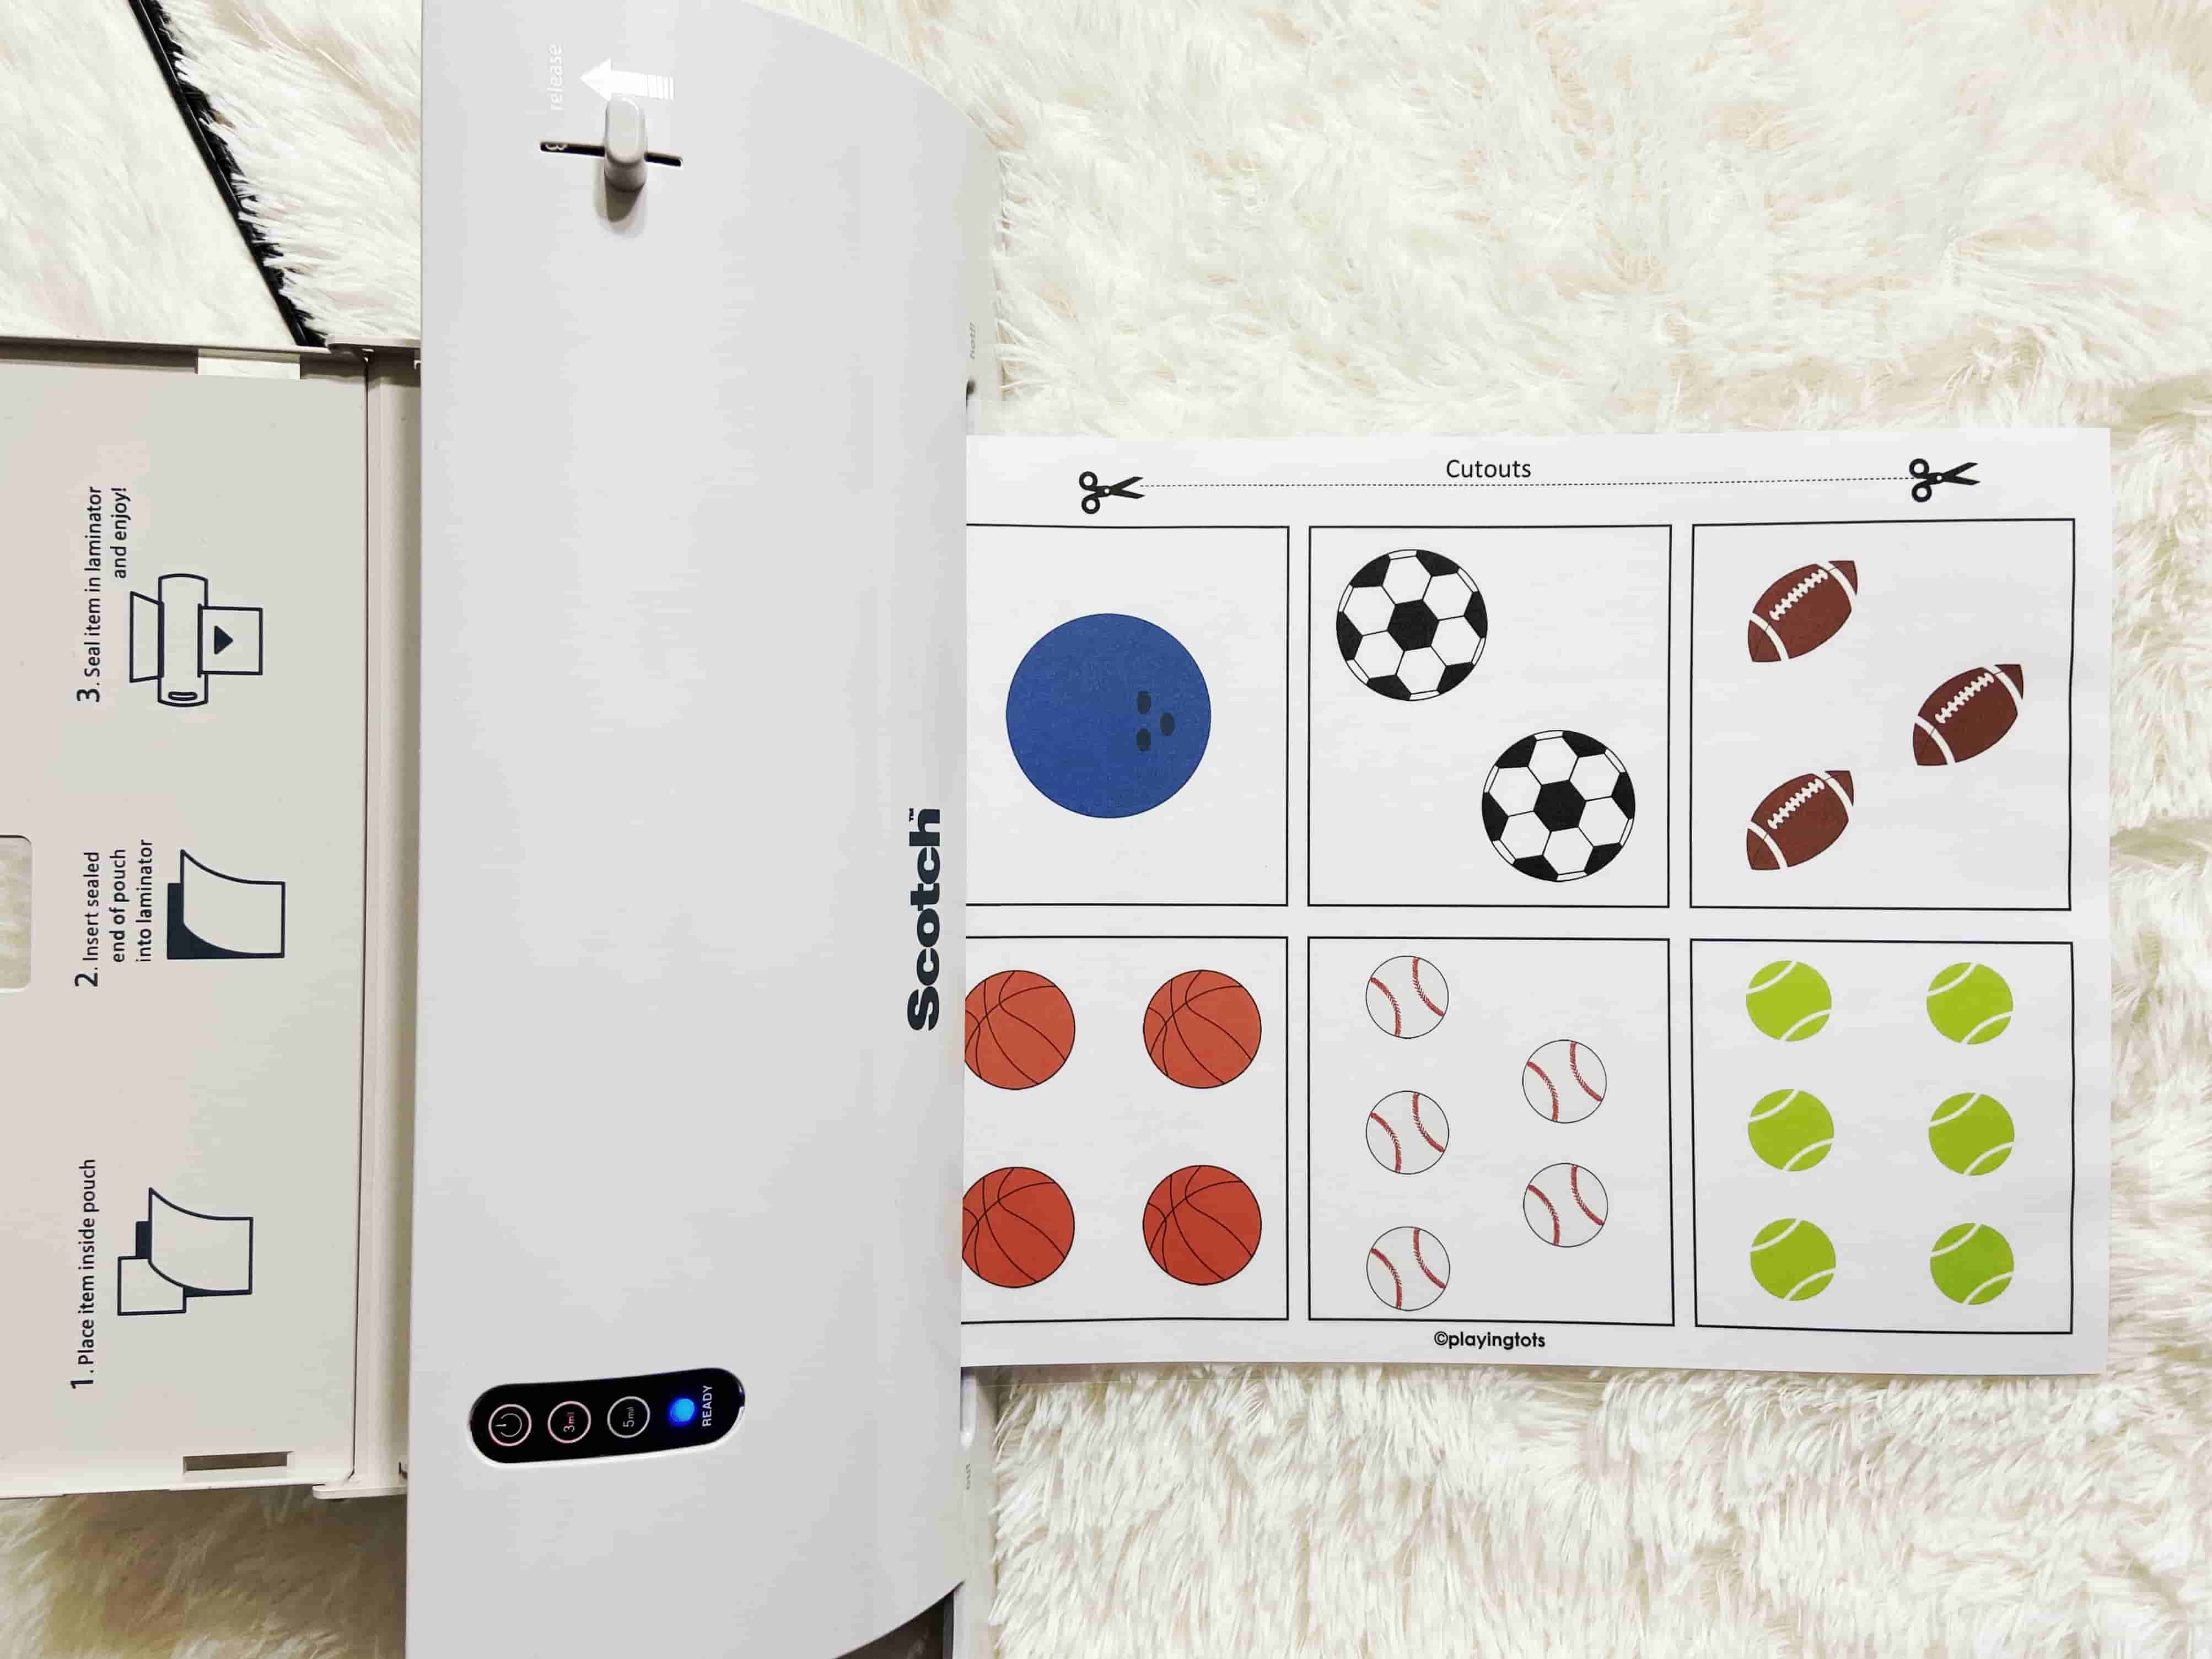
METHOD 2 - "LAMINATE - CUT":
4-2-a) Place the cutouts pages (marked with scissor) in the laminating pouches and laminate all the pages.
4-2-b) Cut the pieces from the laminated pages.
STEP 4-2-a
STEP 4-2-b
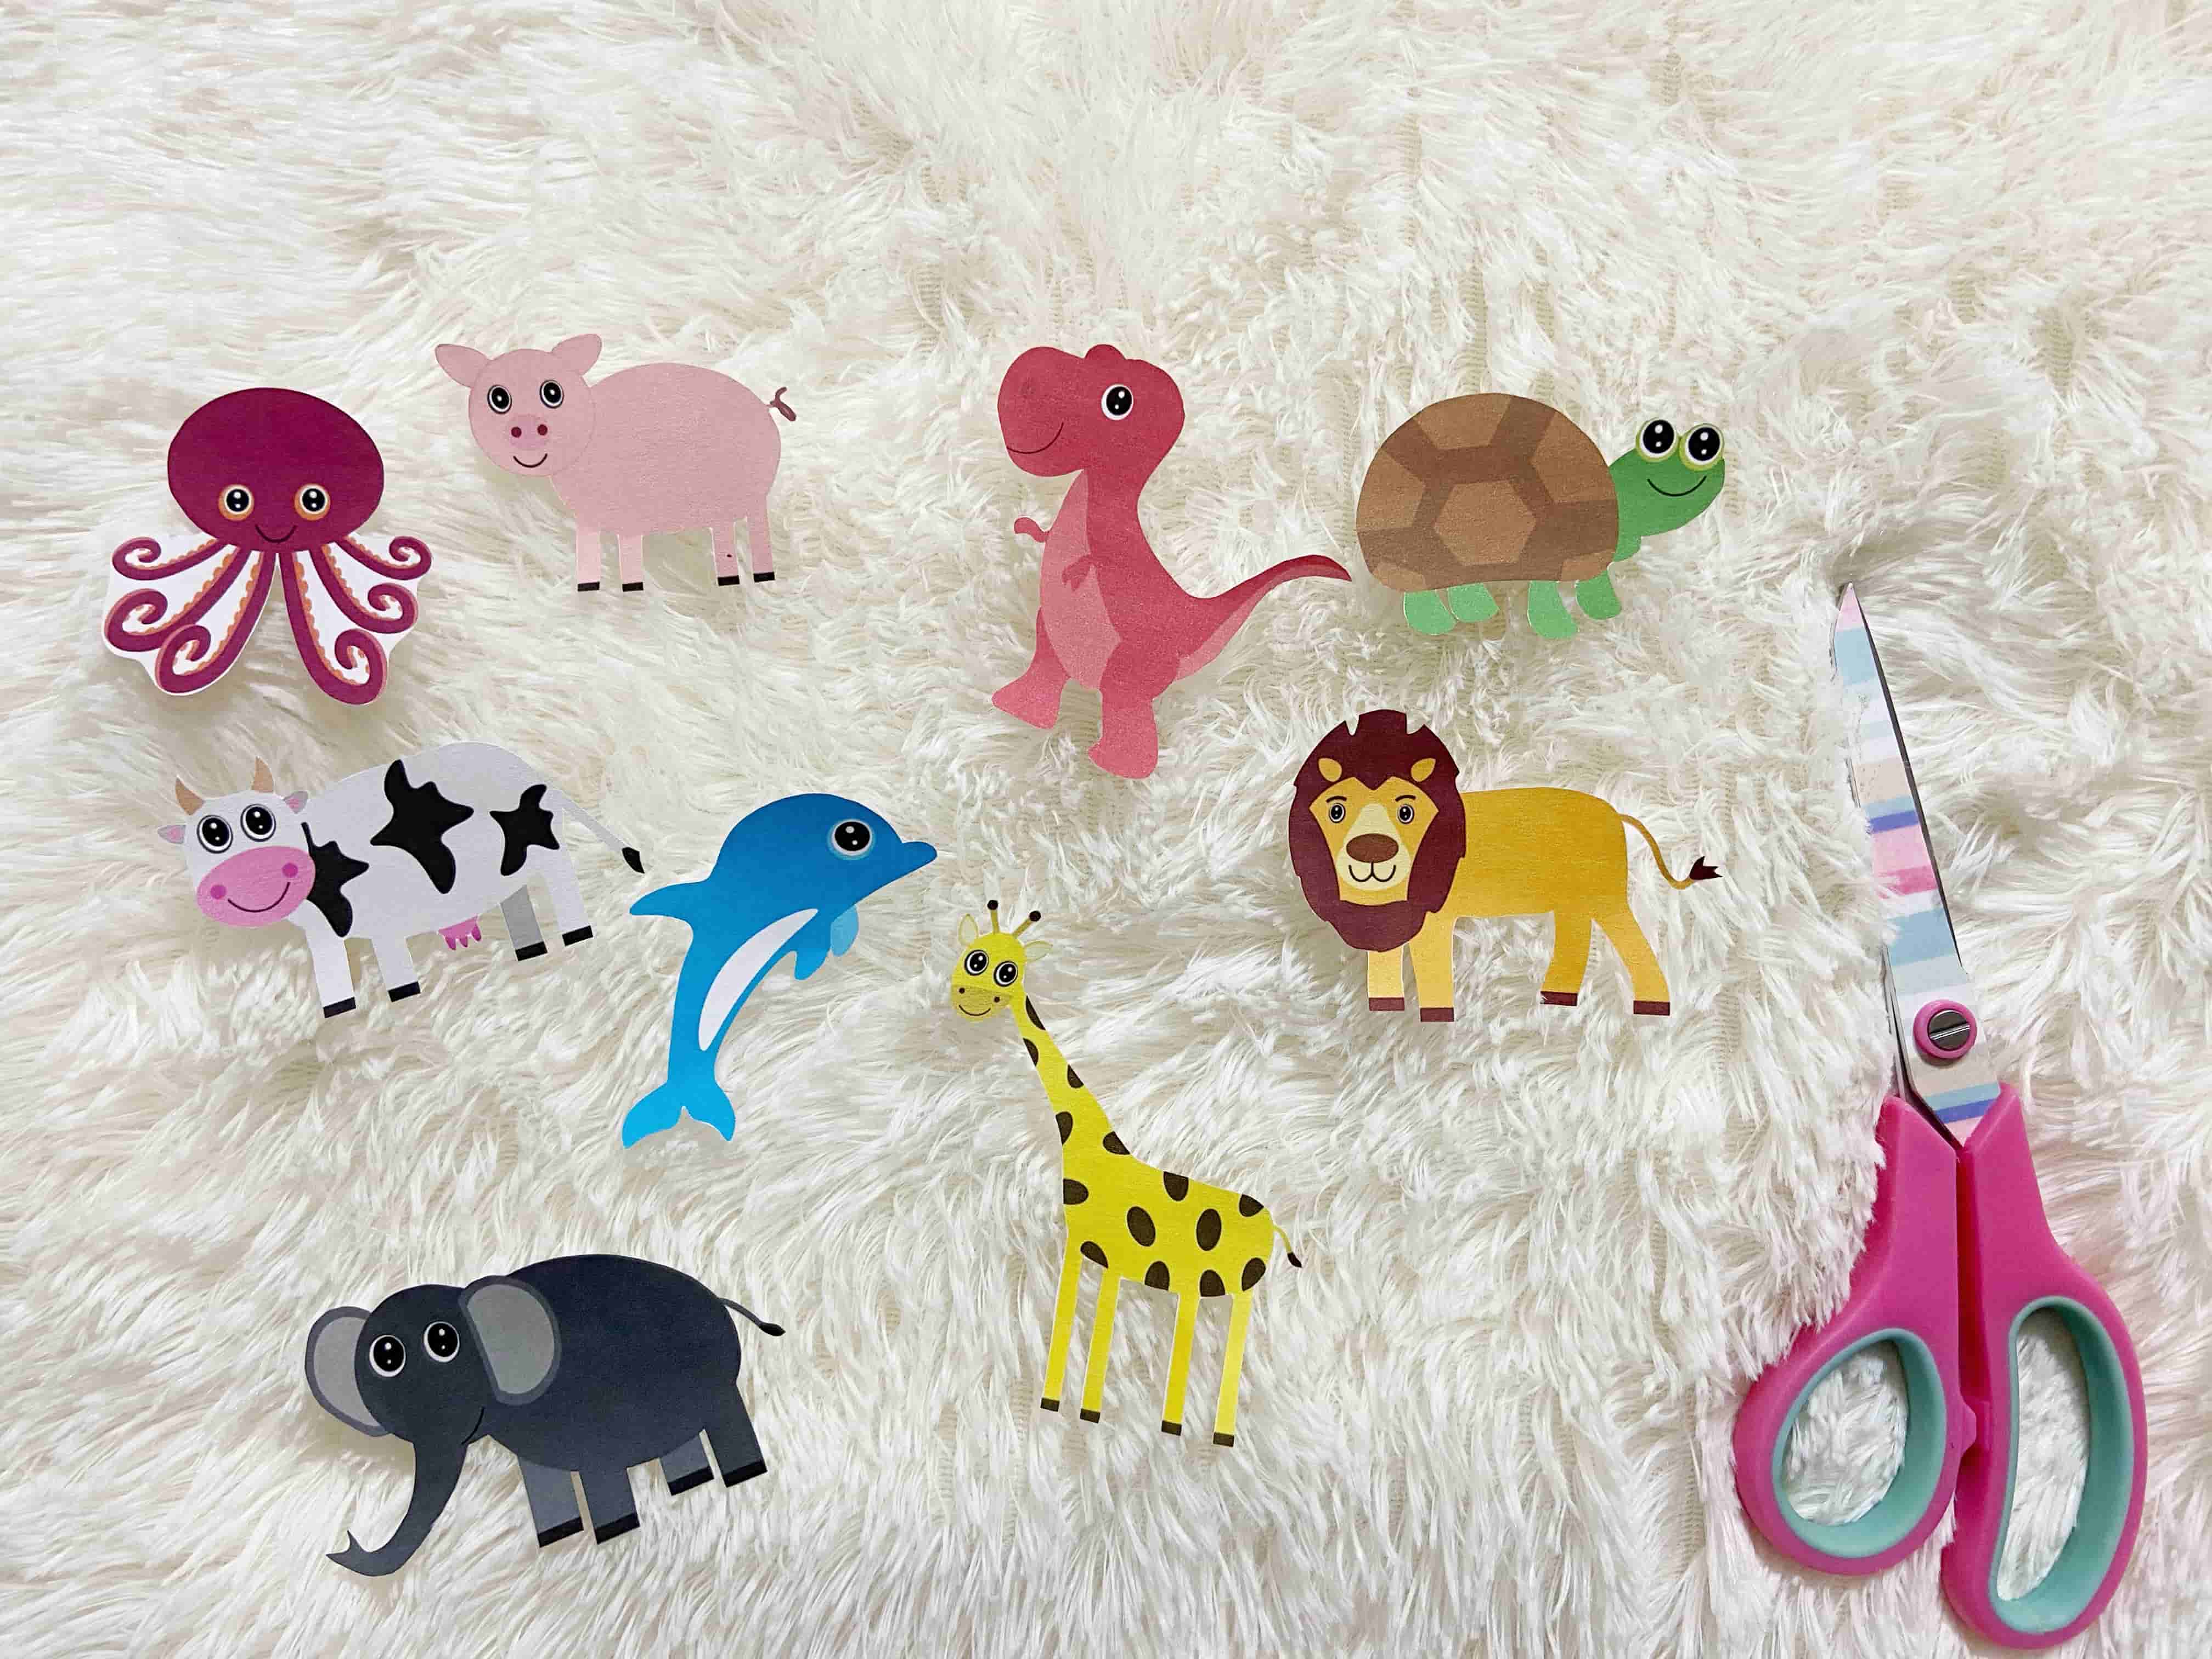
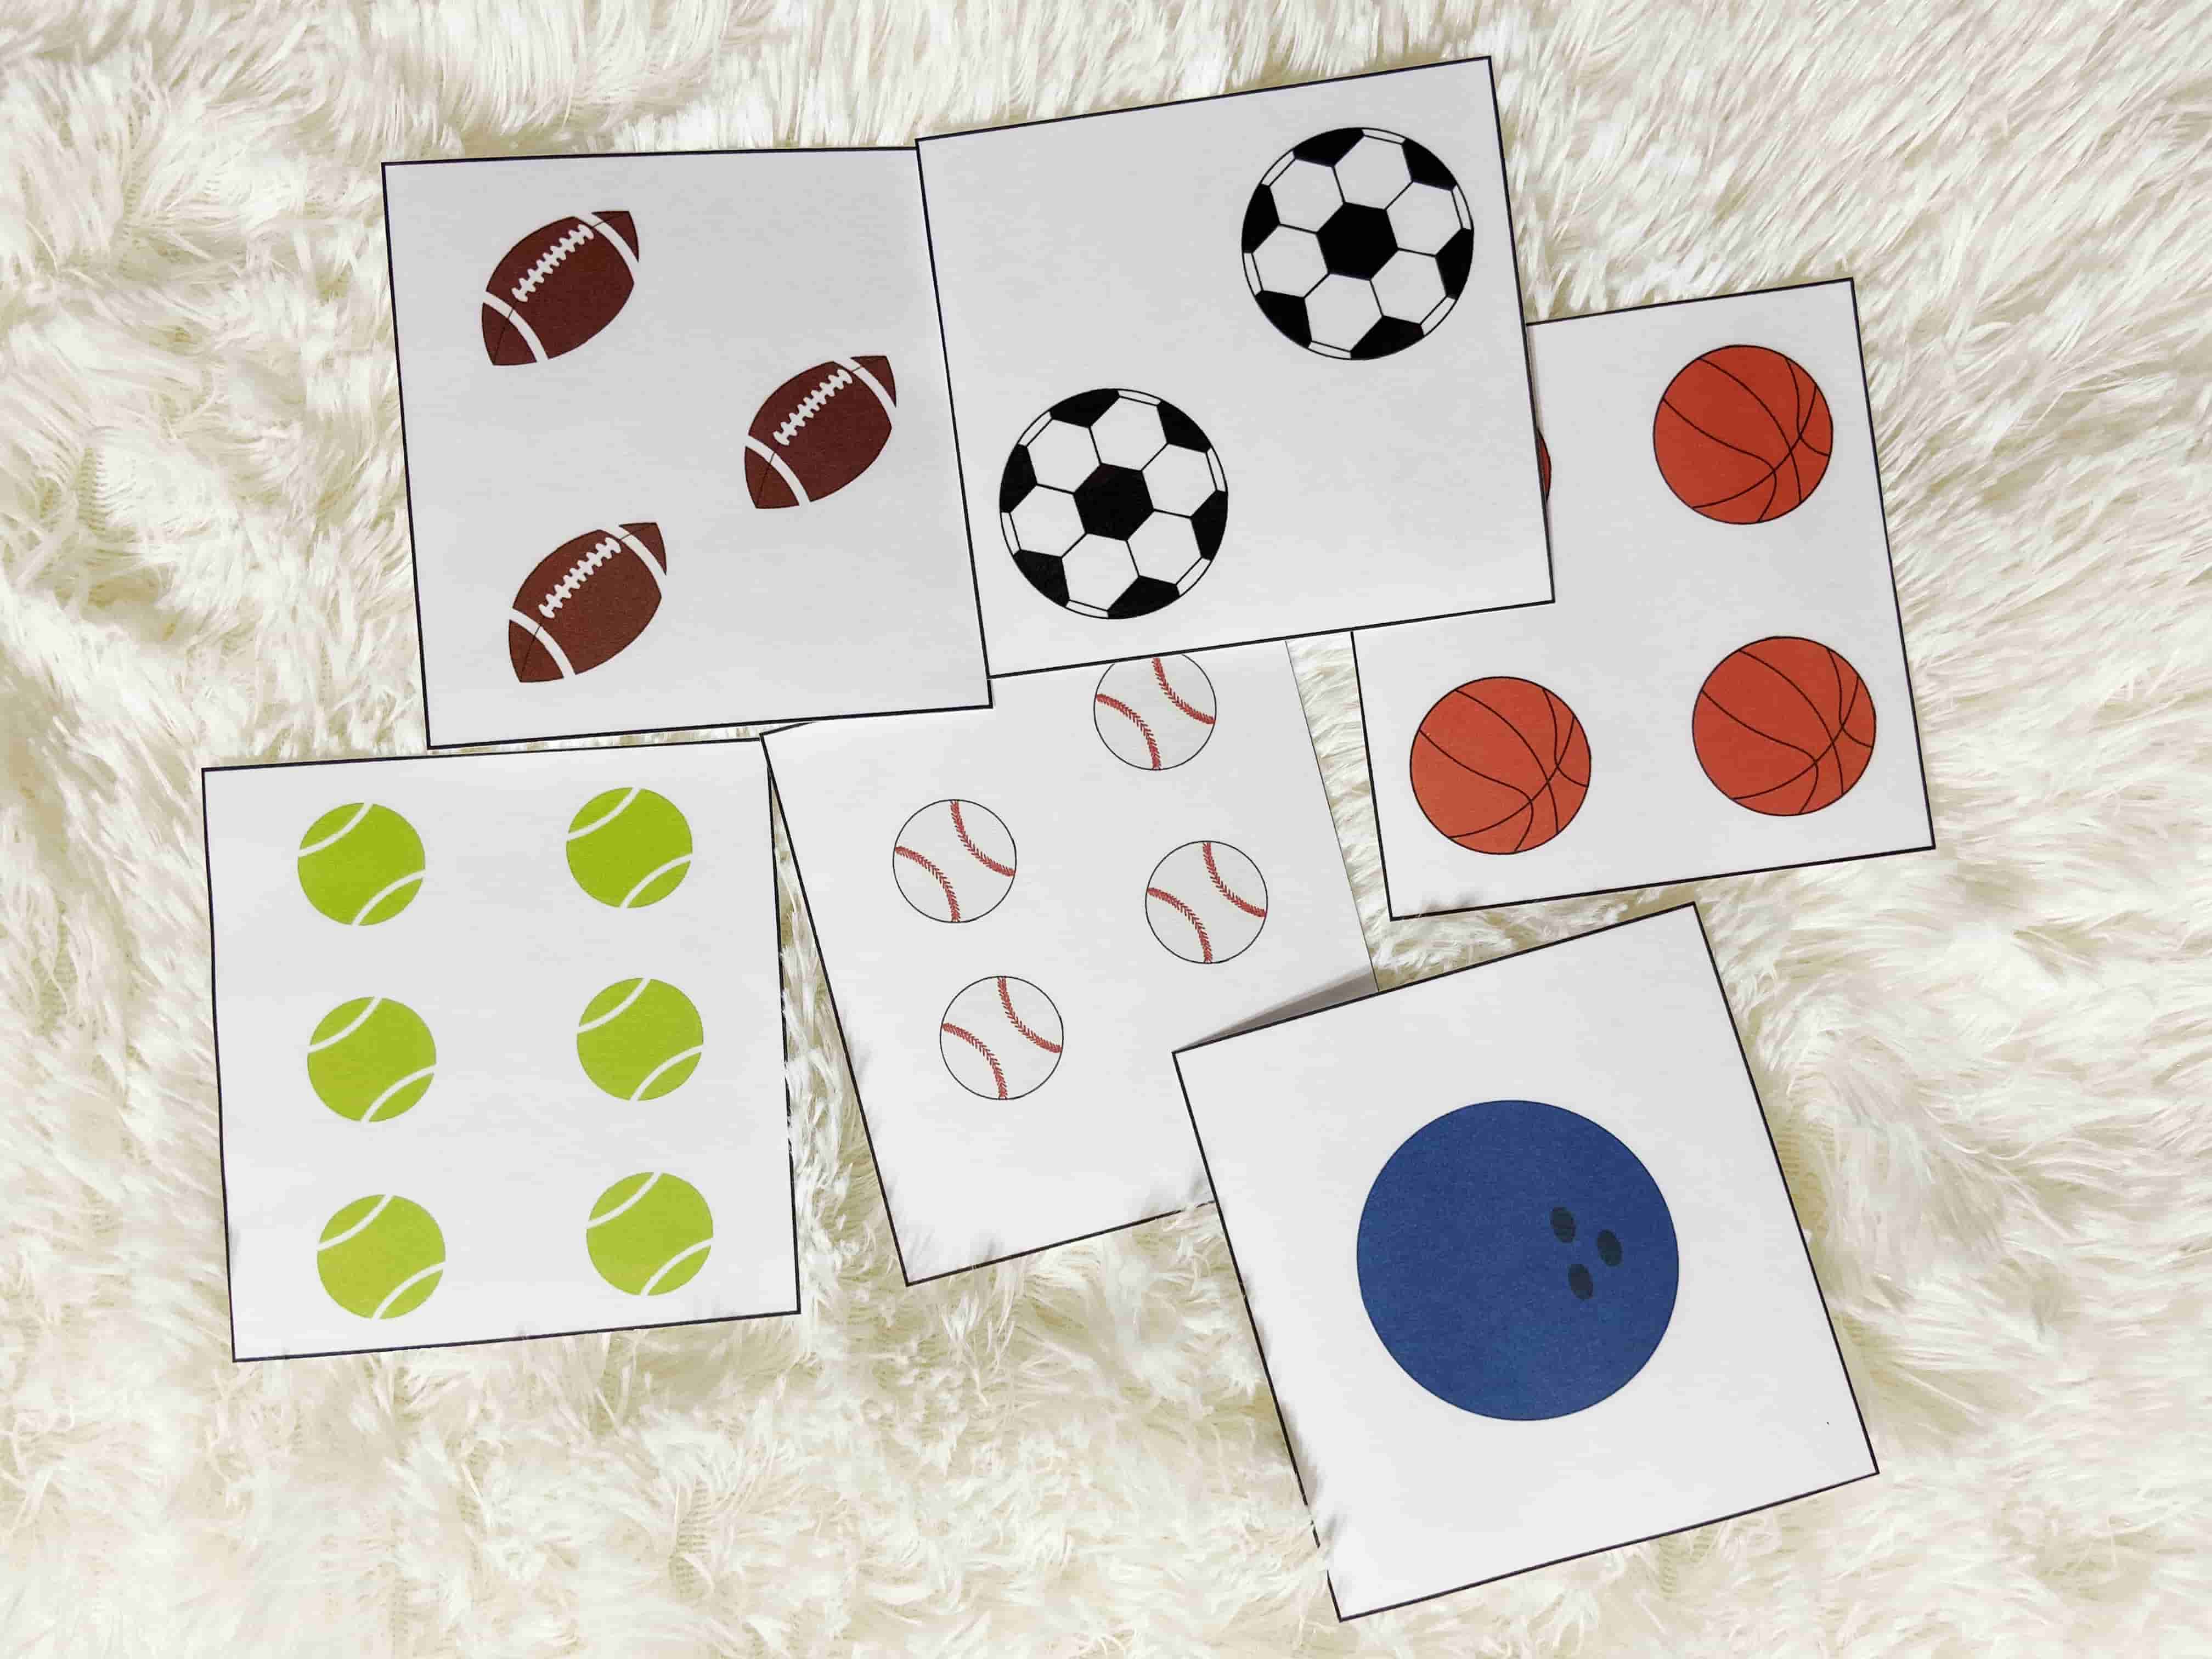
Cutouts
Both of these methods works fine. "METHOD 1" takes more time but more durable and very well sealed. "METHOD 2" takes less time but the edges may peel off over time. You can follow either of these options that works for you.
NOTE 1: Wherever possible, I have designed the cutout pieces inside the box so it will be easier for you to cut using paper trimmer. But you will have to cut some of the pieces using scissor only.
NOTE 2: If you do not have a laminator, you can use Self Sealing Laminating pouches or you can laminate at your local shop. It might be expensive to laminate at the shops. If you are interested in buying one, lots of Laminators are available at a very affordable price.
NOTE 3: If you are using Sheet Protectors for the activity pages and if you do not want to buy a laminator, you can use clear contact paper to protect the cutouts.
STEP 5
Supplies/ Tools required: Corner Punch or Scissor
Click the below button to check out my product recommendations:
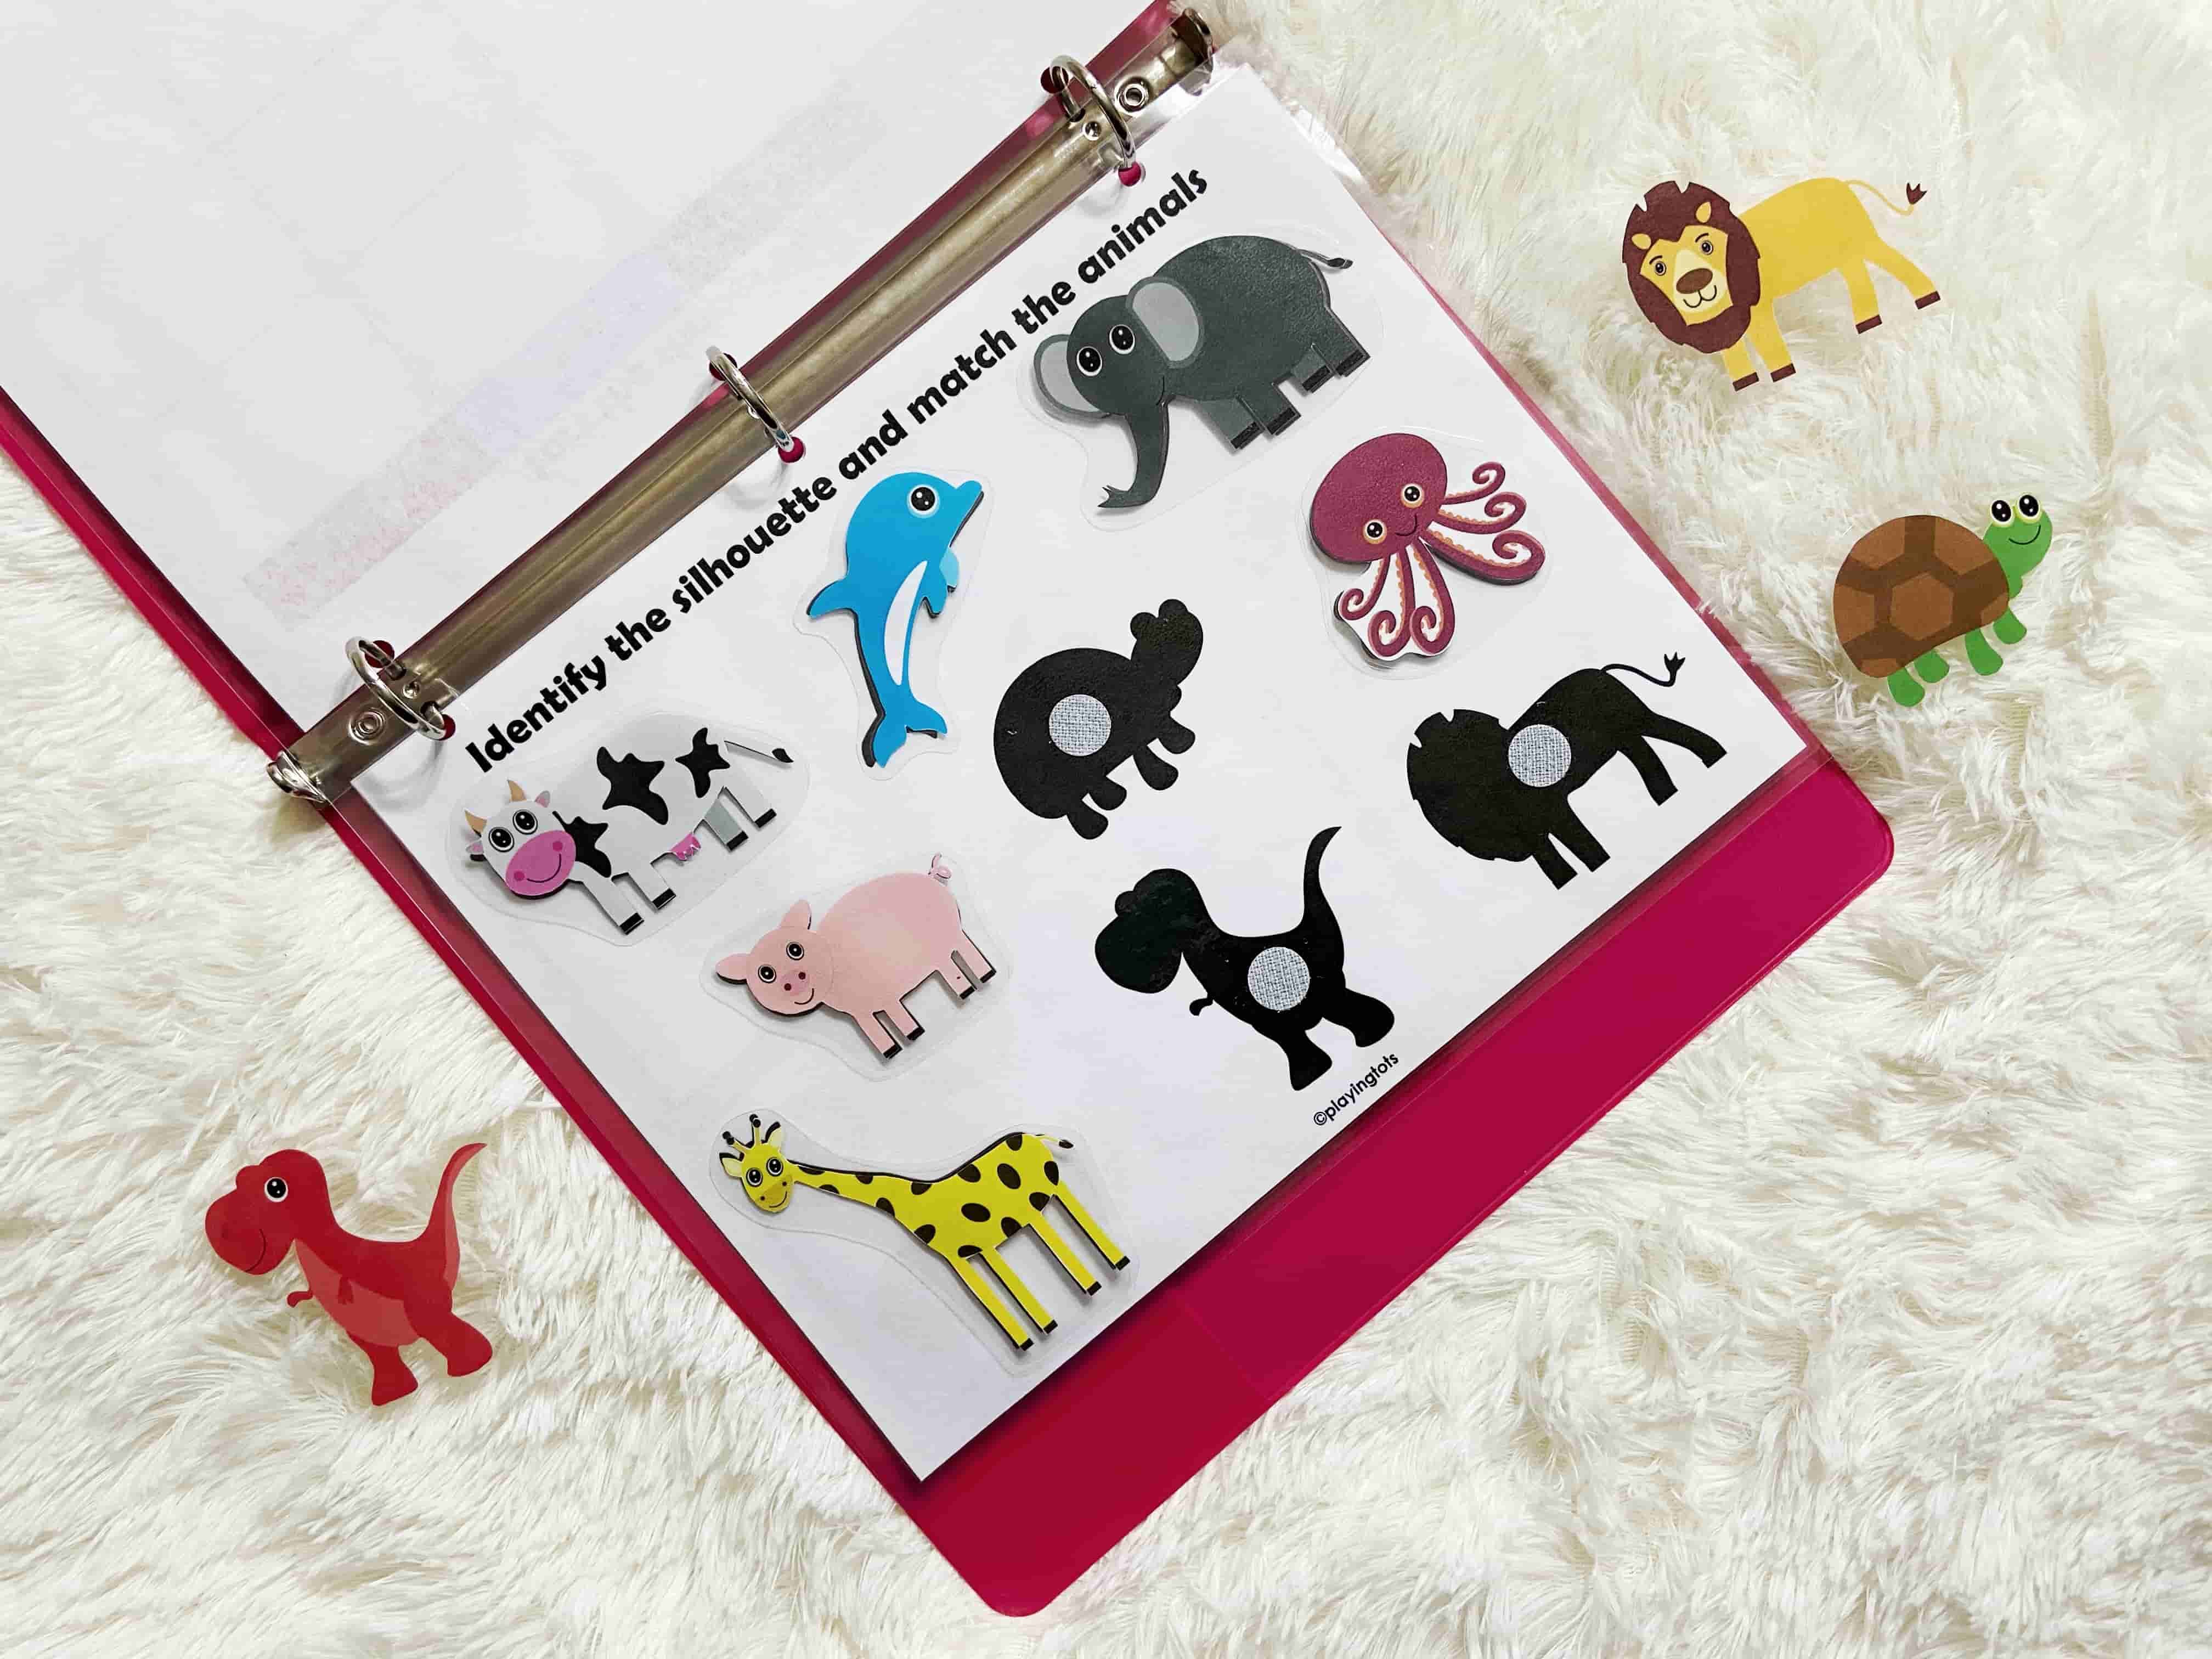
Cutouts Most of the laminated cutouts will have sharp edges. I highly recommend to trim the corners for all the sharp edged cutout pieces so that the kids does not get hurt.
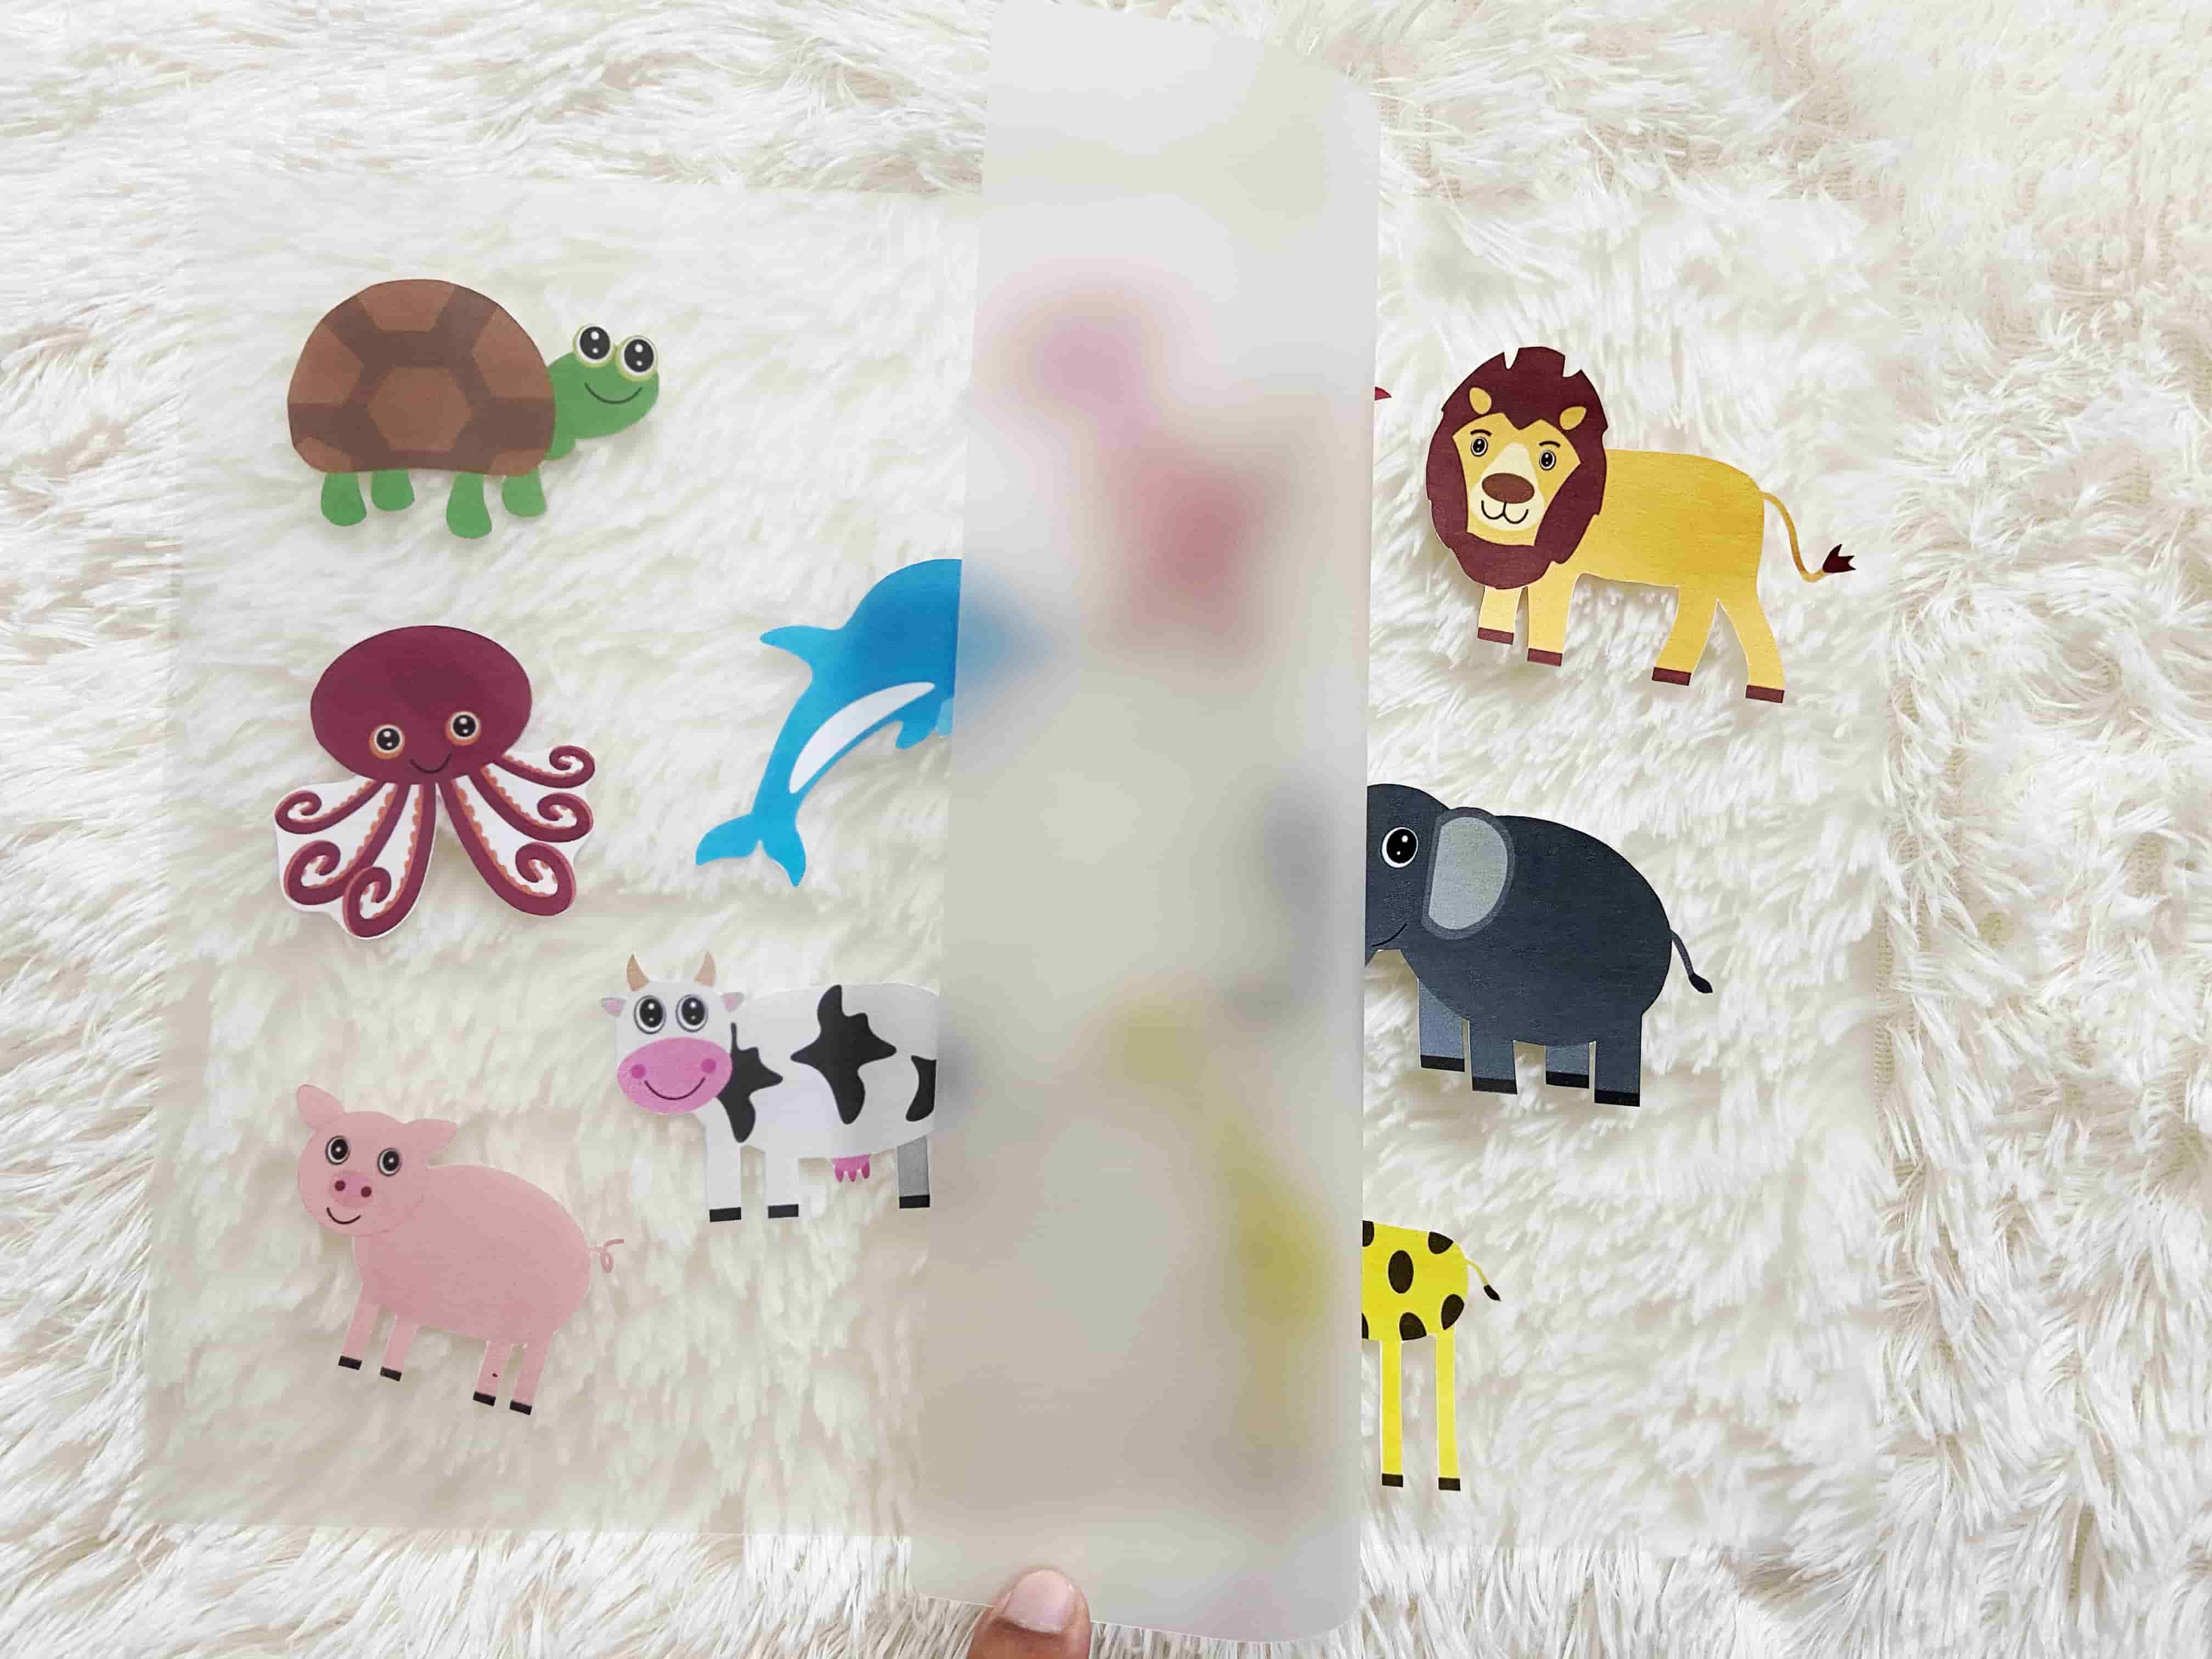
Attach the Hook and Loop dots to all the required activity pages and the cutout pieces.
There is no rule on where to stick the Hook and Loop dots. You can stick either the Hook (rough side) dots on the activity pages and Loop (soft side) dots on the cutout pieces or vice-versa. But make sure to follow the same side throughout the page.
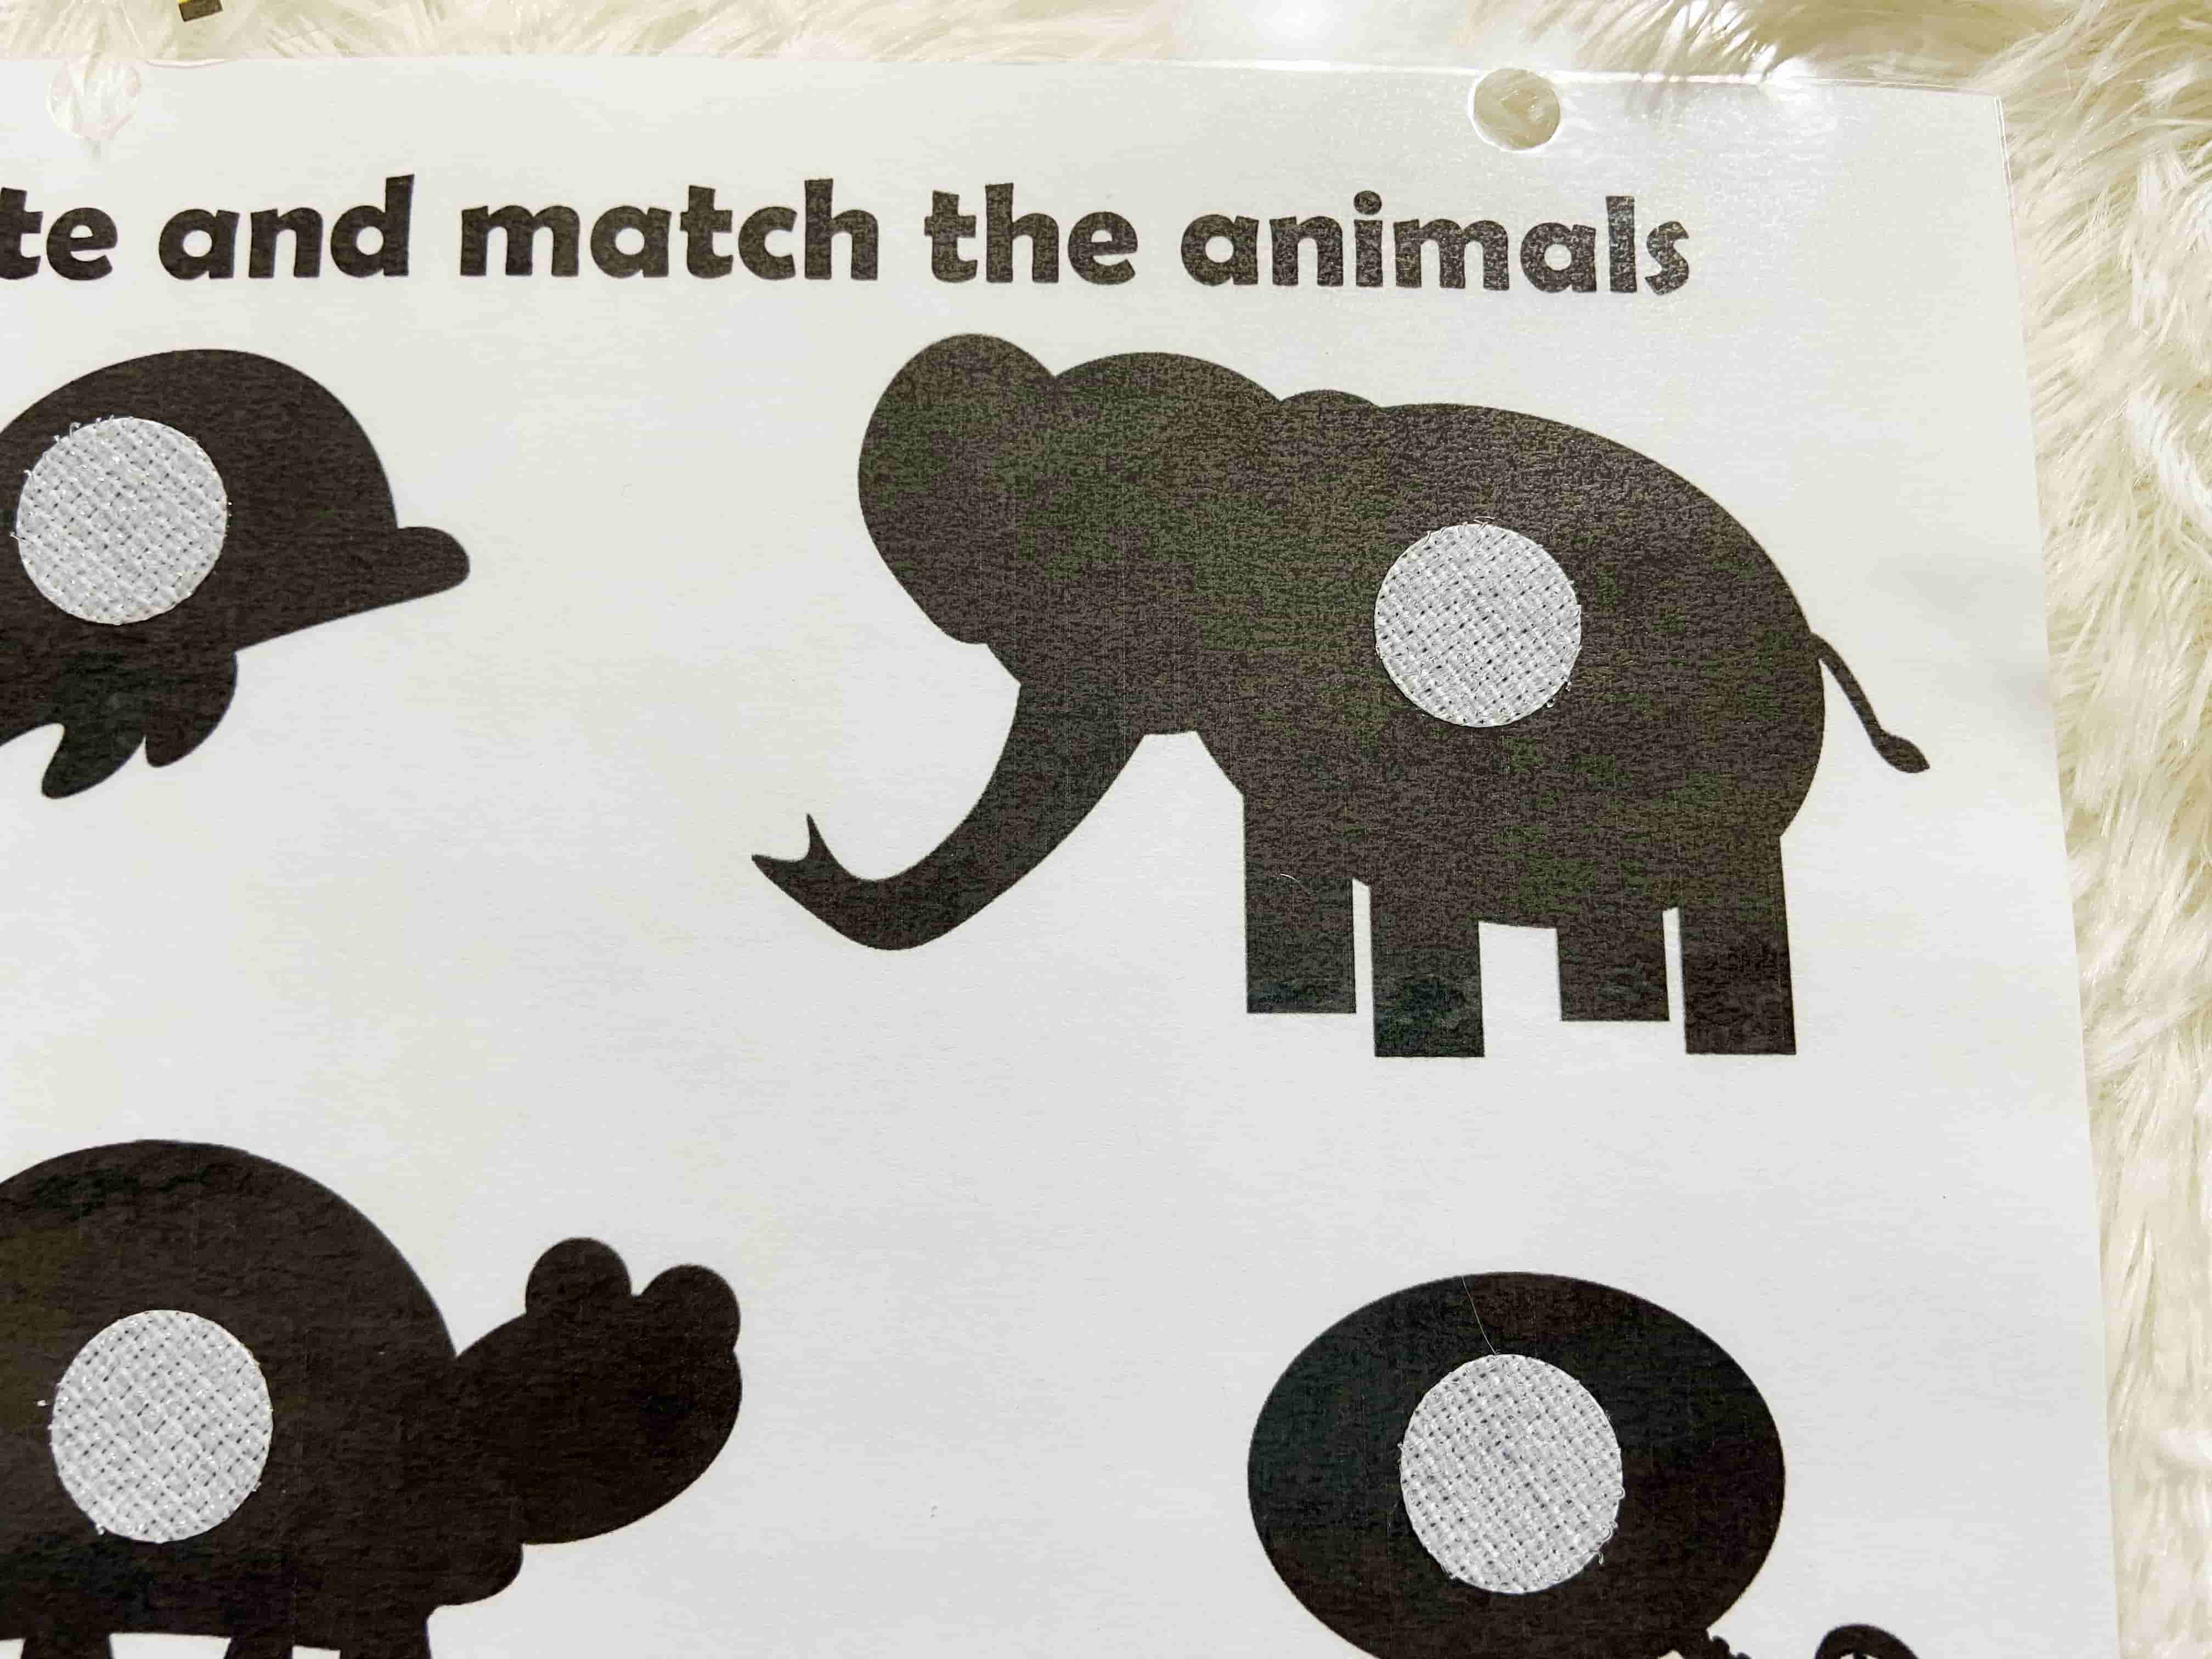
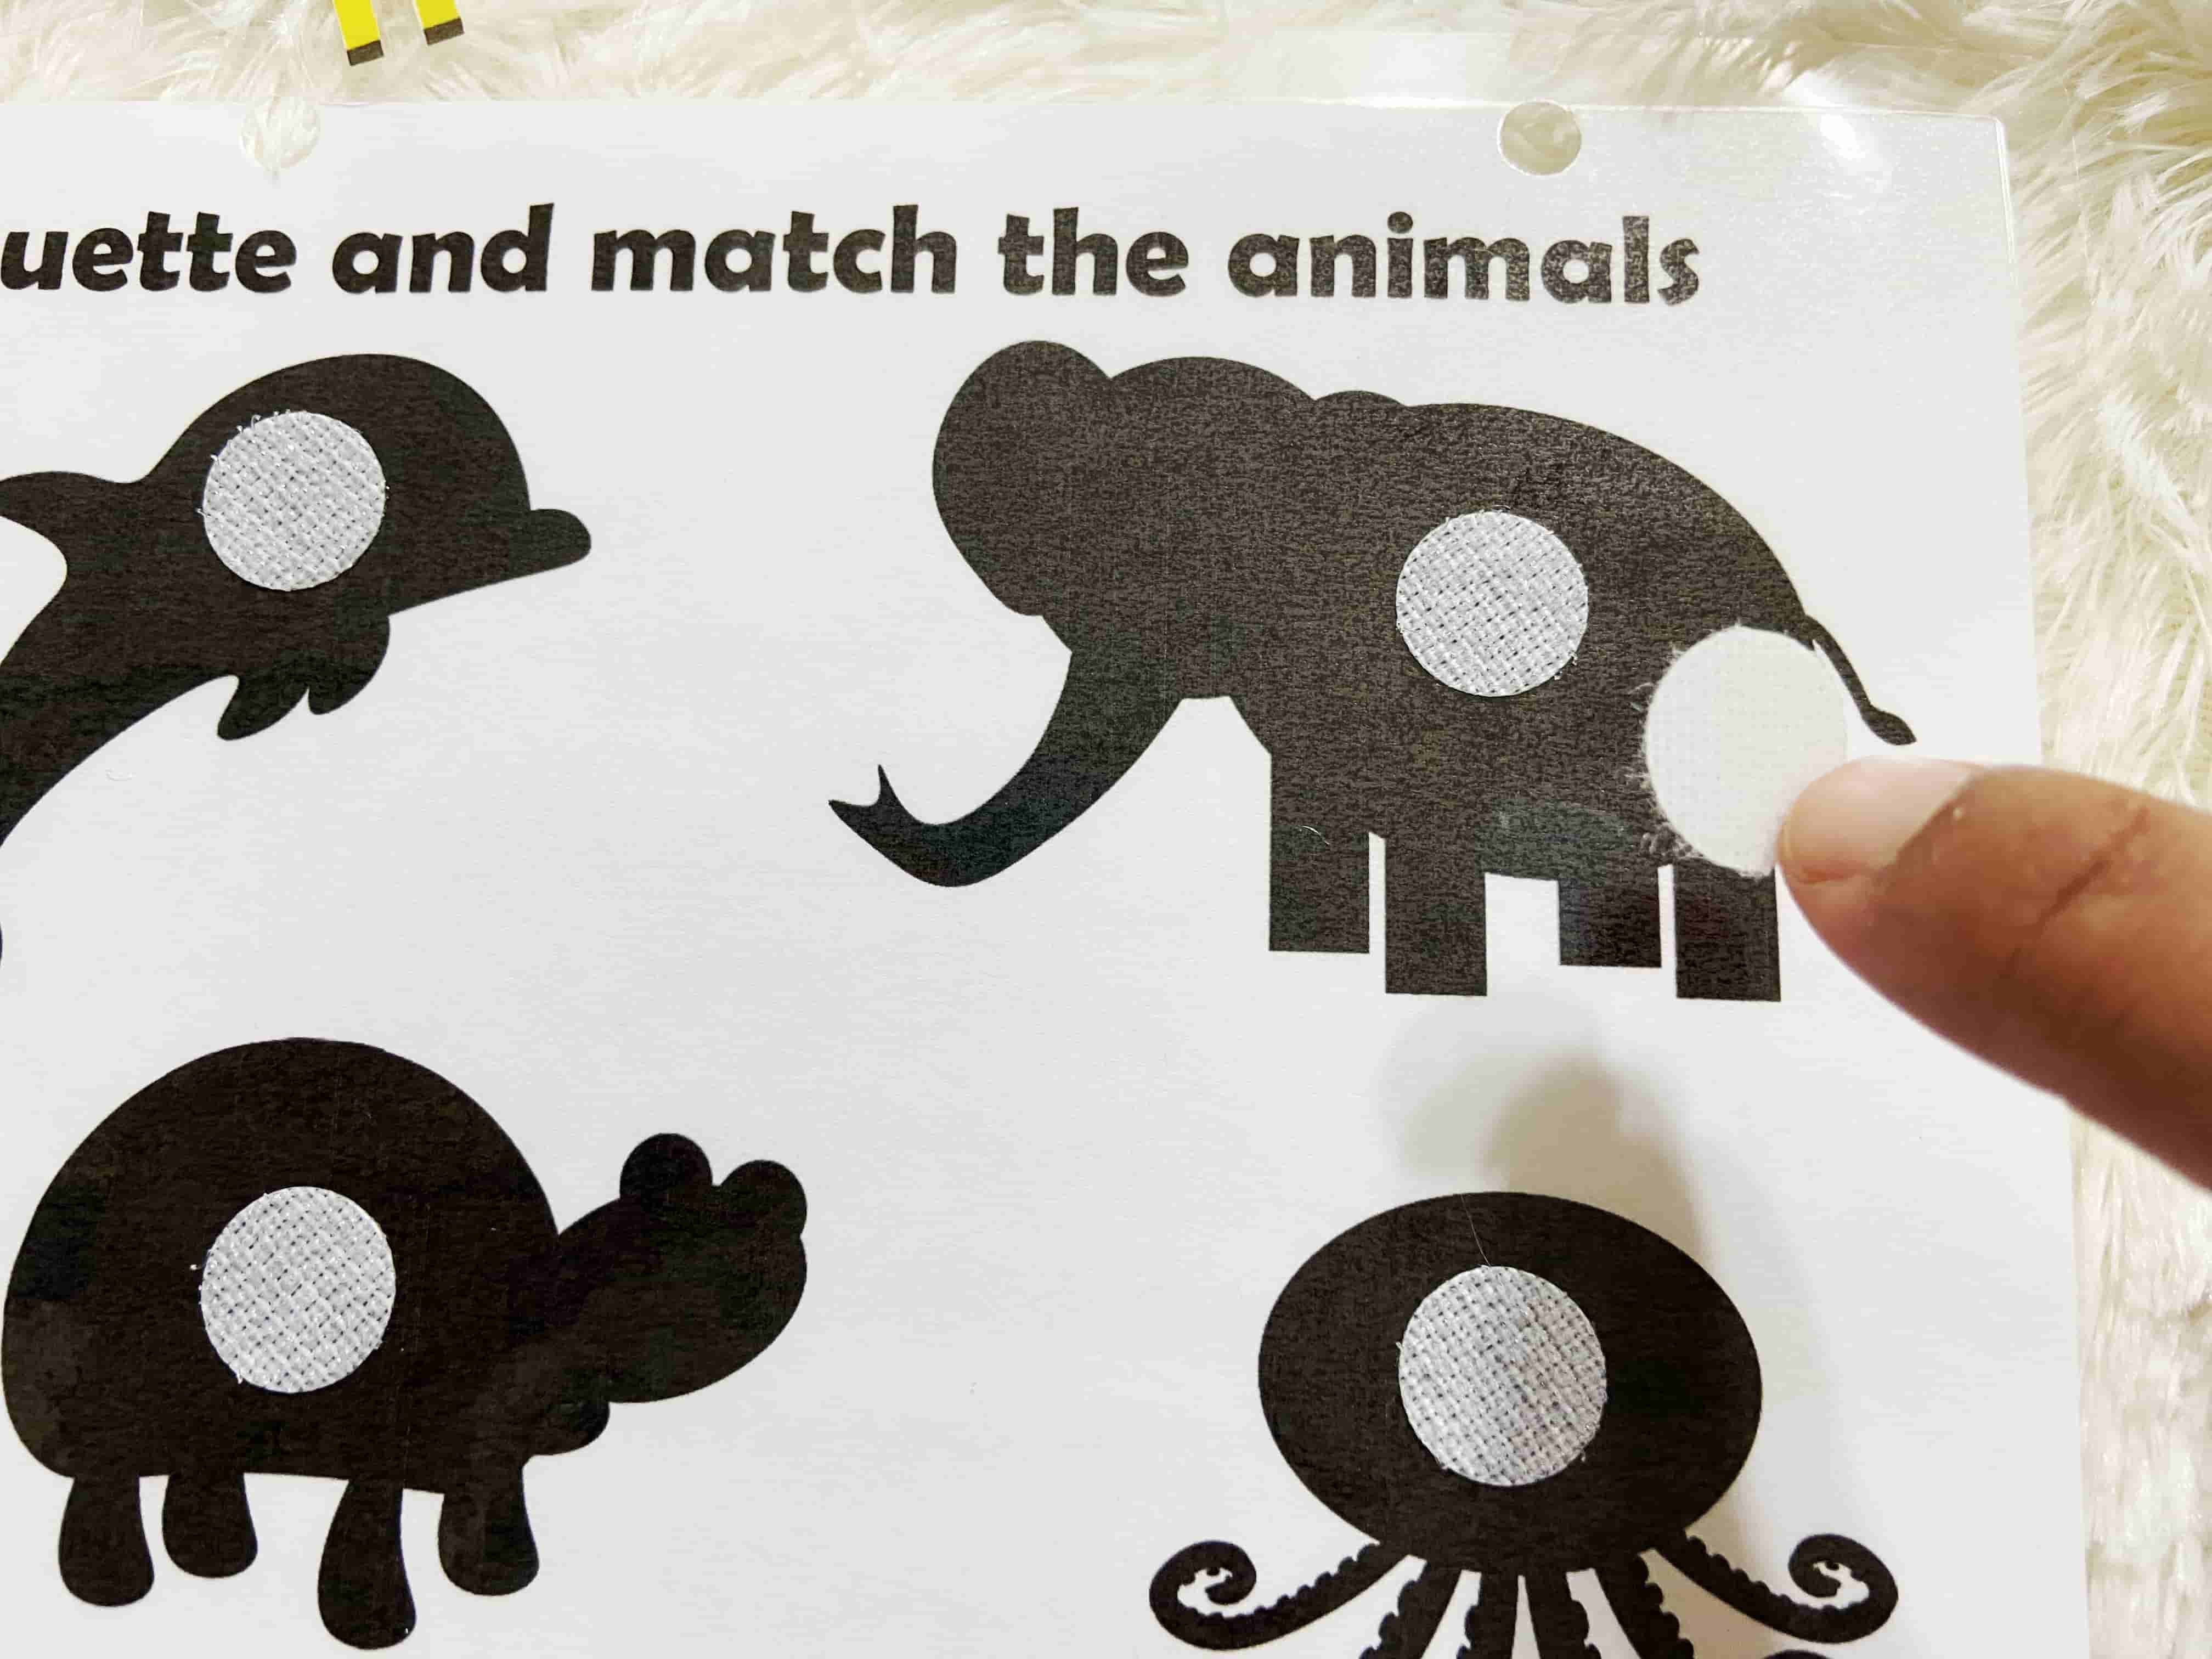
NOTE 1: If you are using white/ black Hook & Loop dots, please make sure that you do not cover the main concepts (image/ alphabet/ numbers/ ...) when you stick the dots on the activity pages.
NOTE 2: This is how I stick the dots so that they are perfectly aligned for matching. You can follow your own method.
I always stick the Hook dots on the activity pages and the Loop dots on the cutout pieces and I use white color dots of size 0.59" (15mm).
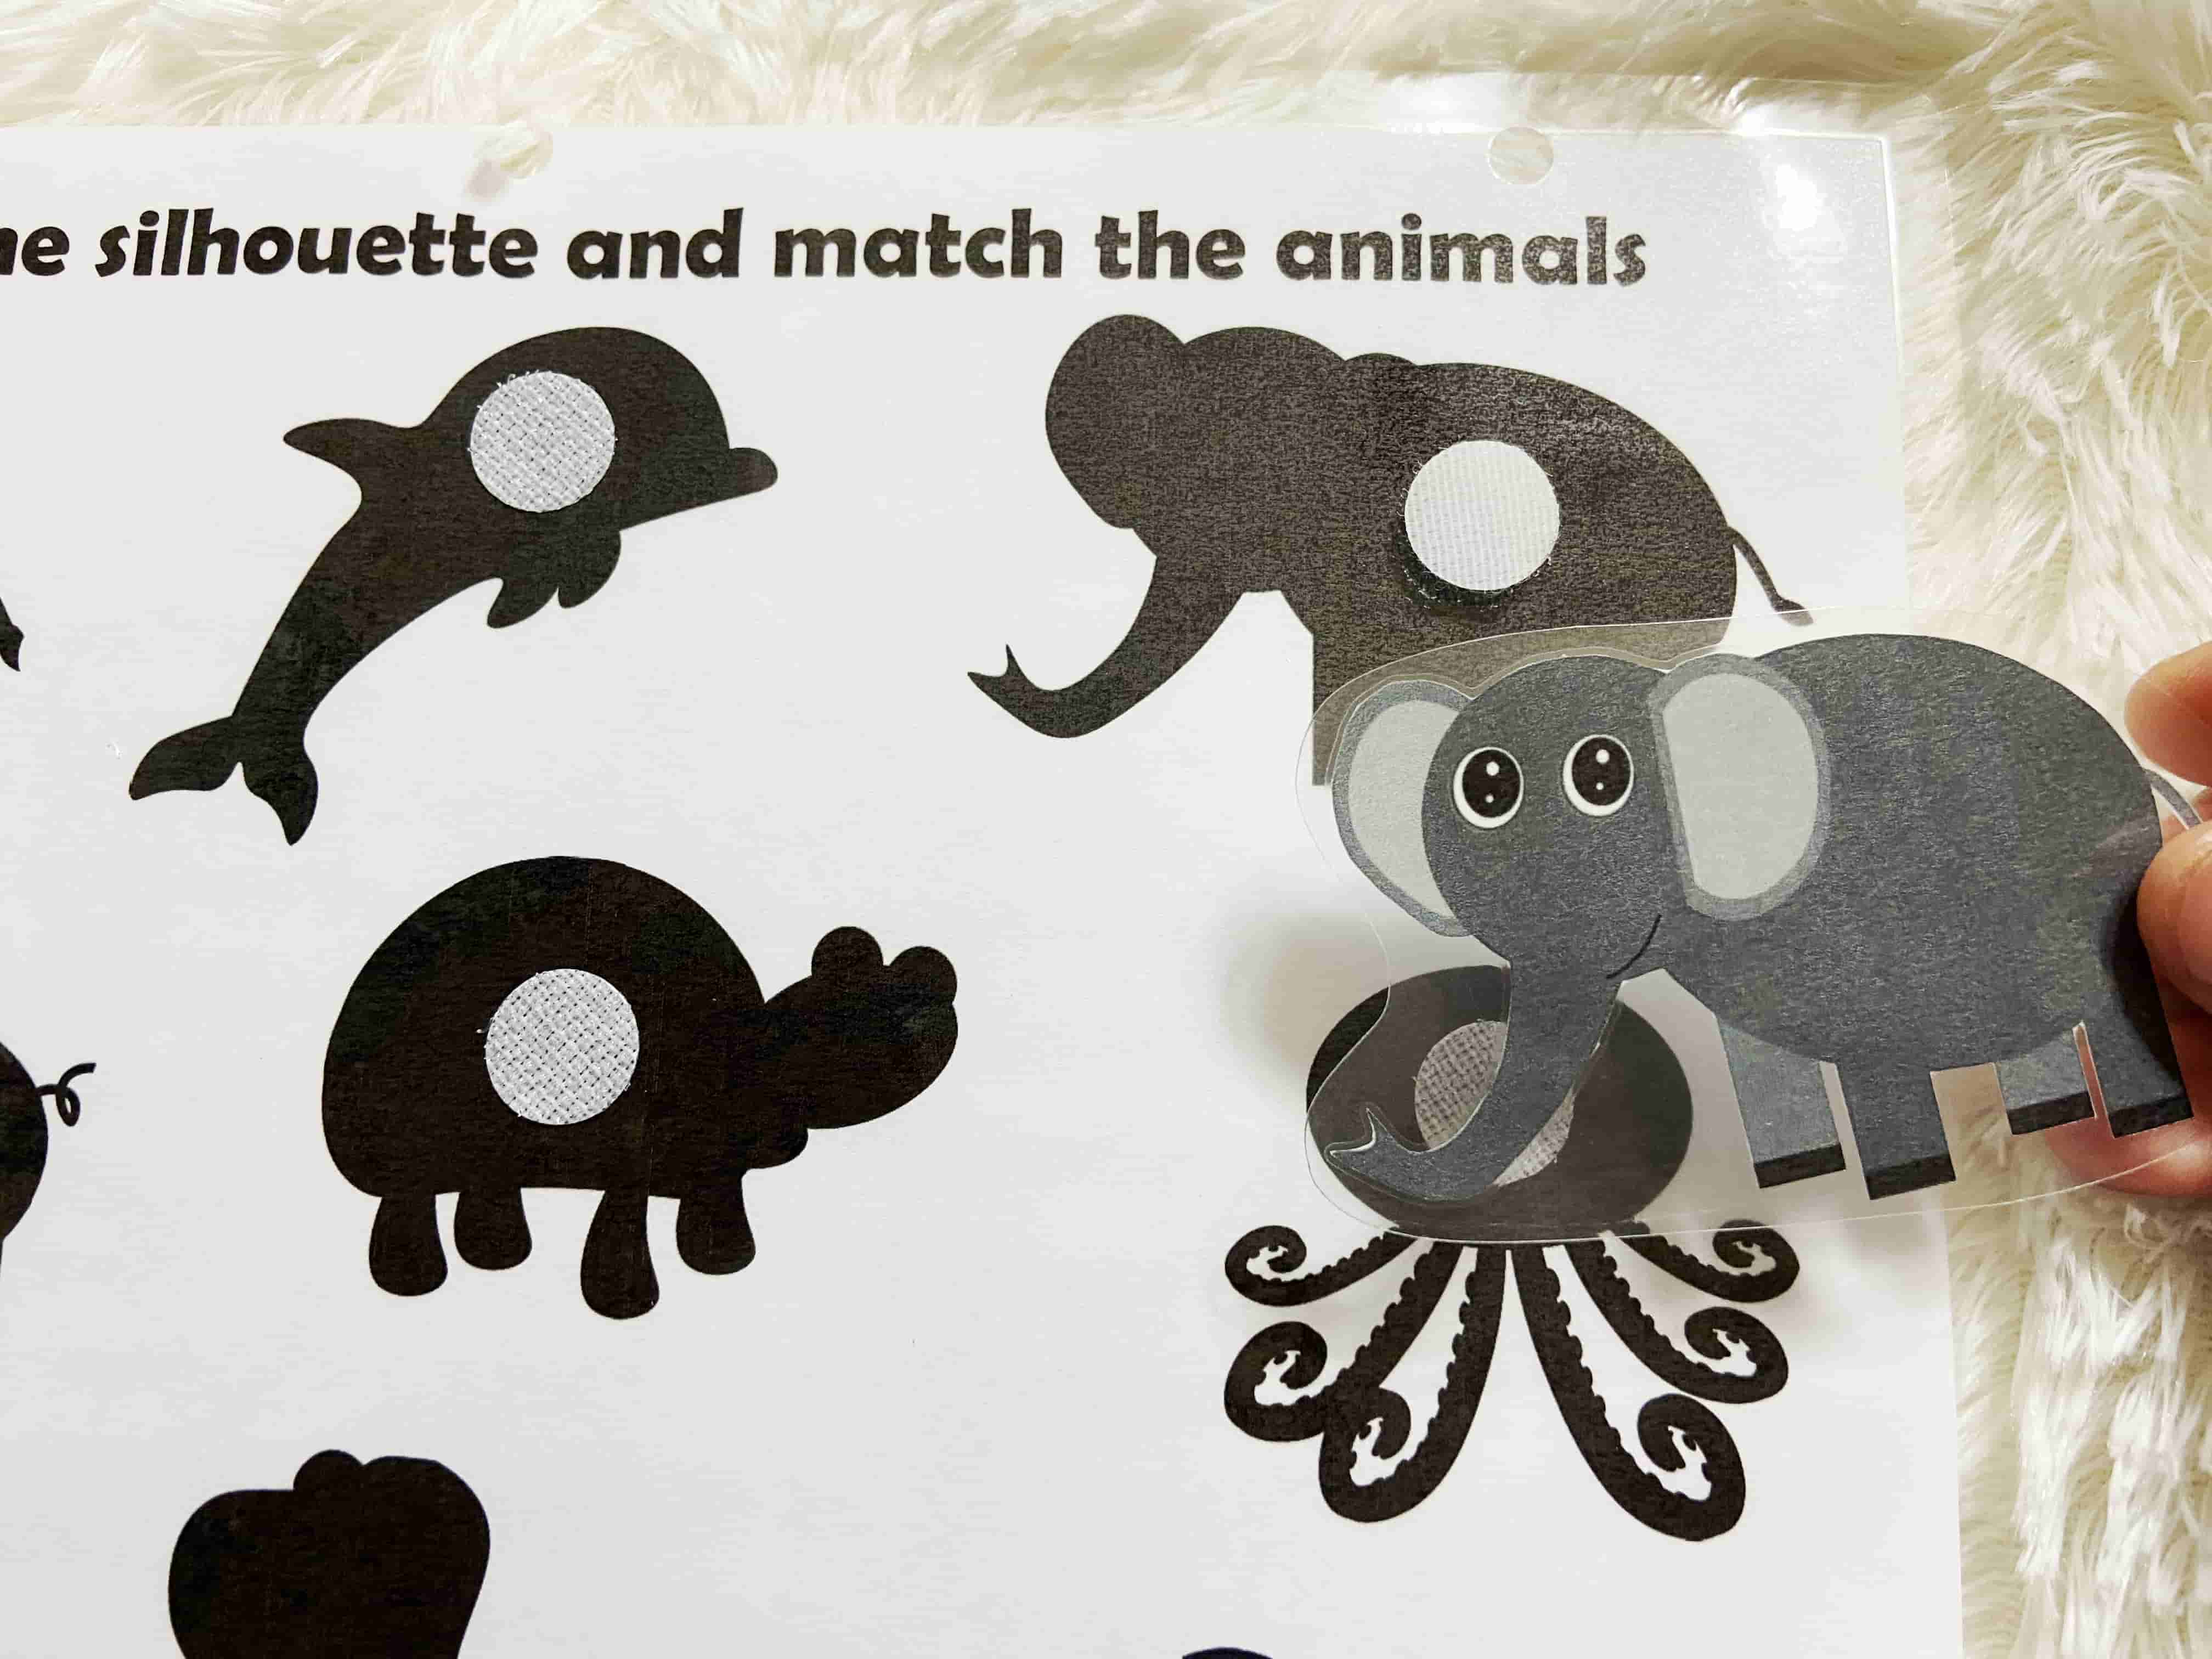
First stick the hook (rough side) dot on the required spot of the page, attach the loop (soft side) dot (adhesive side up) to the hook, stick the corresponding cutout piece to that loop (make sure the cutout is aligned to the image on the activity page) and press little harder so that they all stick together.
Pages & Cutouts
Stick Hook Dot
Stick Loop Dot (sticky side up)
Attach Cutout
STEP 7
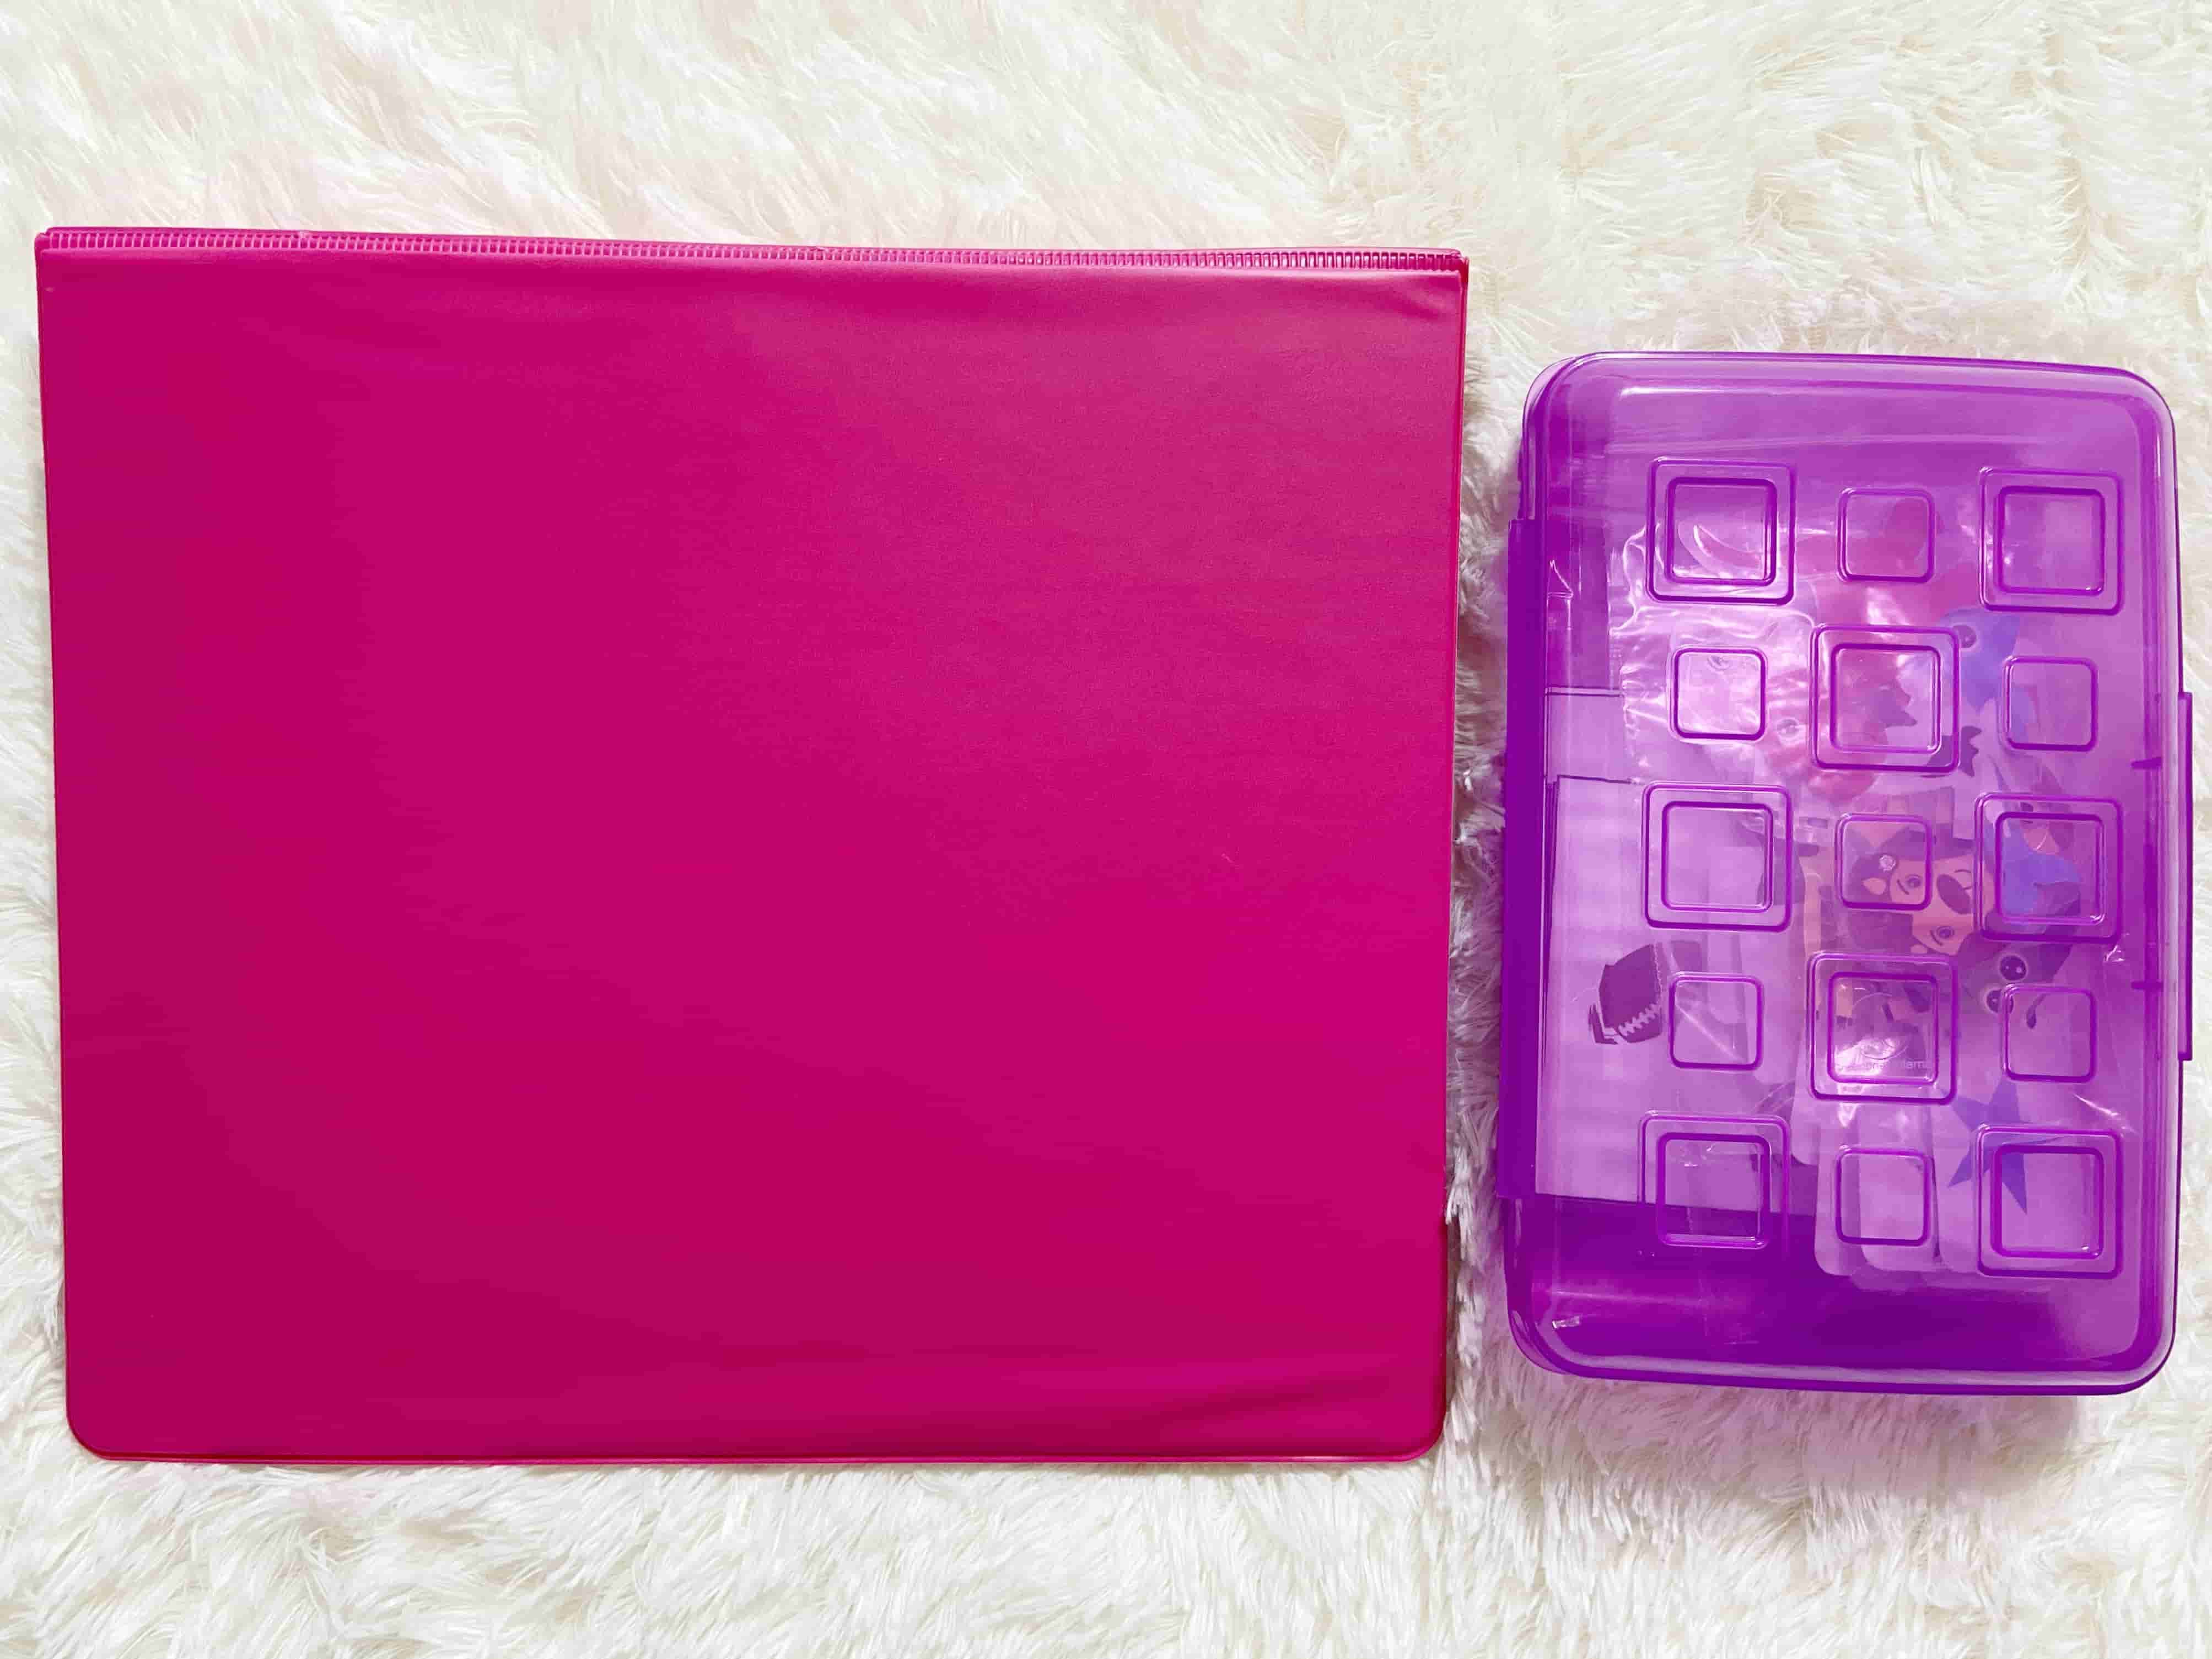
Supplies/ Tools required: 3-ring binders
Click the below button to check out my product recommendations:
Put all the activity pages in the binder in any order that is best for your little one.
Here are few other options on how to make a book using the pages: OPTION 1: Spiral bind the pages at your local shop. You can bind the pages on the left side (you can flip the book left to right) or on the top side. OPTION 2: Punch a hole at the top left corner of each page and attach a binder ring to the pages. OPTION 3: Punch (2 - 3) holes on the left side of the pages, attach binder rings to the pages and make it as a book (flip left to right).
STEP 8
Click the below button to check out my product recommendations:
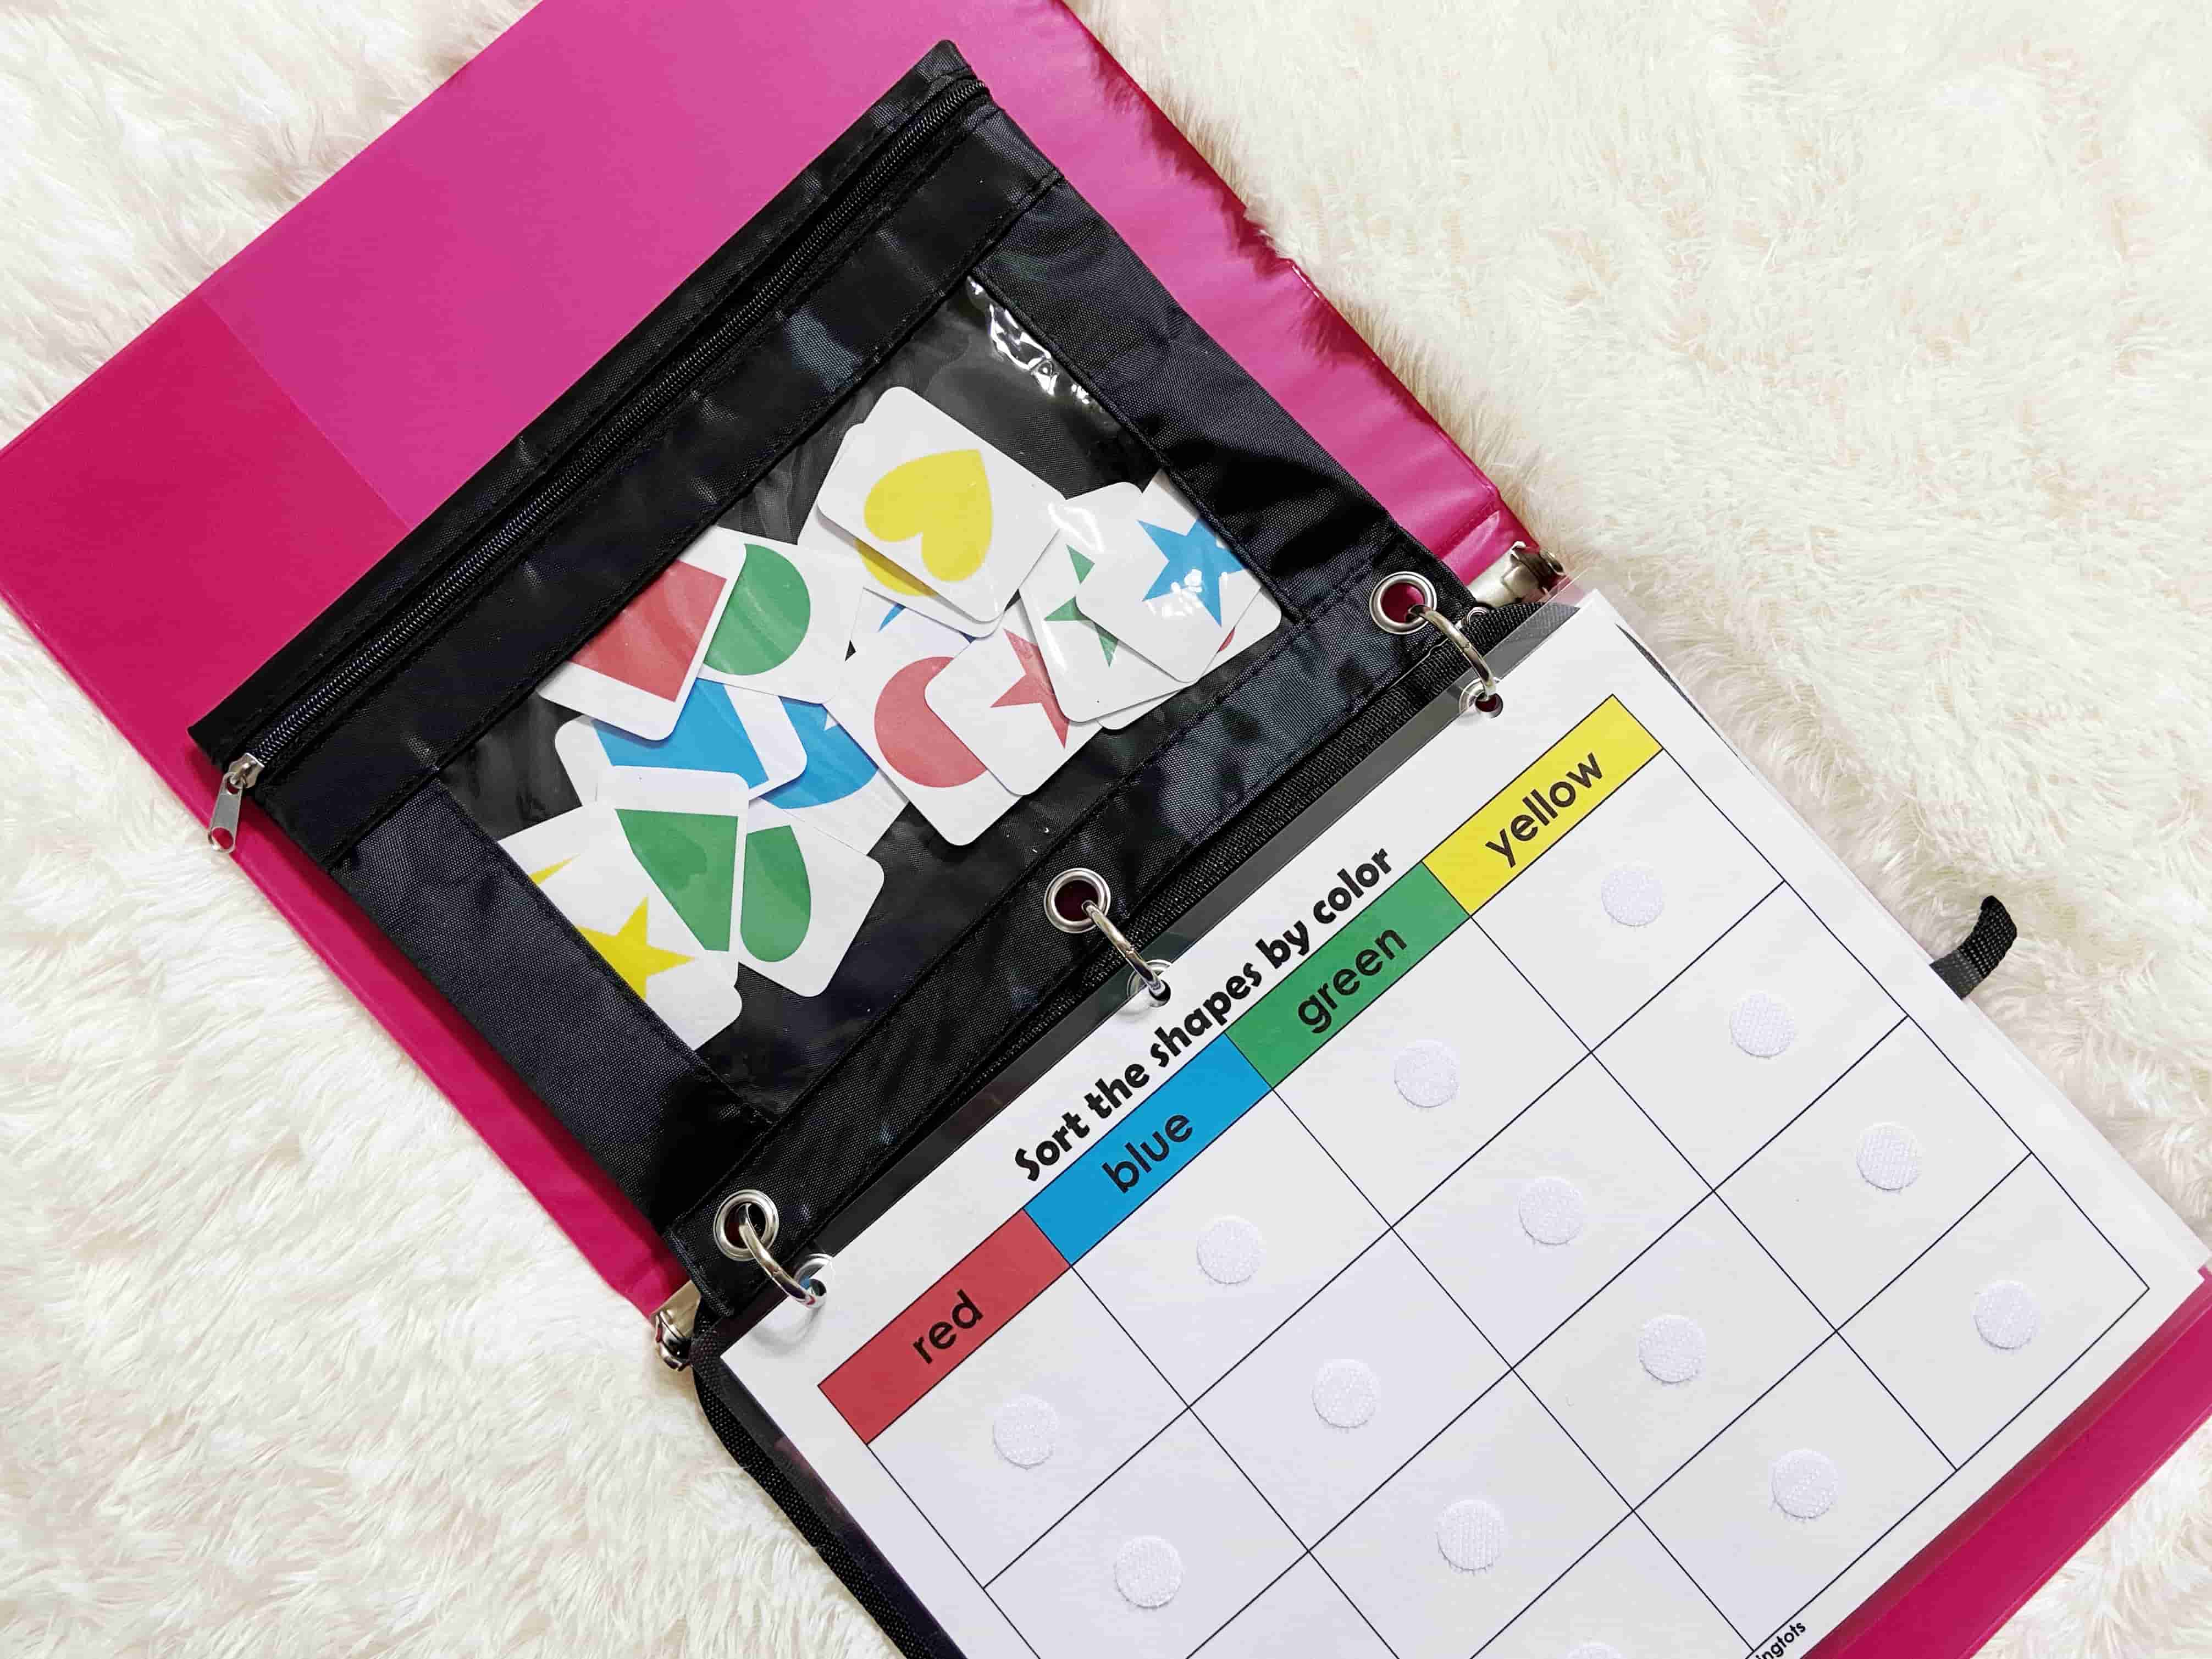
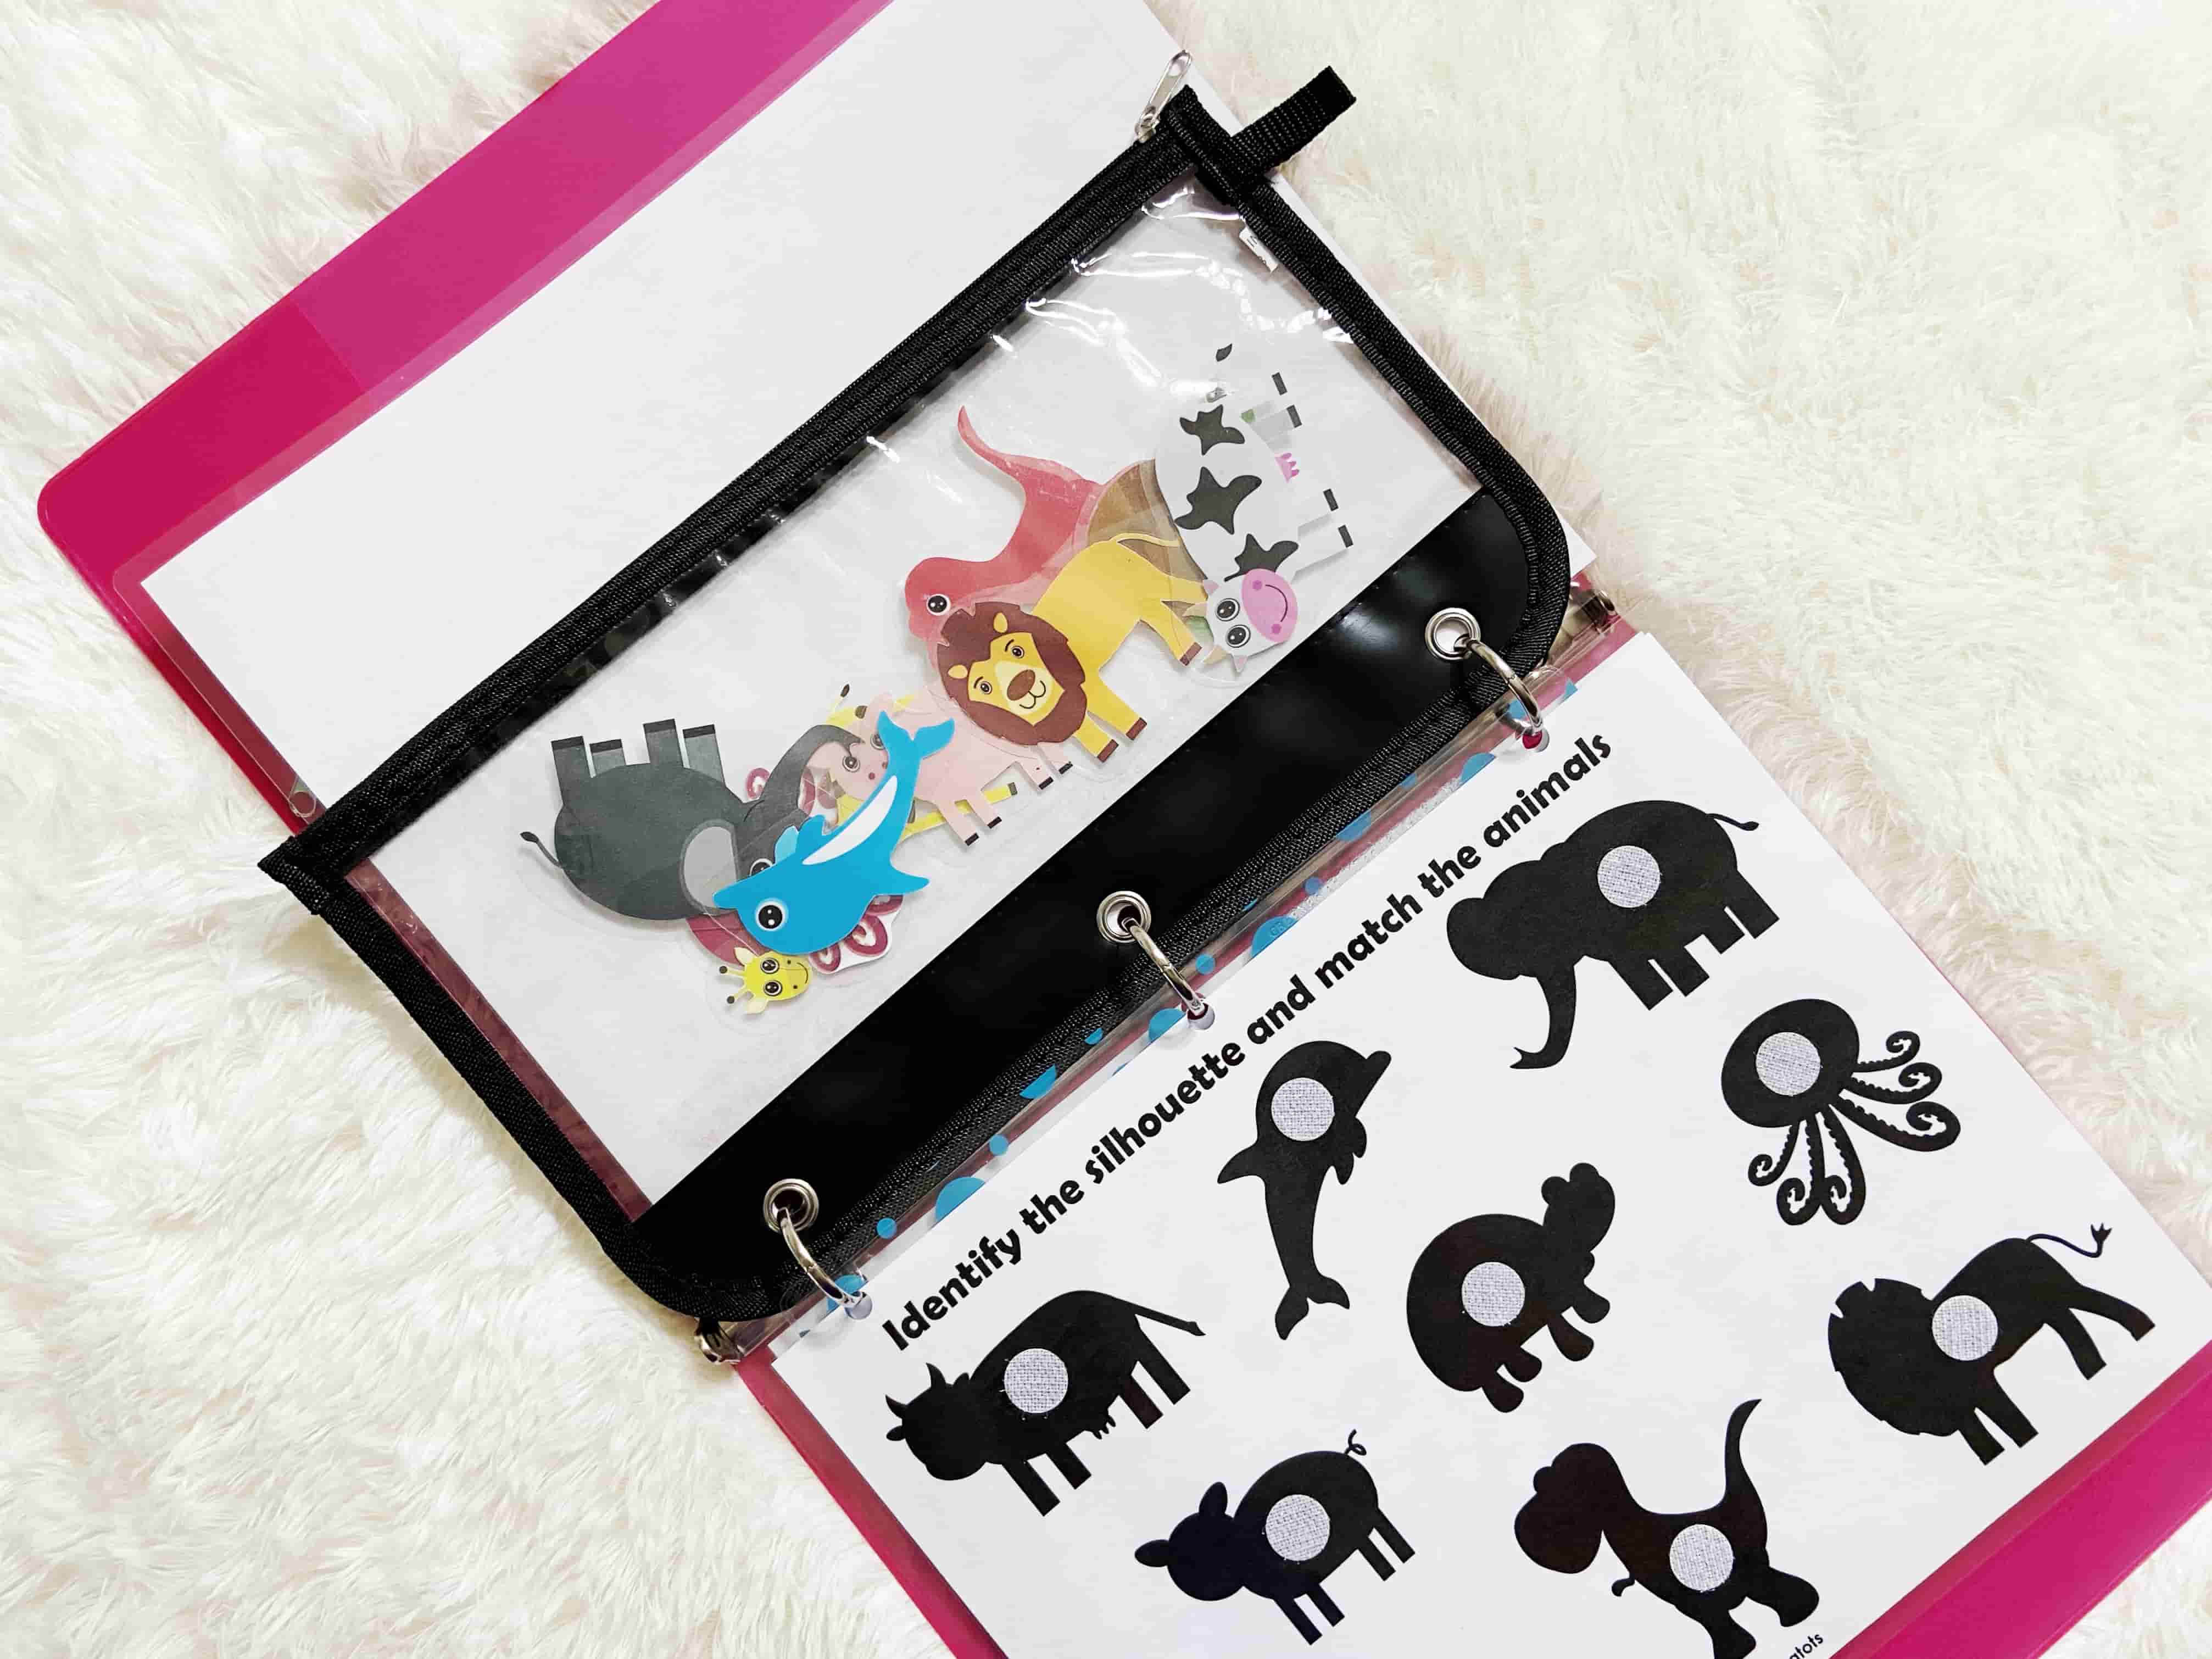
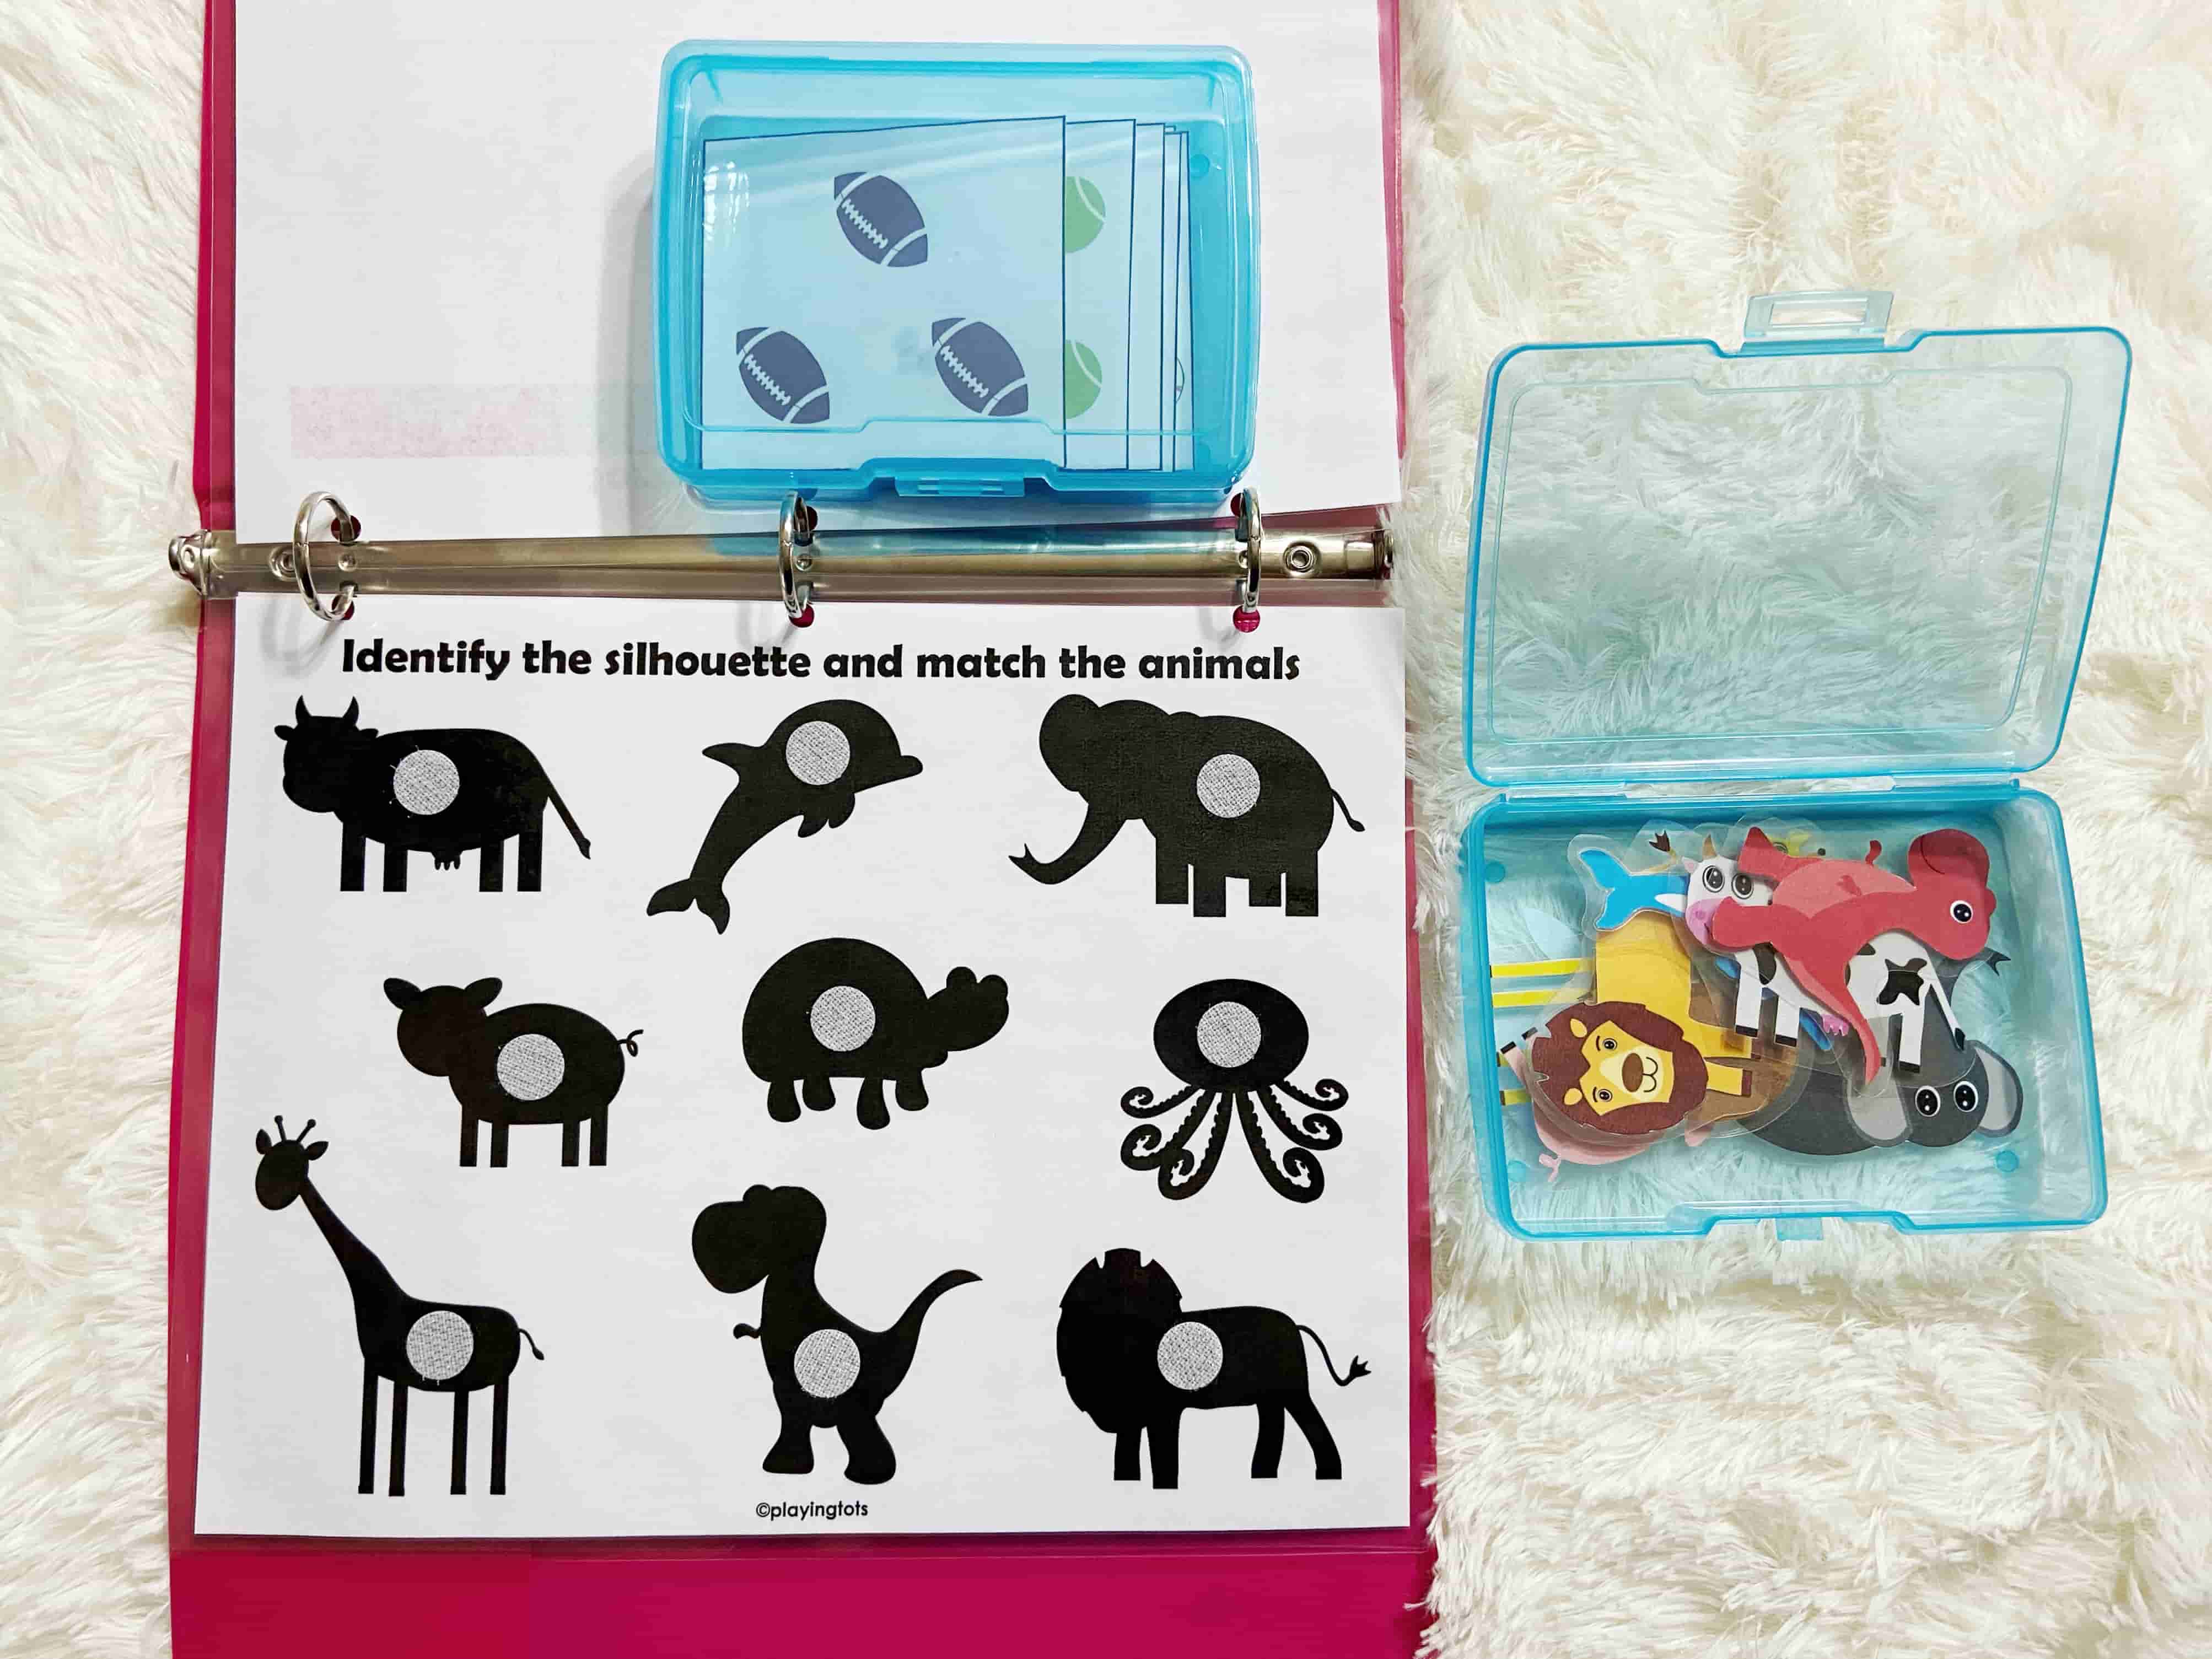
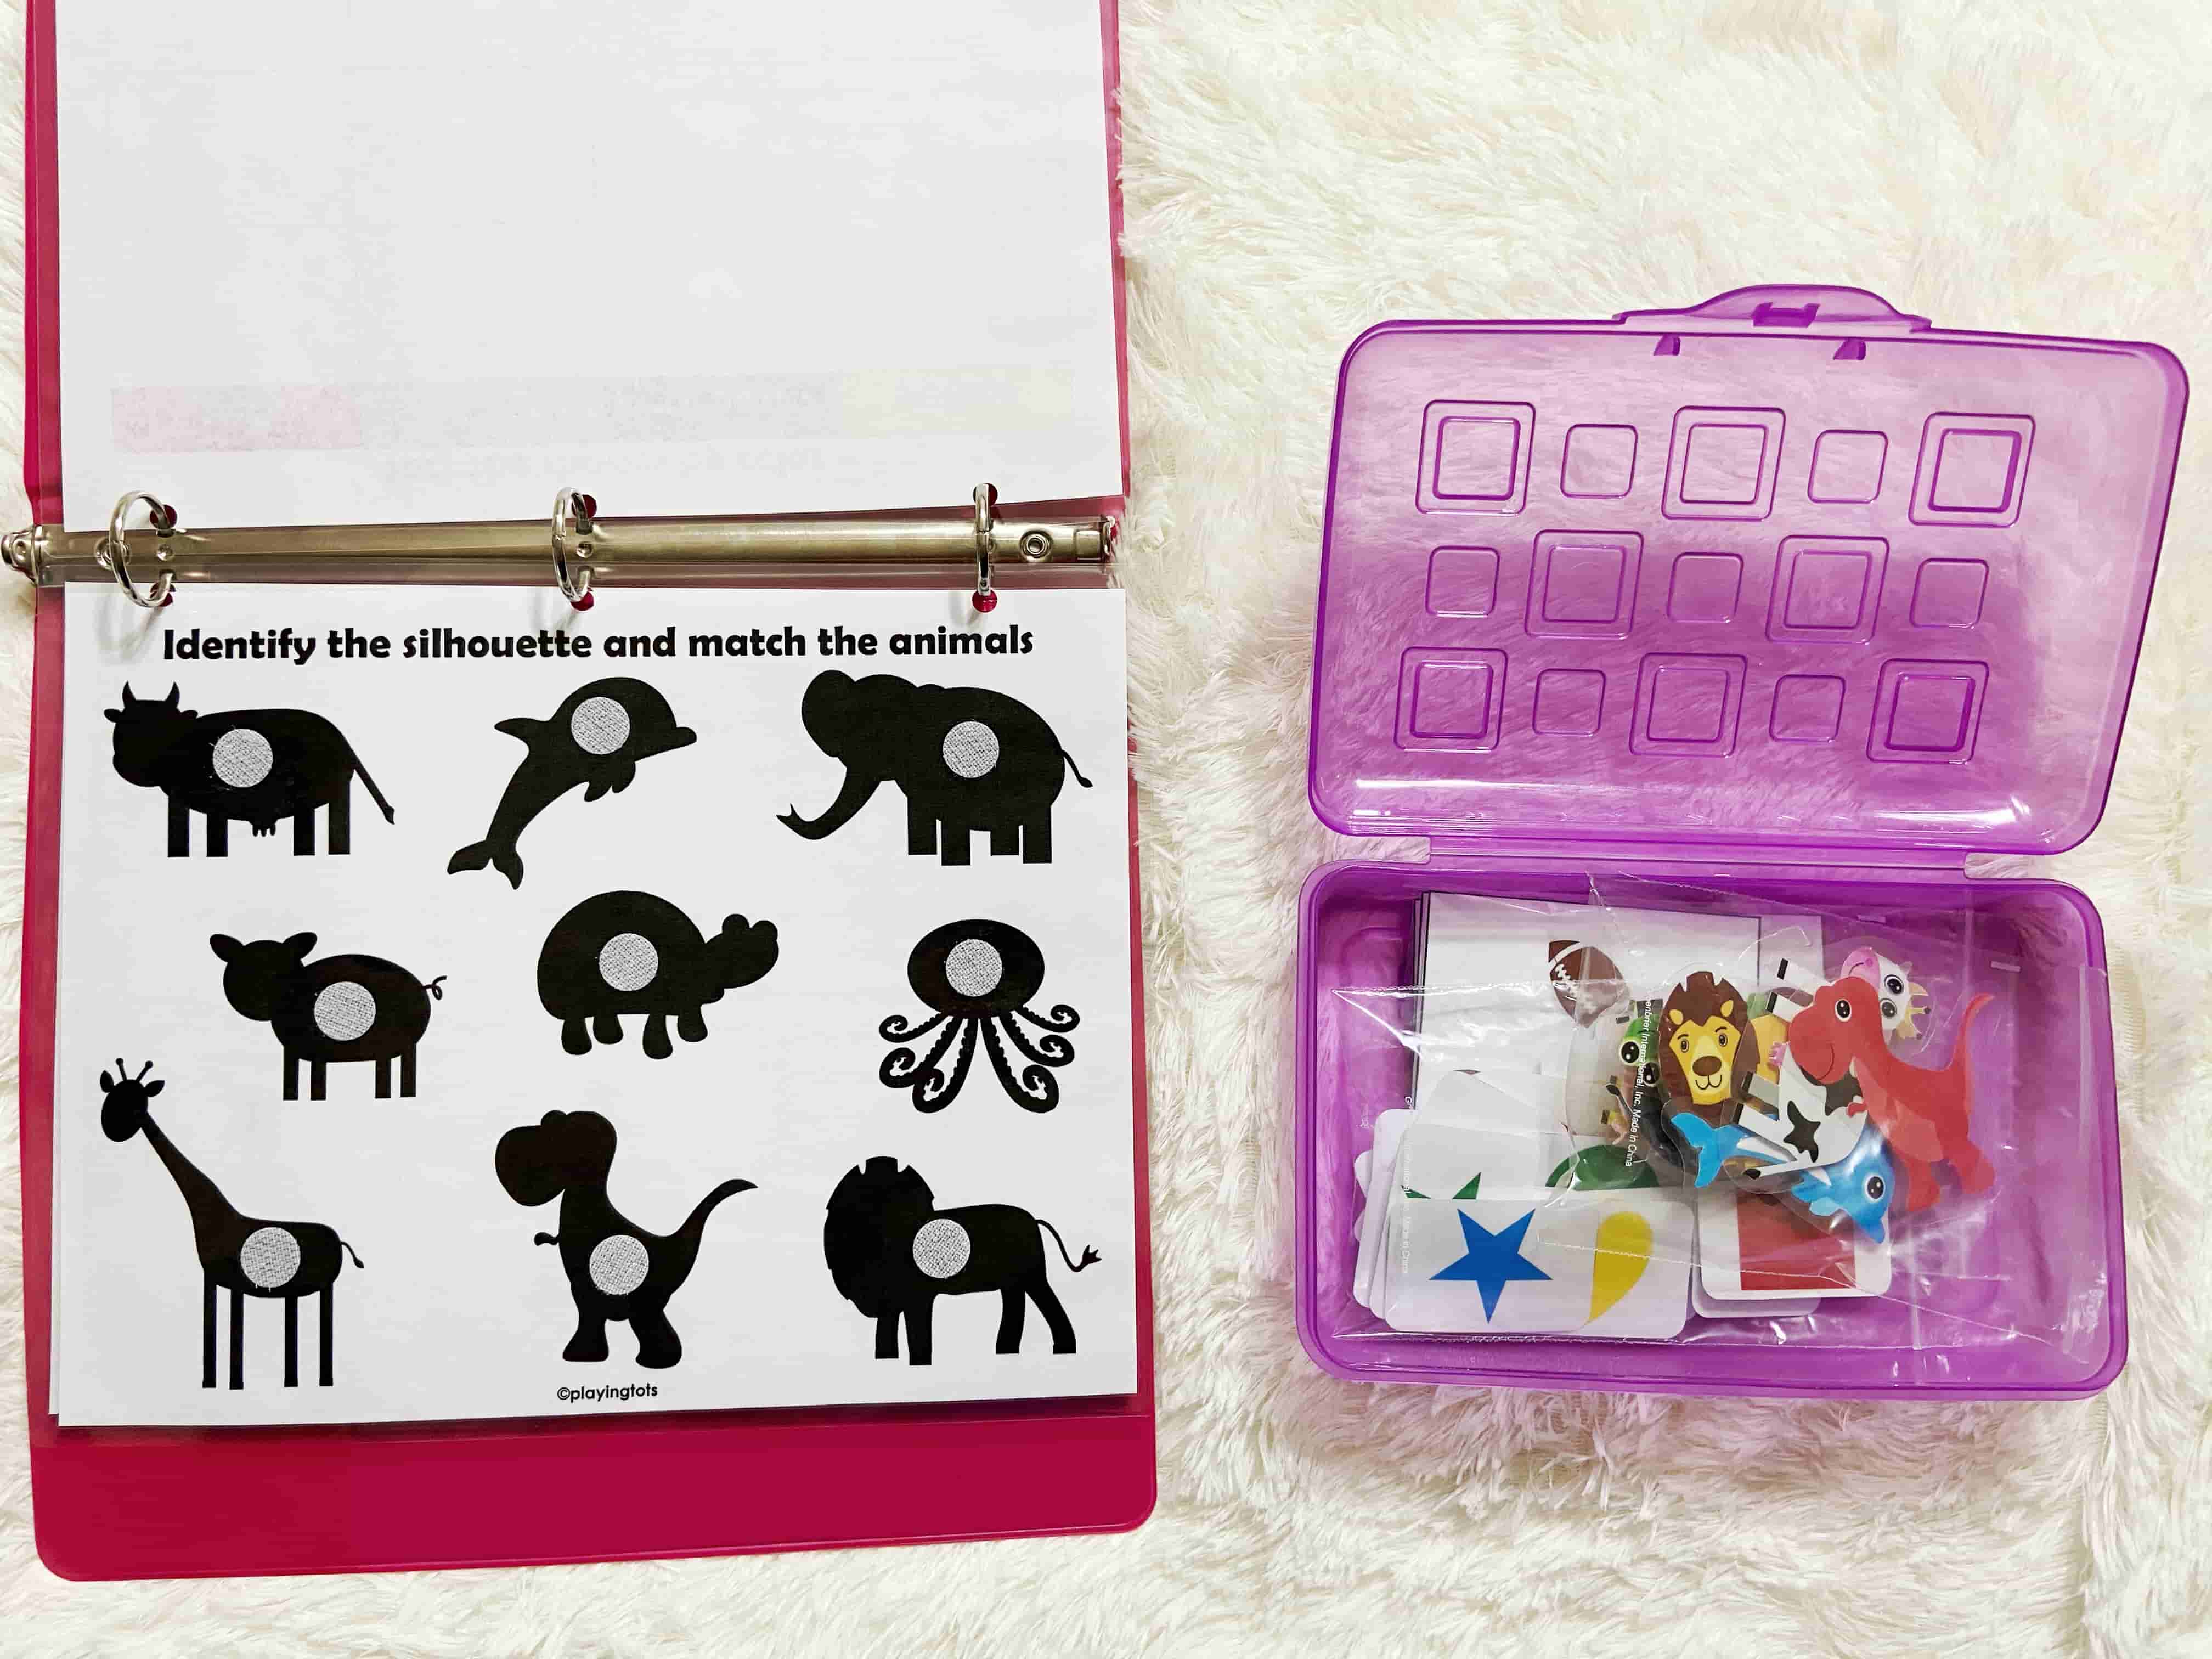
How to store the cutouts (matching pieces)
You can follow any of these options:
OPTION 1: Simply leave the cutouts in the activity pages. When you work with your kid, remove the cutouts from each page and ask the kid to match.
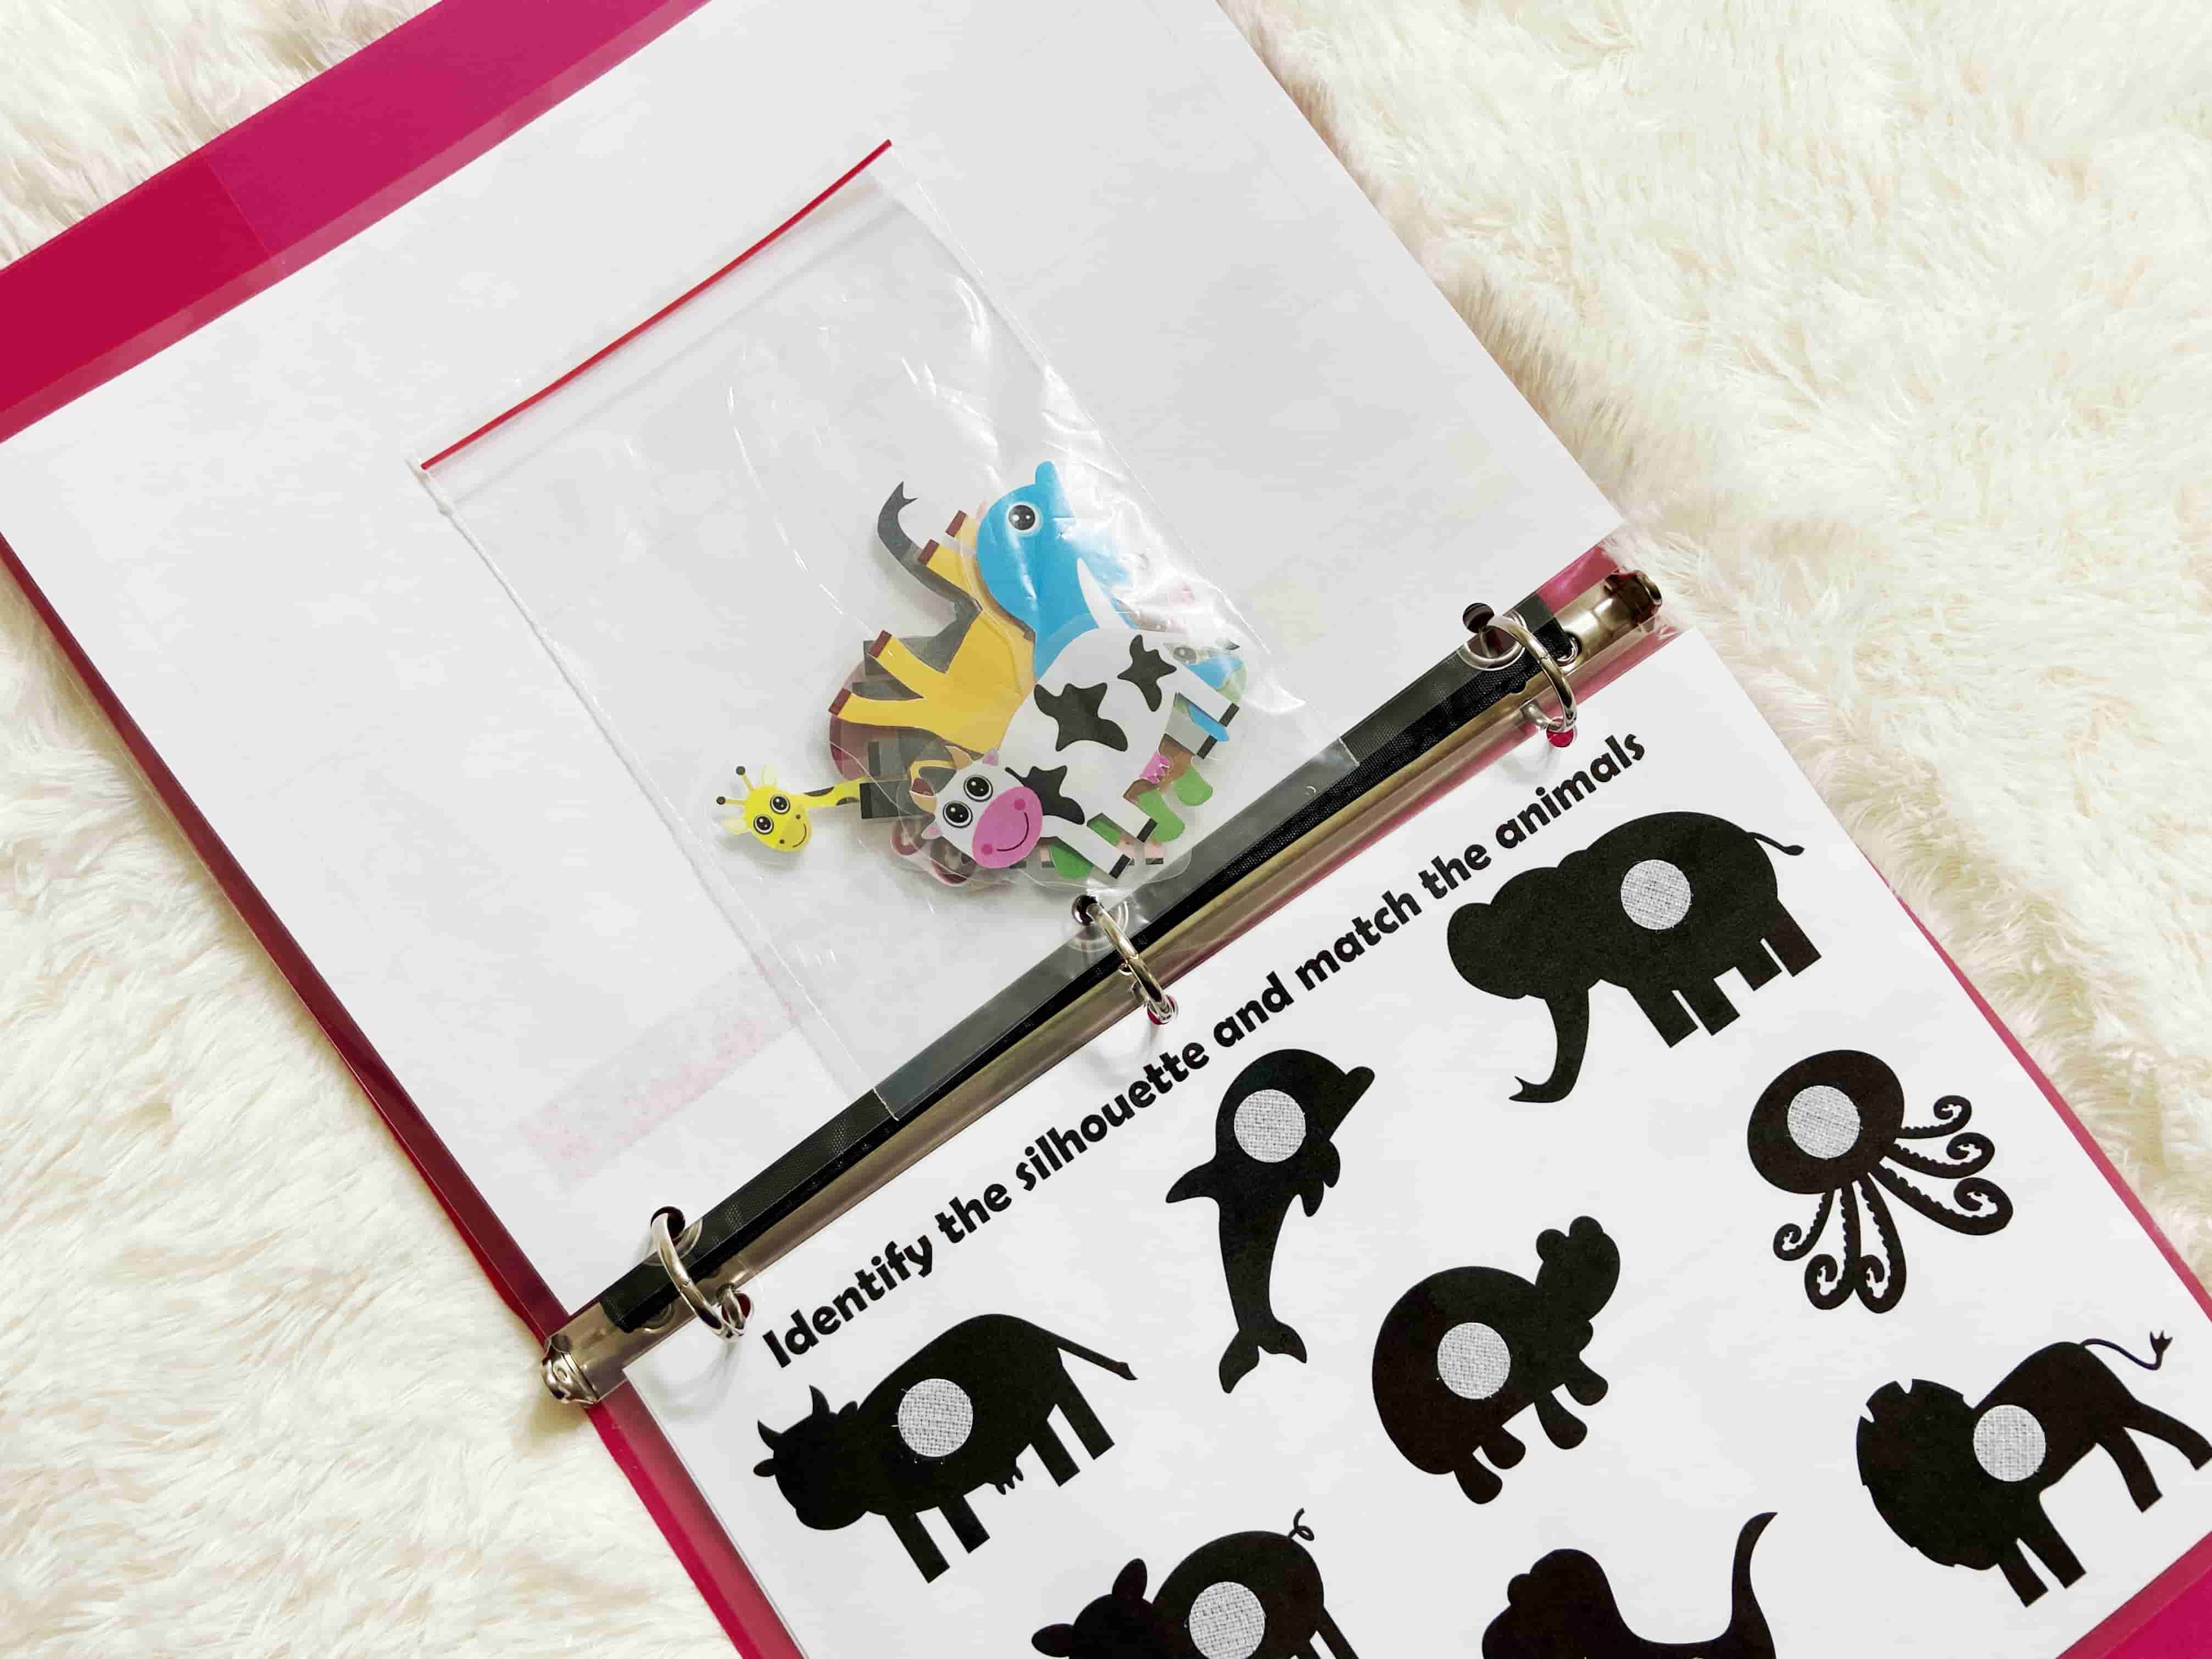
OPTION 2: Use ziploc bags to store each page's cutouts separately. Label them if needed. You can use envelopes as an alternative for ziploc bags. Note 1: Attach the ziploc to the back of the corresponding previous page. Note 2: Punch hole on the ziploc and attach in front of the corresponding page. Note 3: Put all the ziplocs in a storage container/ pencil boxes and keep it along with the binders.
OPTION 3: Attach the cutouts to the back of the corresponding previous page using hook and loop dots/ strips.
OPTION 4: Attach a "clear pouch/ pencil pouch with clear window" in front of each page to store the cutouts.
Pencil Pouch with Clear Window
Clear Pouch
Hook&Loop-Back of Previous Page
Ziploc Bags
Flashcards Container
Ziplocs & Pencil Box
All Done!!
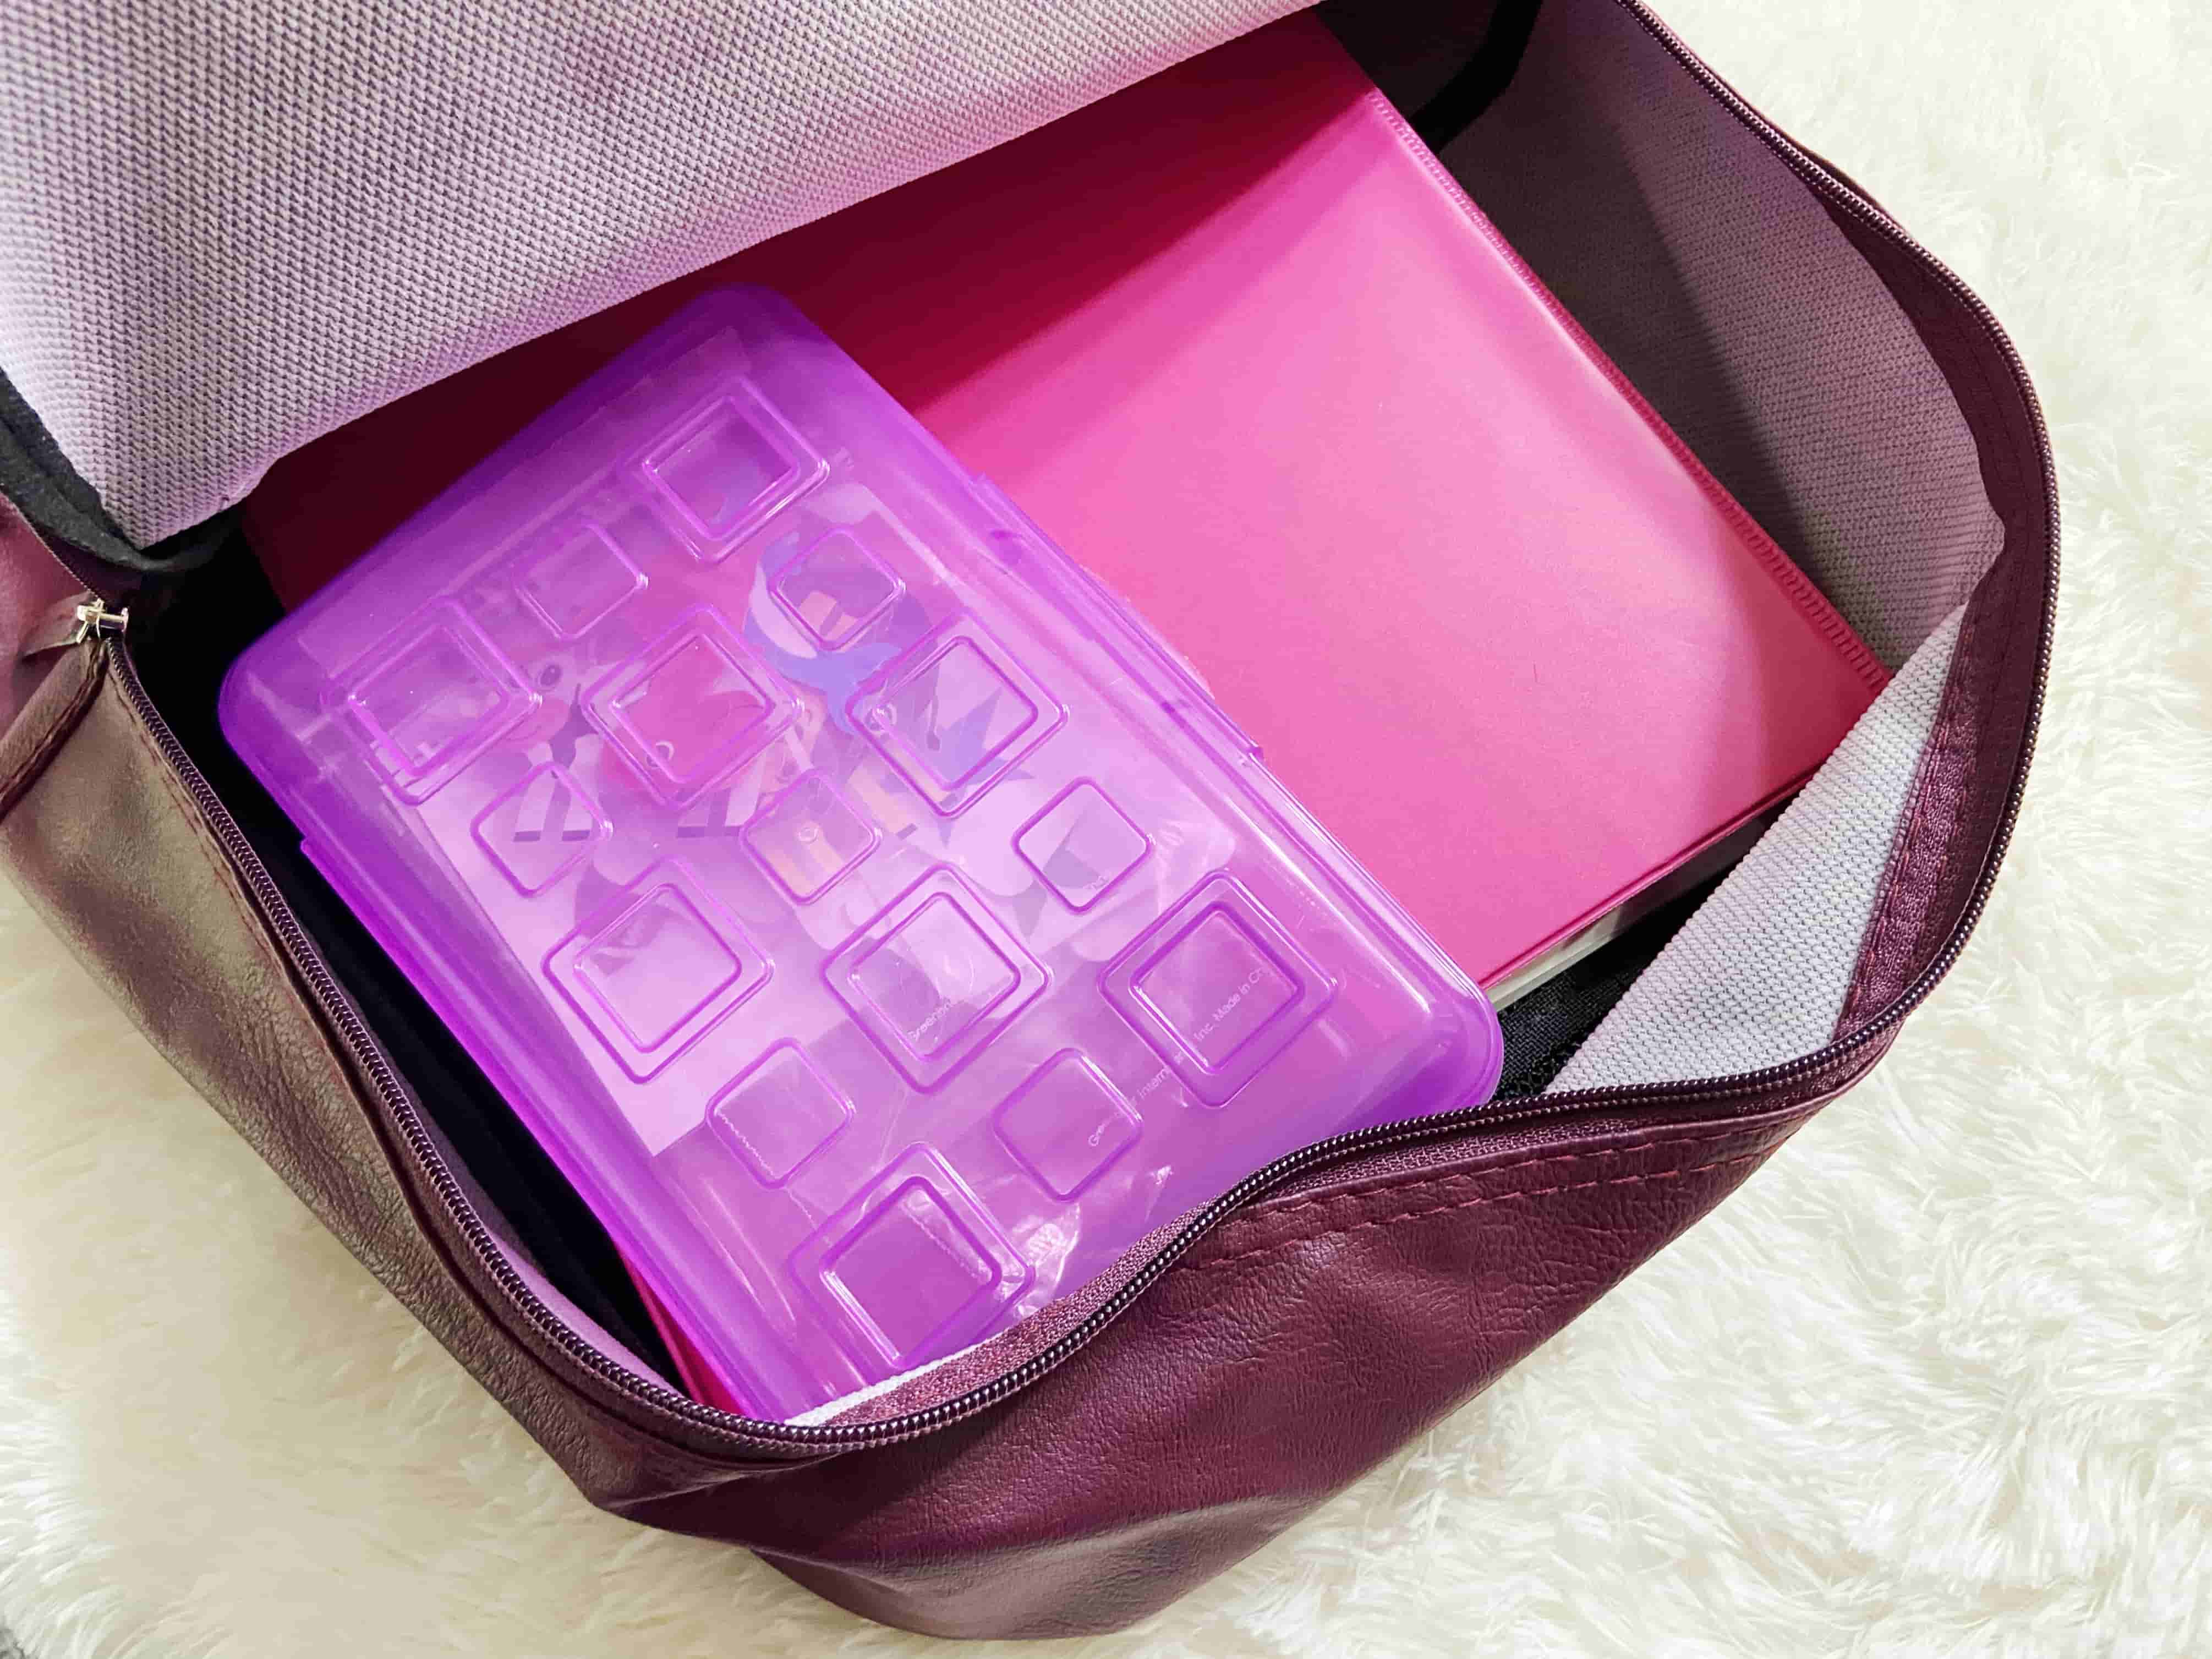
On-the-Go Busy Book
Pick your kid's favorite activity pages, put them in a binder and keep it in your backpack/ diaper bag. You can use this busy book to keep your little one occupied anytime anywhere.
Disclaimer
"CHOKING HAZARD - NOT A TOY - ADULT SUPERVISION REQUIRED"
Once assembled, some of these activities contains small pieces or pieces with sharp edges that are not appropriate for children aged 4 and below.
These are not independent play activities for the kids. Please pay attention to the kids when they work on these activities.
Please trim the corners for the pieces with sharp edges.